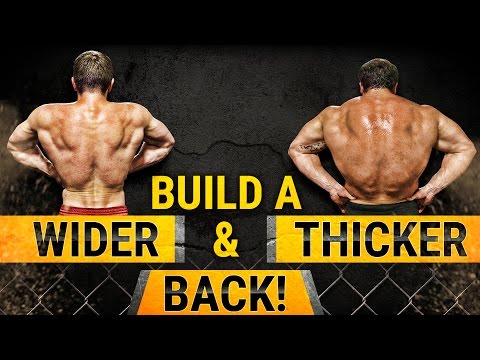
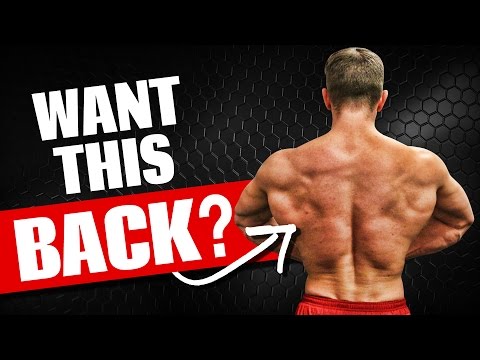
Underhand Vs Overhand Lat Pulldown
Which Grip Builds A Bigger Back?
Today we’re going to be talking about which is the best way to maximize your muscle building potential with the cable lat pulldown machine, and we’ll be comparing the underhand-grip Vs. the overhand-grip.
How Do I Know Which Variation Is Best For Me?
Obviously the objective here is to pick the variation of the lat pulldown that will help you build a wider and thicker back. However, which exercise is best for you will depend on a couple of things.
#1: Is Your Back Lagging In A Certain Area?
For example, maybe your upper lats are well developed, but your lower lats just aren’t flaring out like the wings you hoped they would be.
#2: Too Many Similar Exercises In Your Back Workout
Maybe your workouts already consist of a few movements that target your back in the same way the lat pulldown does, and you need to choose the right variation to ensure you’re not wasting your time repeating the same movement patterns. Before we get into that, let’s go over proper form for both variations.
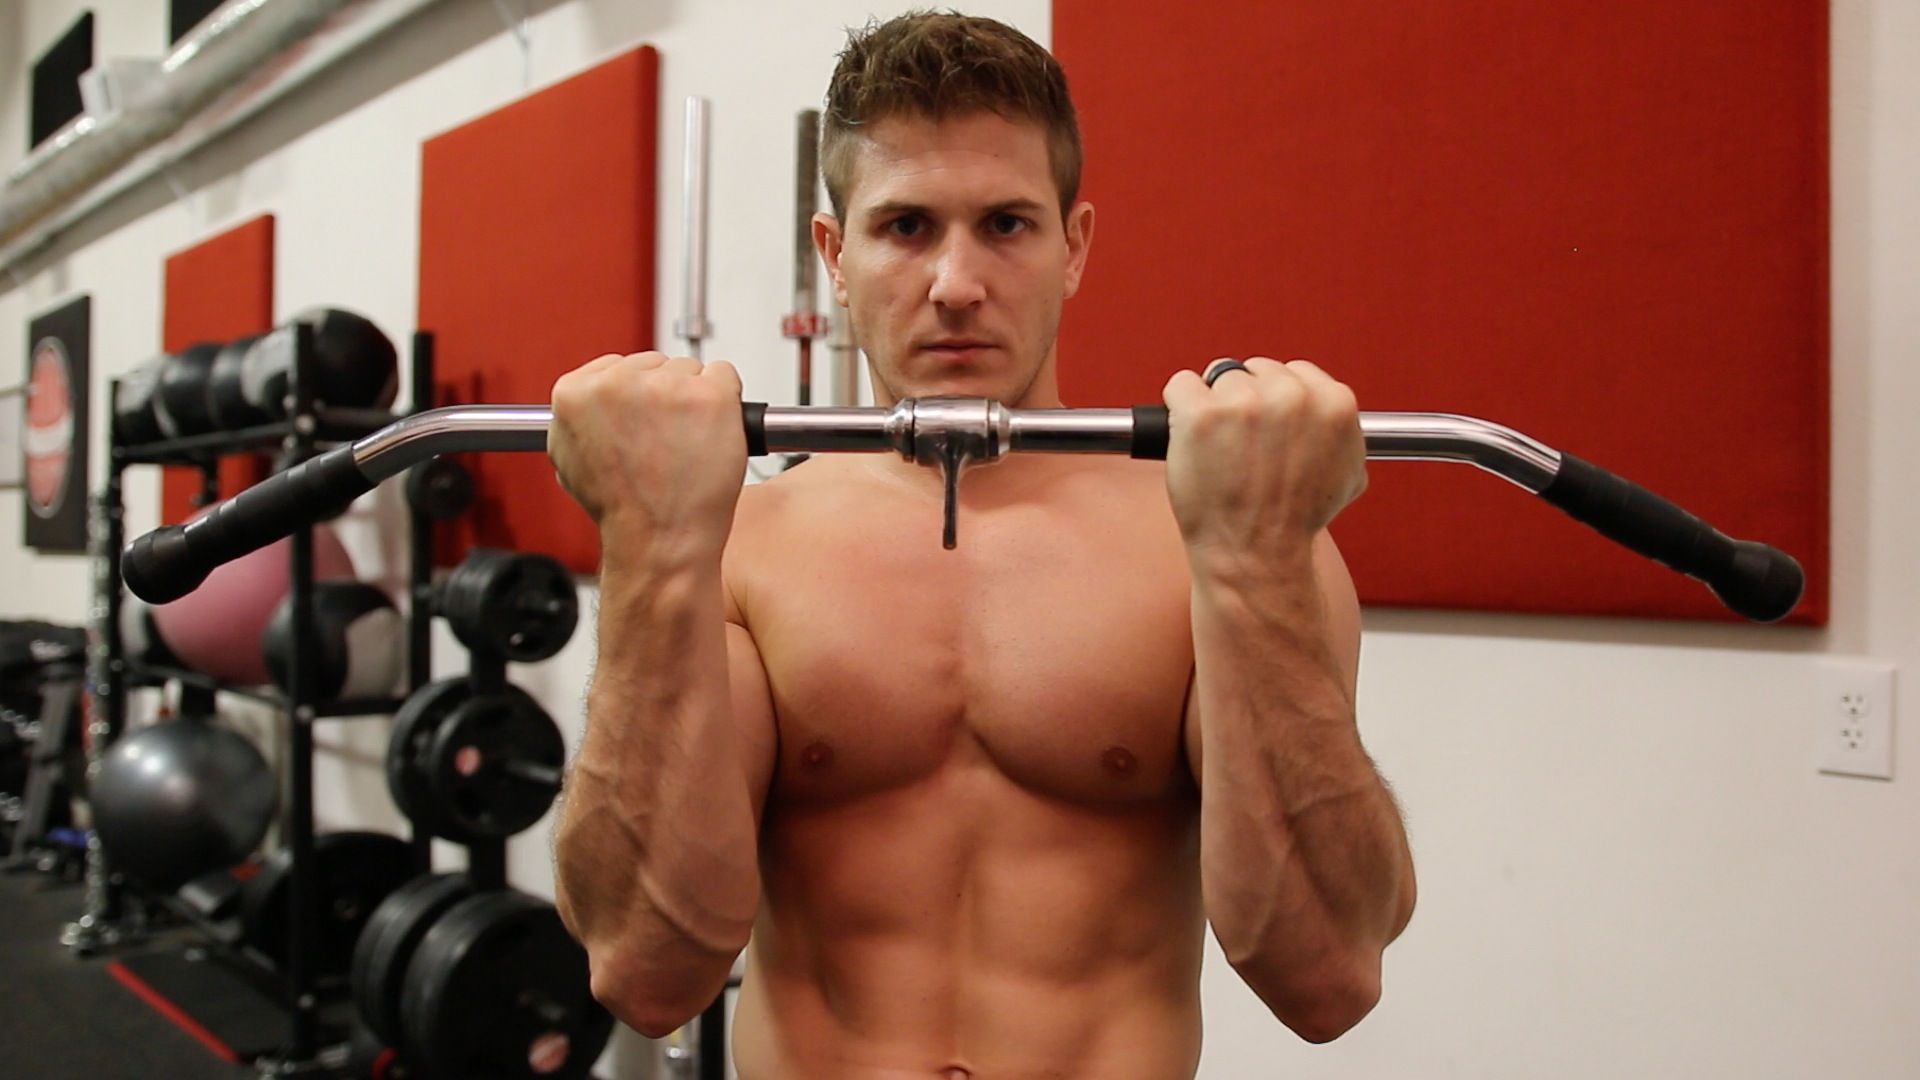
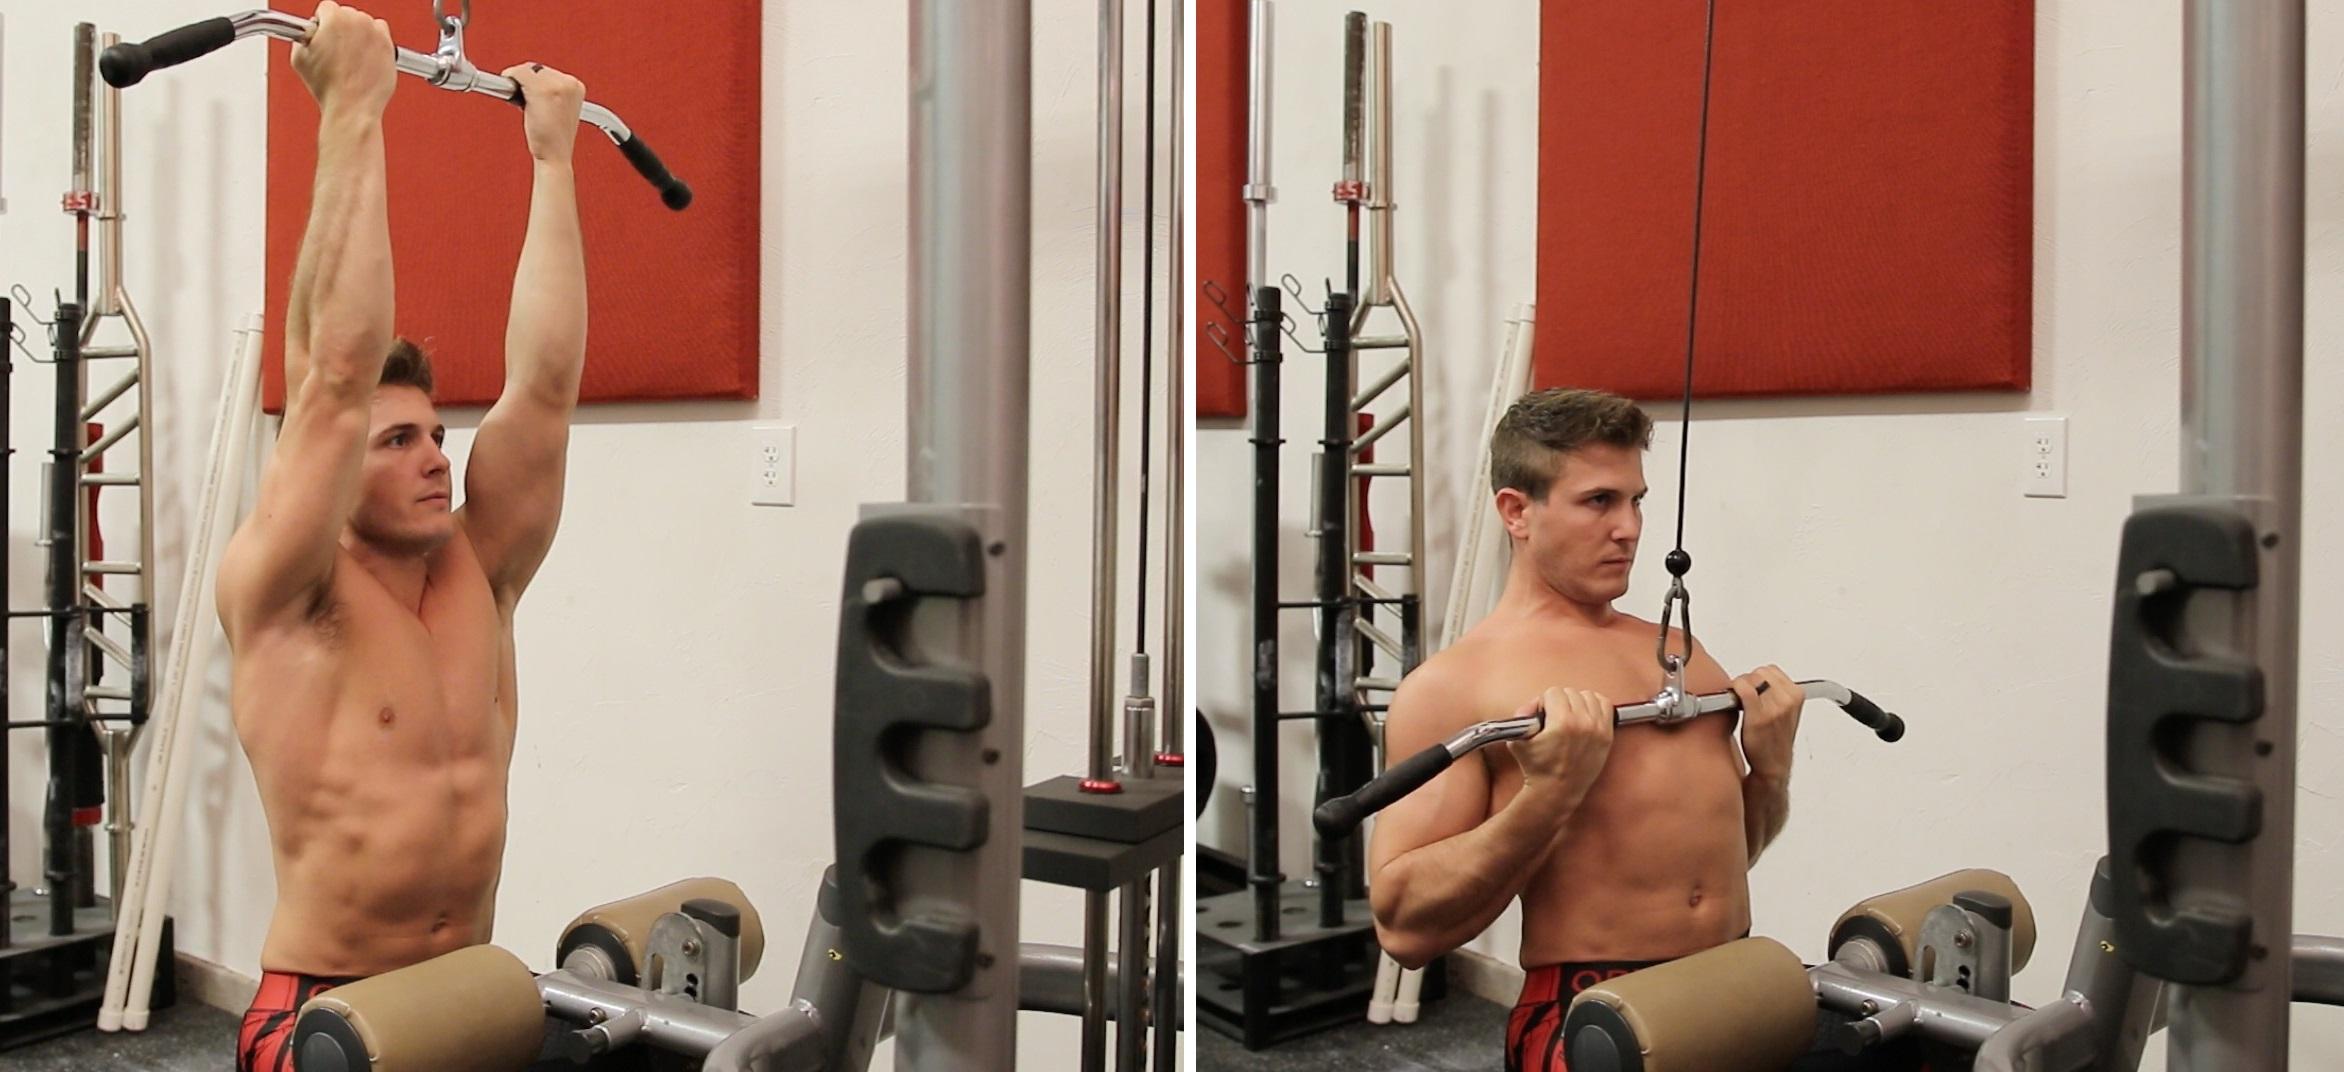
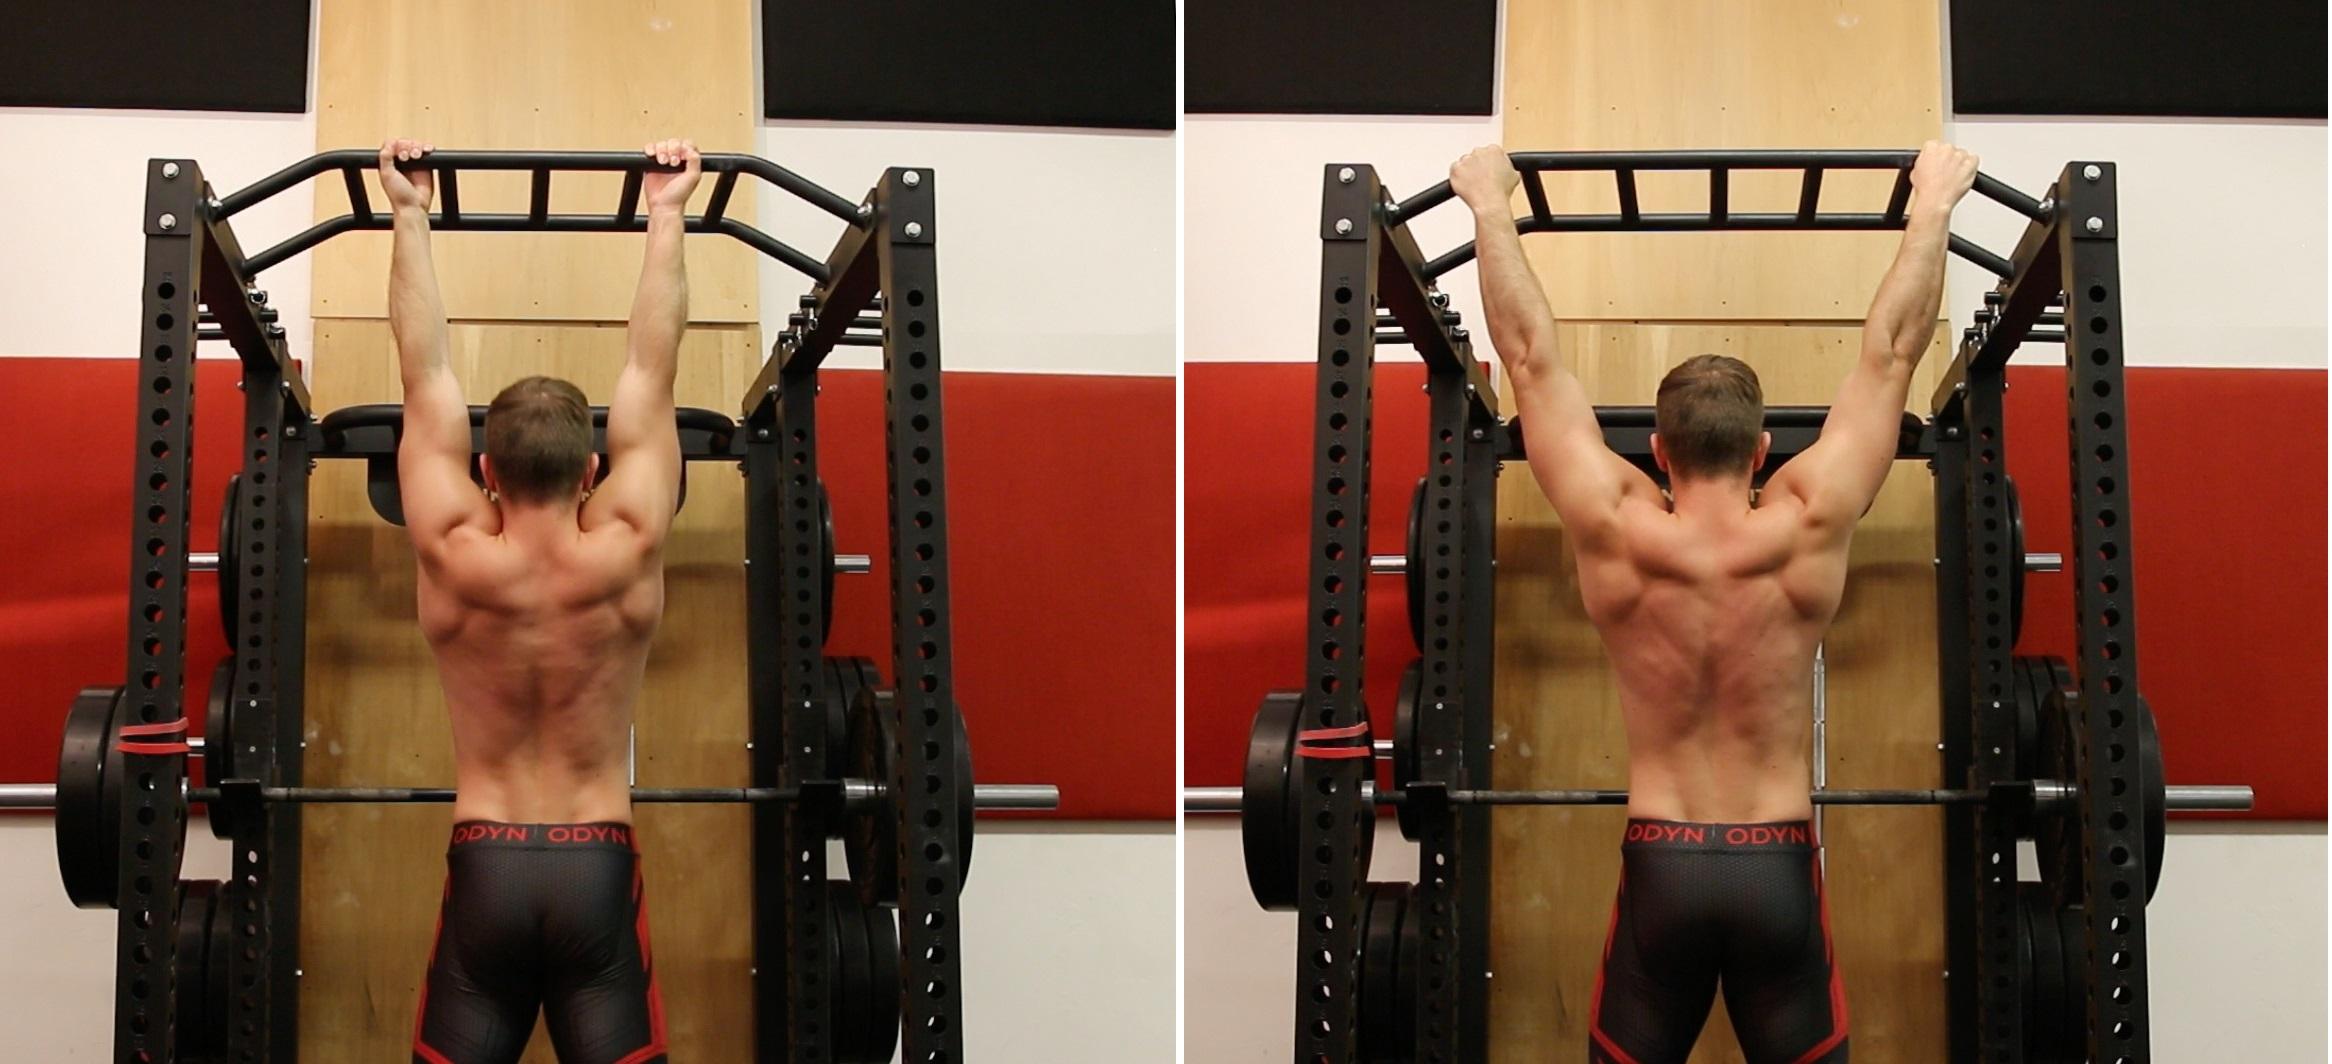
Proper Form For Overhand-Grip Variation
Proper form for this movement starts with adjusting the knee pad. The knee pad should be adjusted so that when you are sitting down, you can get your feet underneath and actually push your toes into the pad to help lock you into place. This is going to help you lift heavier weight for more repetitions. If you’re not able to do this, you’re going to slide out of the machine, and obviously it’s going to go against how much weight you can lift.
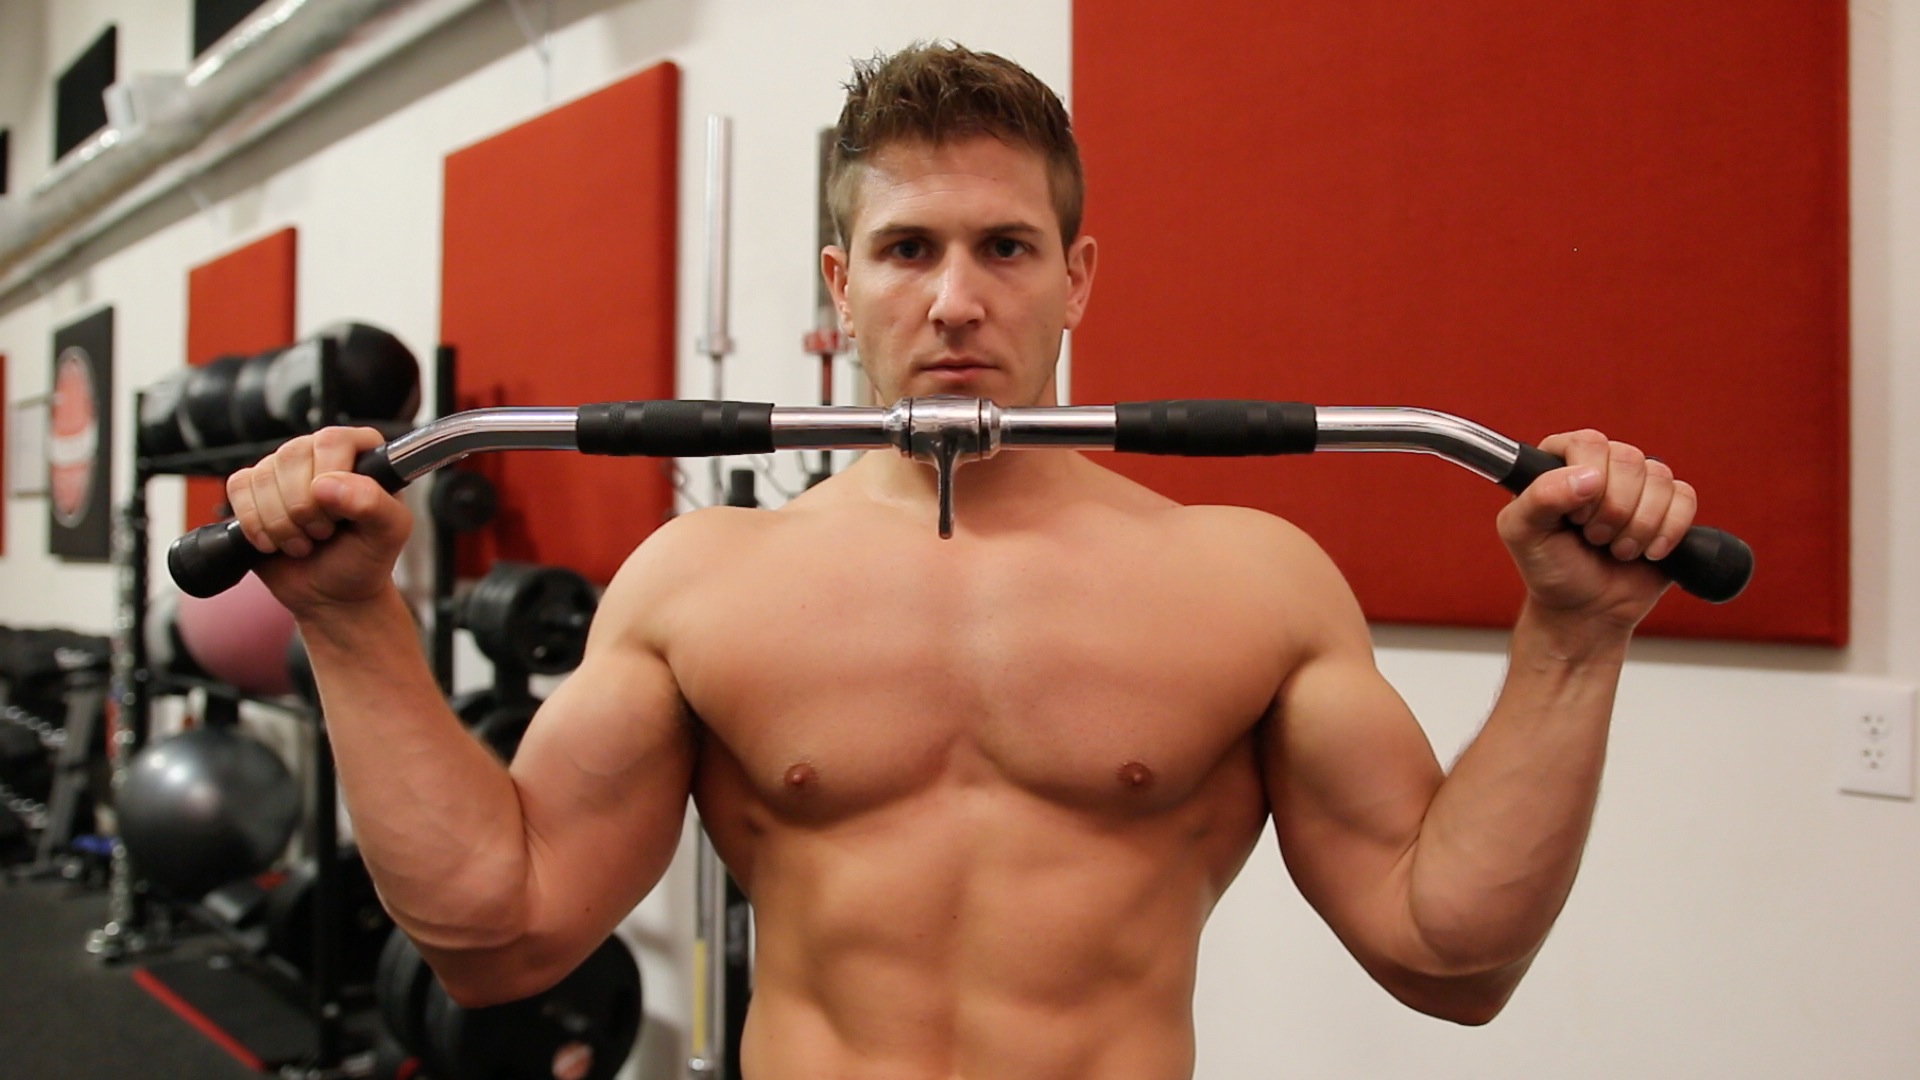
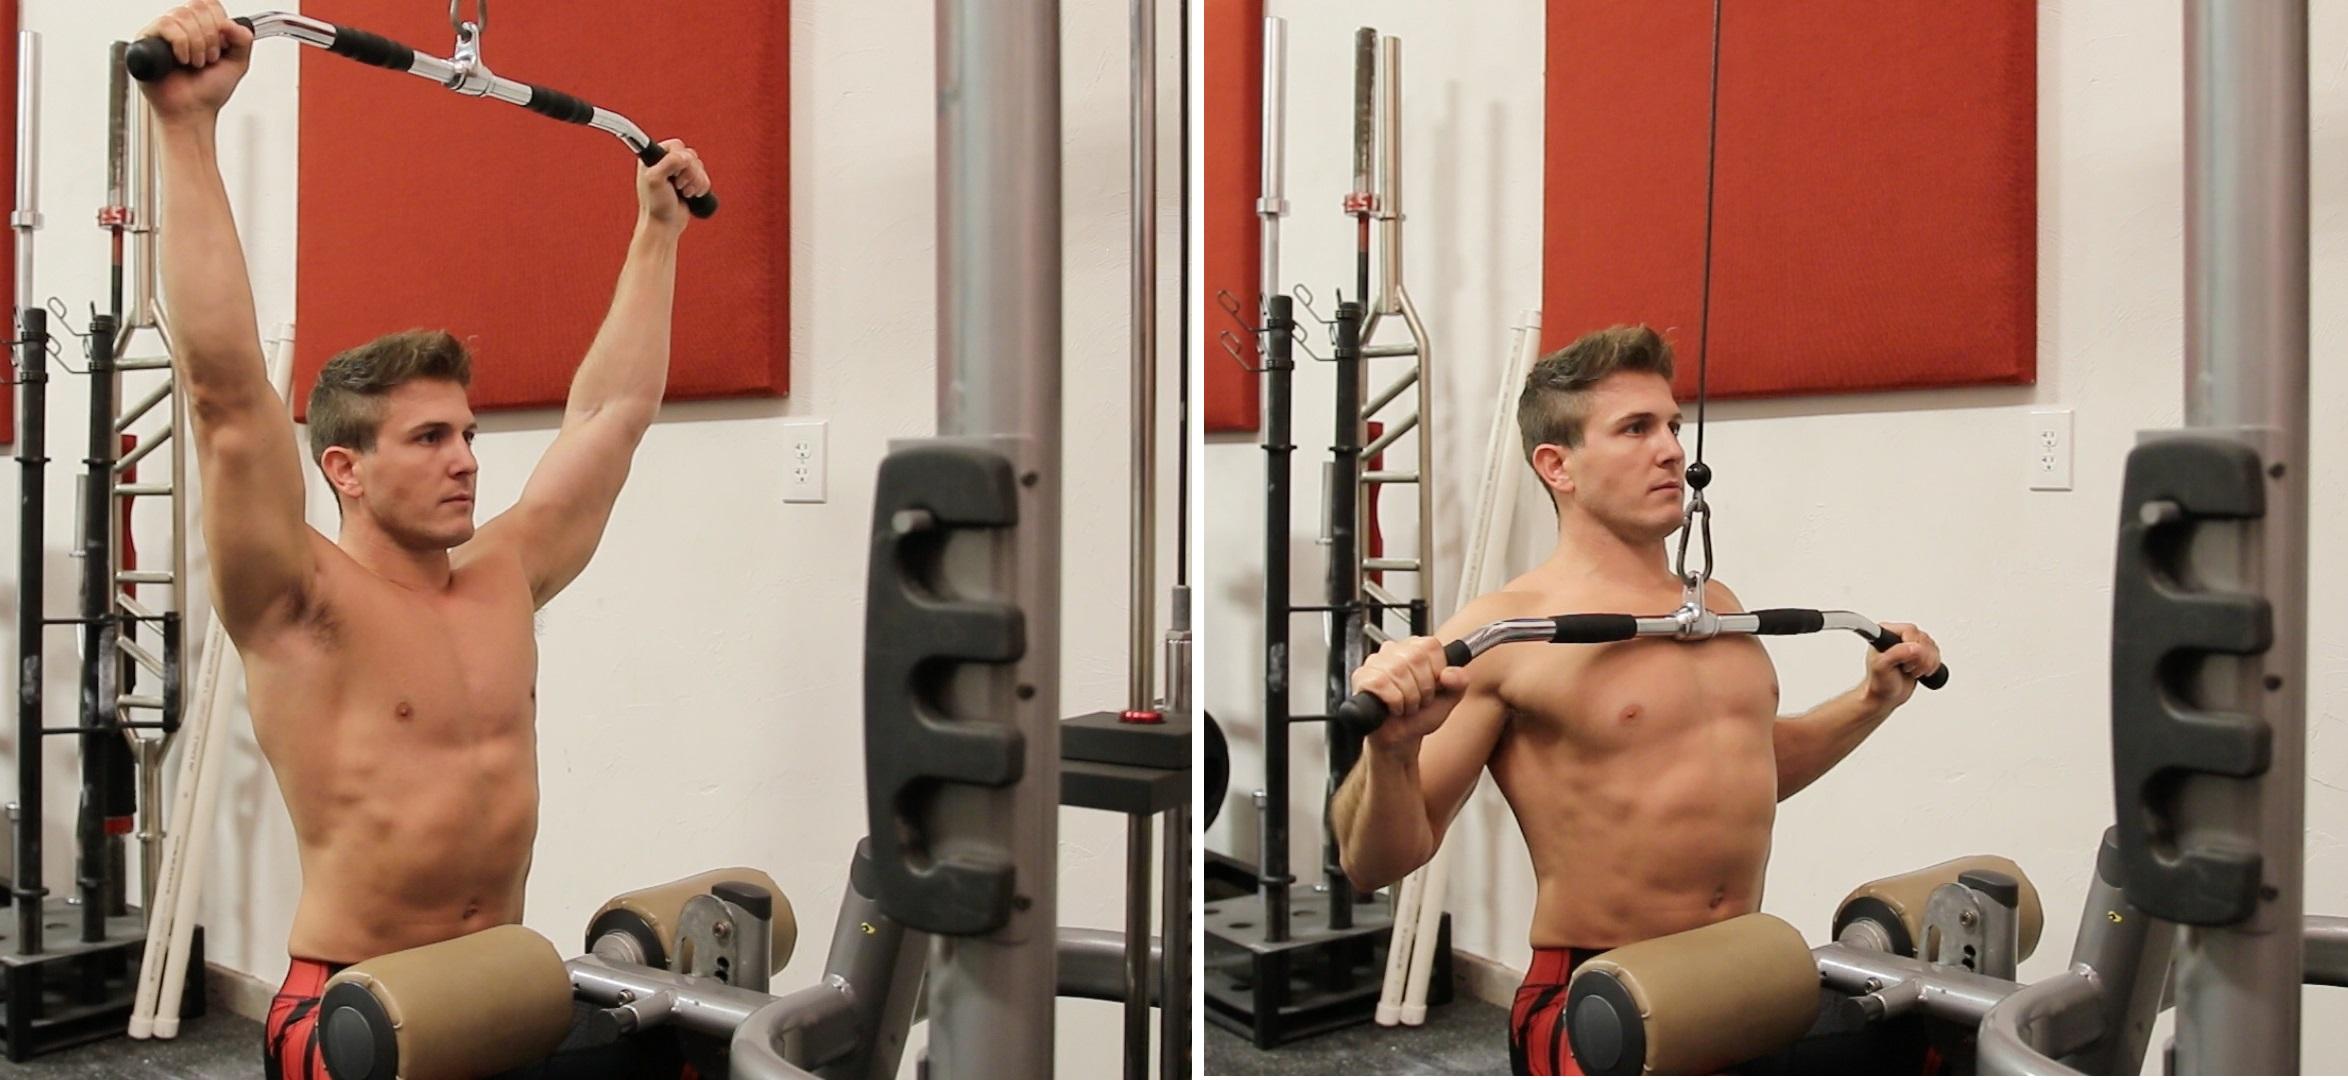
Once you get that set up, you’re going to stand up and get a grip just outside of shoulder width, then pull it down and get yourself locked into place. You then want to set yourself up so that your torso is nice and straight and upright, with your core tight, so that you can pull the bar down to the top of your chest, and keep your elbows in line with your wrists the entire time. Coming down to the top of your chest and then going all the way to the top with a full stretch completes one rep.
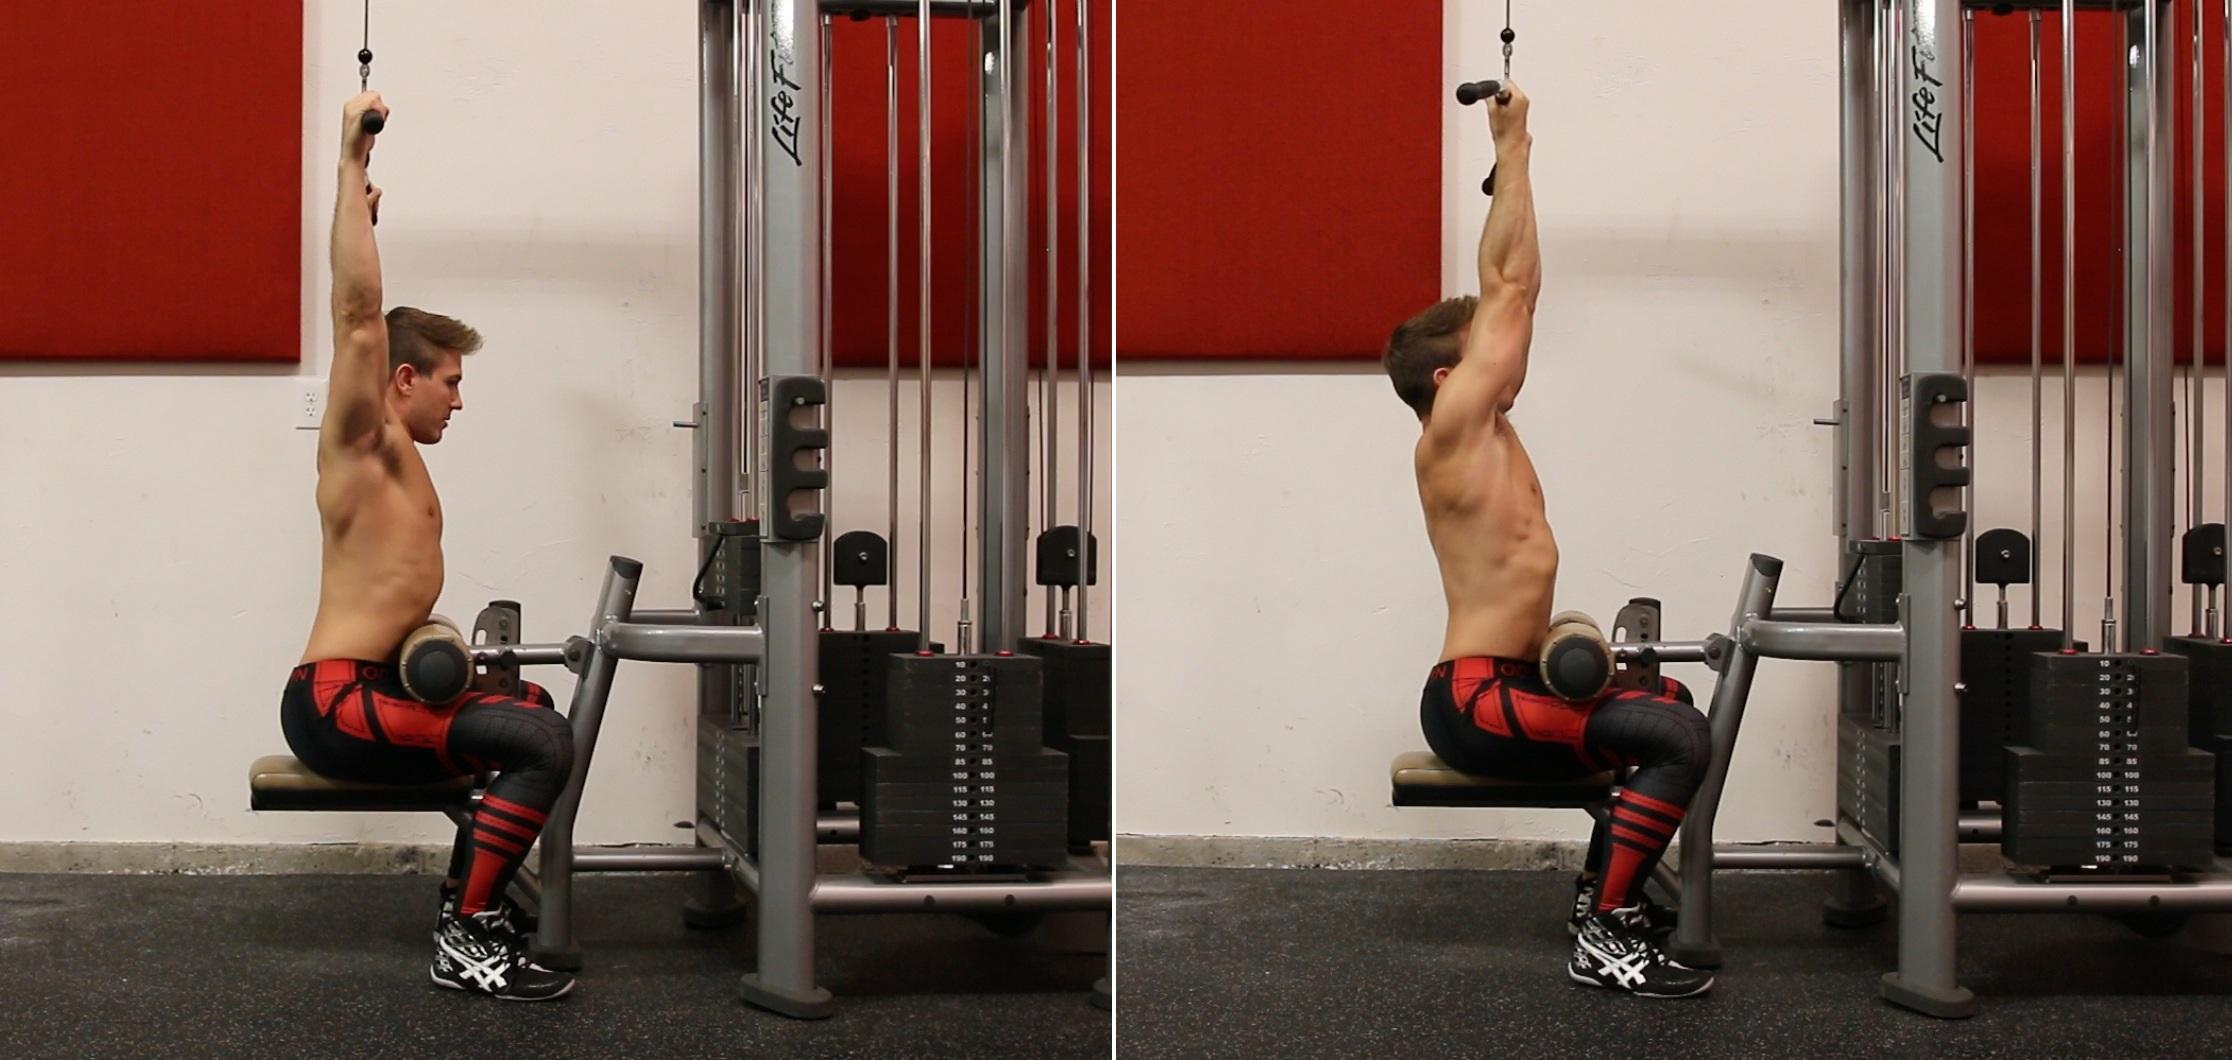
Proper Form For Underhand-Grip Variation
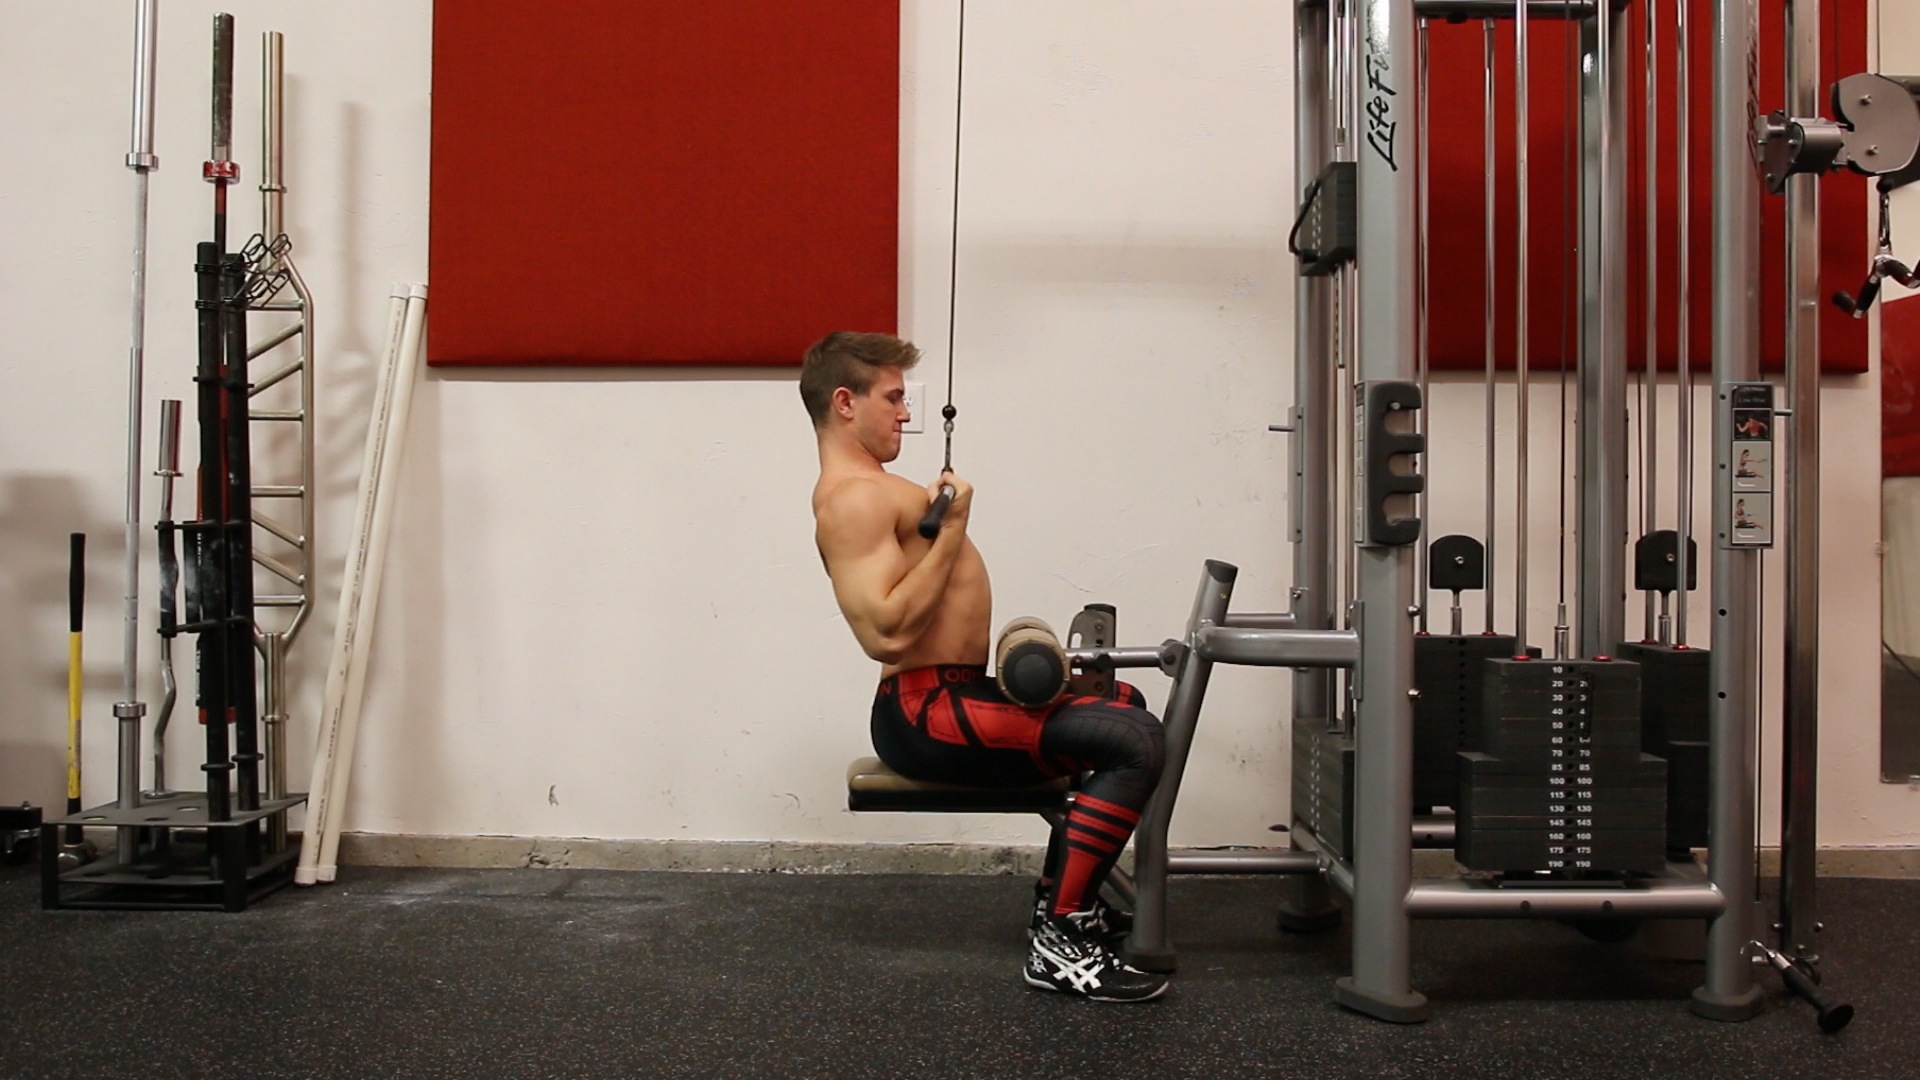
The set up with the knee pad is the exact same for the underhand version of the lat pulldown. All you’re going to do differently is grab closer to the centre of the bar (shoulder width or a little closer), and then slightly lean back, just a little bit. That’s because for this movement, you’re going to try to bring the bar down to the top of your rib-cage. So instead of leaning forward and bringing the bar to the top of your chest, you’re going to lean back slightly and let the bar touch, or almost touch, the top of your rib-cage. That’s where you’re going to get that really hard contraction, that really hard flex.
If you’ve been doing this movement and only pulling it down to just below your chin or the top of your chest, you’ve been doing it wrong and not maximizing the full range of motion (ROM) of the exercise. Coming down to the top of your rib-cage and then going all the way to the top with a full stretch completes one rep.
How Does The Overhand-Grip Variation Target The Lats?
Now that you understand proper form, let’s discuss how each exercise targets the lats. If your goal is to work on the upper portion of your lats, then the variation you want to use is the OVERHAND-GRIP. What else is great about the overhand-grip is that when it comes to maximizing the stretch of the lats at the top of the movement, this version is superior to the underhand-grip.
If you remember, I did an article not long ago about Pull-Up Hacks for muscle gain without doing any reps, which was basically a dead hang. The stretch here is very similar to that, and the reason why you can get more stretch with this variation than underhand-grip is because at the top of the movement you can actually get the bar over and behind your head. With the underhand-grip, the stretch at the top is obstructed by your shoulders.
How Does The Underhand-Grip Variation Target The Lats?
The underhand-grip does have its benefits as well. First and foremost it will activate more of the lower lats, and while the overhand-grip provides a better stretch, the underhand-grip provides a far superior flex or contraction of the lats at the bottom of the movement. This is because the ROM when using an underhand-grip will allow you to bring the bar all the way down to the top of your rib-cage.
Secondly, this variation really activates your biceps. Why that’s more beneficial to you is because you’ll have more strength to pull down more weight to overload your lats as much as possible for growth.
How Can I Apply These Variations To My Back Training?
When it comes to applying these two variations to your overall back workout, you want to make sure that you don’t perform multiple exercises in a row that follow the same movement patterns. For example, if you start your back workout with pull-ups, then moving into an overhand-grip lat pulldown isn’t a total waste of time, but you’re targeting the lats the same way, which isn’t the best use of your time. The same goes for chin-ups. Moving into an underhand-grip lat pulldown after chin-ups is the same movement pattern, and not the most effective way to train.
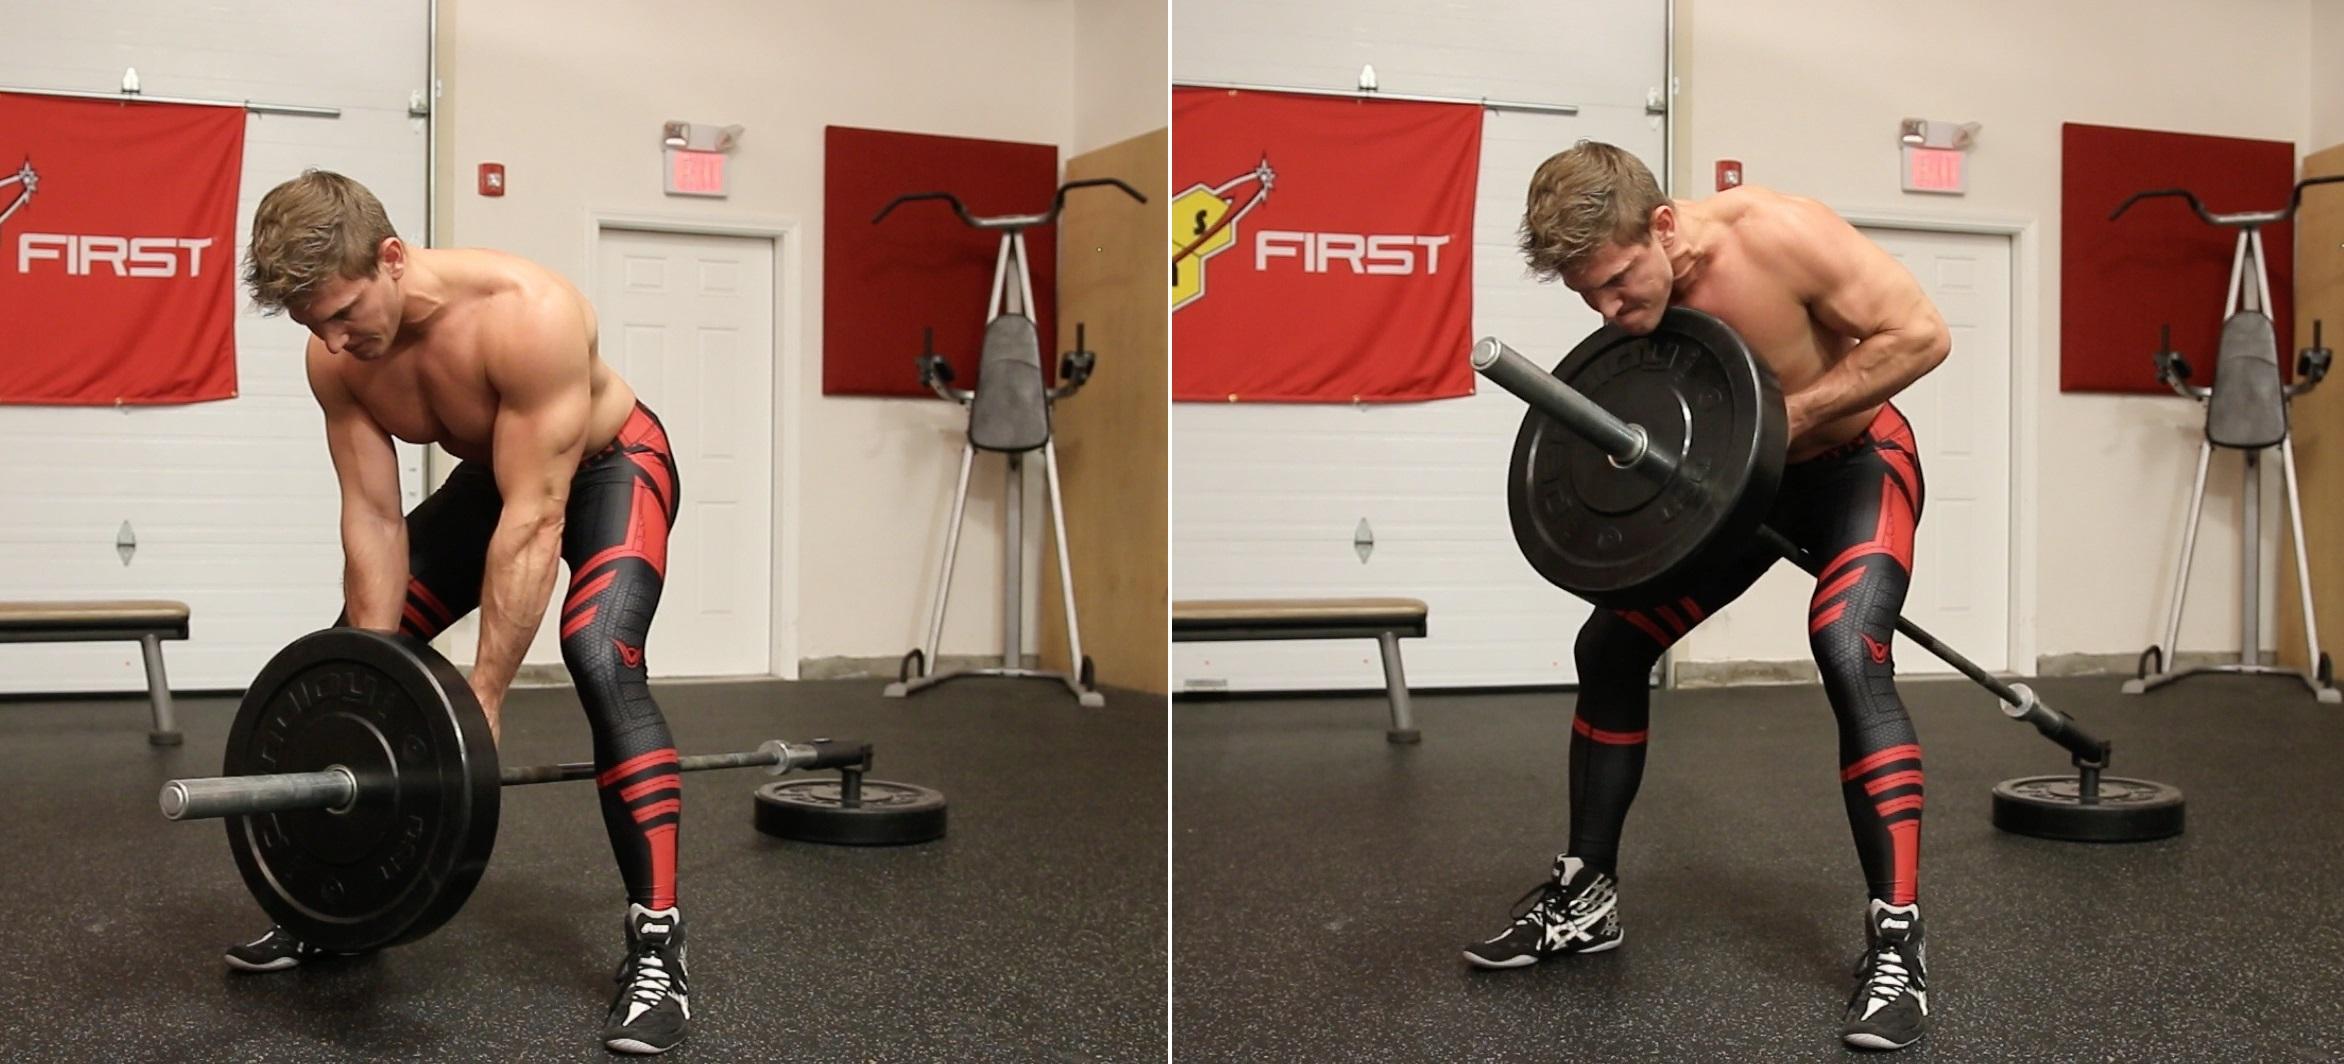
If you start your workout with pull-ups, it would be best to use the underhand-grip version of a lat pulldown for your second exercise. Also keep in mind what your next exercises are going to be as well. The easiest thing to do would be to remember your hand position on each movement, and make sure you’re alternating underhand-grip to overhand-grip when possible. But don’t forget about the neutral-grip either. If anything, it’s best to start your workouts with a neutral-grip movement like a T-Bar row, because you’ll always be able to lift the most amount of weight, and overload your back for more growth with a neutral-grip.
Another way you can maximize the benefits of the different grips is instead of alternating the grip on each exercise, try doing 2 sets of an overhand-grip followed by 2 sets of an underhand-grip for a total of 4 working sets per movement. Typically for muscle gain you want to be in the 8-10 rep range per set, but you can always easily apply my cheat & recover technique to these back exercises as well.
What Is Cheat & Recover Training?
For those of you who aren’t familiar with C&R, you perform 8 cheat reps with as much weight as possible, using a spotter or a bit of momentum to skip the concentric phase of the movement, then focus on fighting the negative as much as possible on each rep. As soon as you finish 8 cheat reps, you immediately lower the weight and complete 8 recover reps with perfect form. If you’re a beginner, however, I don’t recommend using this method, because if you have poor mind-muscle connection, you’ll not be able to maximize the benefits of the cheat reps, and could possibly injure yourself.
Remember, the basis behind C&R training is taking advantage of being 40% stronger in the eccentric portion of a movement during the cheat, and then once you’ve pre-exhausted your muscles doing the cheat reps, you’re going to fuse more volume into the set by doing the recover reps.
Conclusion
Back training, just like any other muscle group, doesn’t have to be complicated in order for you to see the results you want to see. It just comes down to knowing what area of the lats need the most work, and ensuring you mix up your grips to build a back that looks good from all angles!