2 Advanced Bicep Building Techniques!
Works On All Bicep Exercises!
Today I’m going to share with you two advanced bicep building techniques that you can apply to any biceps exercise. Hopefully most of you have already tried my cheat & recover style of training, and even if you haven’t, at the end of this article I will go over how to apply these two techniques to that style of training.
Now, a lot of people in the gym, especially when it comes to biceps, they always try to find ways to make this exercise easier. And if you’re making the exercise easier, sure you might be lifting more weight, but you’re not necessarily engaging the biceps more, and creating that strong mind-muscle connection that you need in order to see growth.
Common Bicep Training Mistakes
Common things you will see in the gym are swing curls, where people use their back to swing the weight up, or you’ll see them start with their arms facing in, then supinating halfway up before they get to the top position, and then come back down. Of course, the most common thing you will see is half reps, where people hook the dumbbell and don’t really get any bicep engagement at all. These are things you DO NOT want to do.
If your goal is to BODYBUILD, you want to smash those biceps as hard as you can, with as much weight as possible, in order to get as much muscle damage as possible for regrowth. That’s how you build big arms. So, with that being said, the first technique I’m going to demonstrate for you guys is something called a limp wrist curl.
Advanced Technique #1: Limp Wrist Curl
What the limp wrist curl is going to do is allow you to get better mind-muscle connection for a stronger contraction on every single repetition. The way to perform these curls is very simple, and you can use this for both dumbbell and barbell bicep exercises.
First of all, whenever you start any bicep movement, I like to keep my palms facing forward. Reason being, is that one of the functions of the bicep is to supinate your hand. So if you’re starting with your hand already in a supinated position, you’re already activating your biceps at the bottom of the movement. That is KEY. As you begin to curl the weight up, as soon as you get to about halfway, you’re going to start to let your wrist go limp, and then go all the way to the top of the movement, flexing and squeezing your bicep as hard as you can.
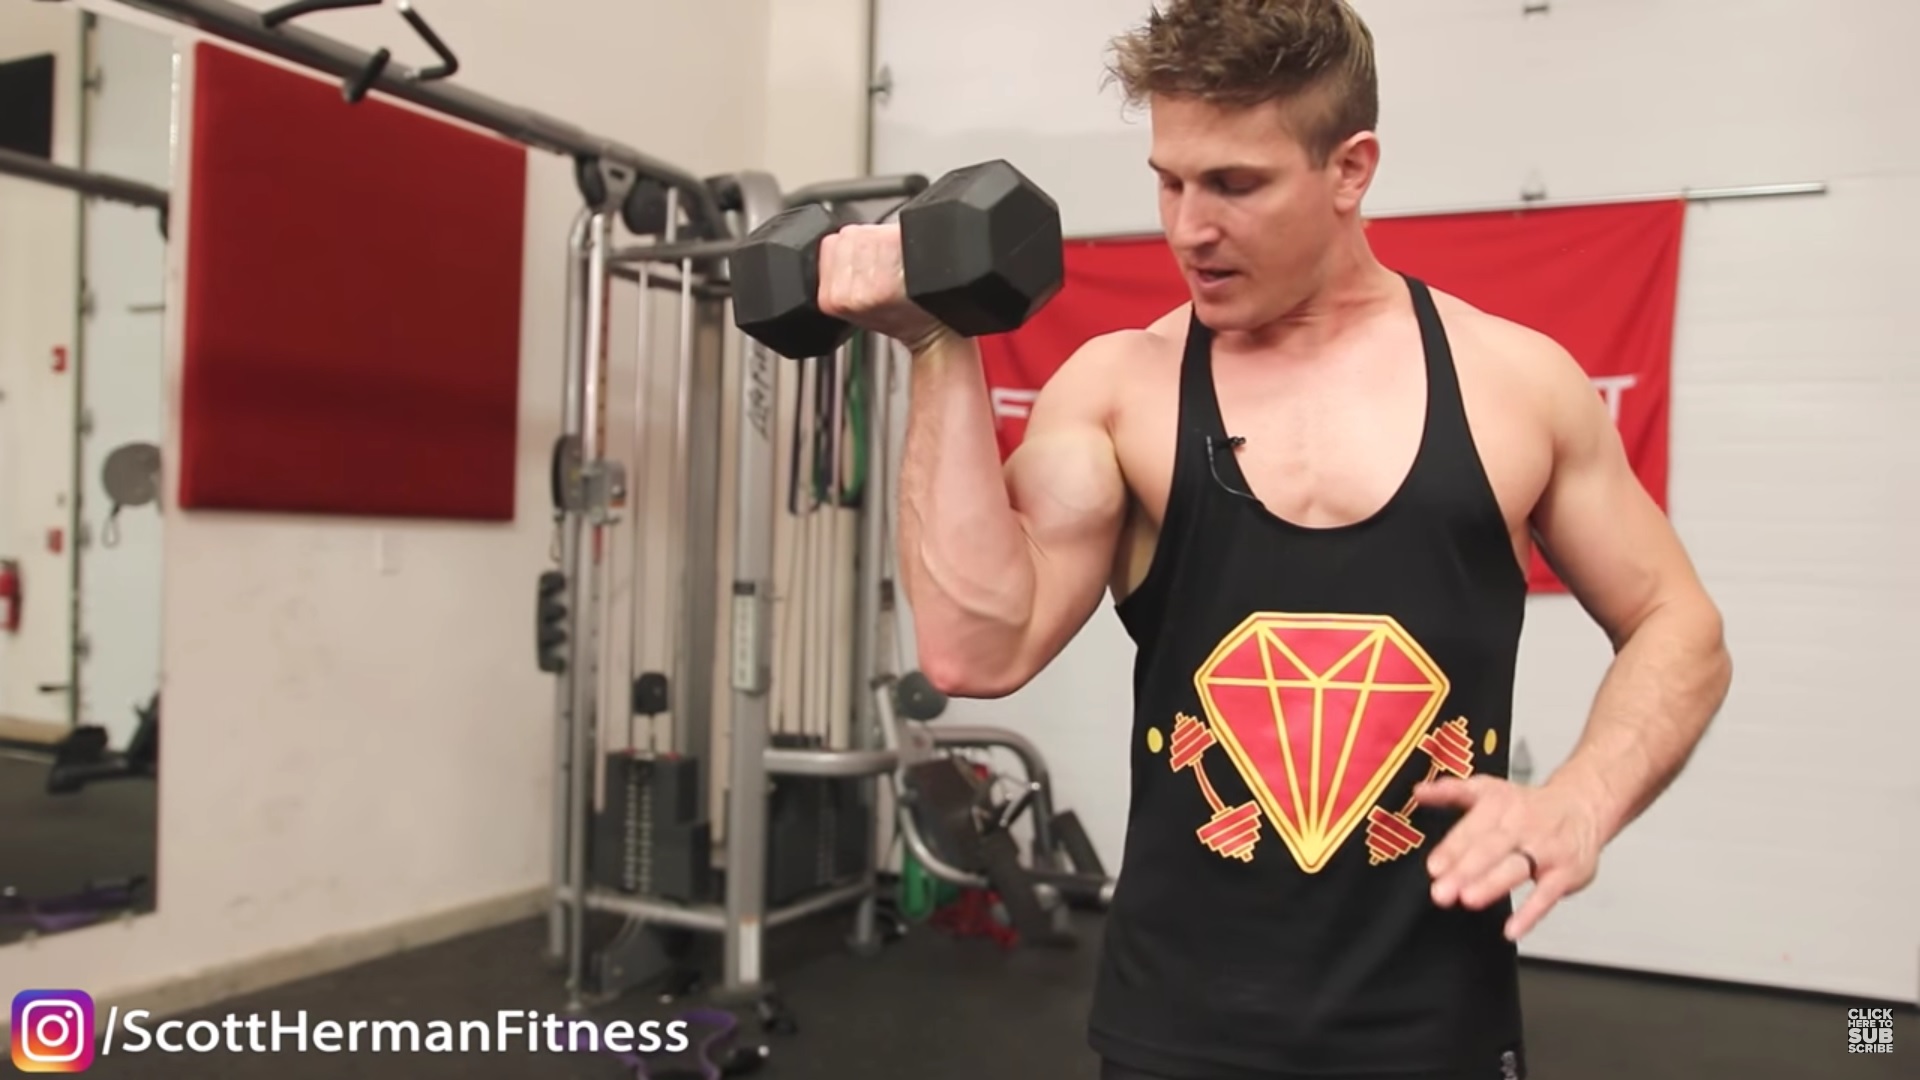
Essentially what you’ve done at this point, is by going limp and loosening your grip, you’ve taken your forearm out of the movement. If you’re the kind of person where your forearm starts to fatigue before your biceps, this is going to greatly help you to be able to establish a better mind-muscle connection for a harder contraction at the top of the movement. An added benefit of using a dumbbell, is when you get to the very top position, you can actually supinate a bit more for a slightly harder contraction in your biceps.
Once you’ve completed all of those steps, you’re going to return to the starting position, keeping your wrist limp until you get about halfway down, when you’ll then straighten out, and go all the way down to the bottom of the movement. Repeat this for every single repetition. Remember, you don’t want a limp wrist at the bottom, which brings us into the next advanced technique, which is to maintain a slight upward curl of your wrist during the negative.
Advanced Technique #2: Maintain A Slight “Curl” In Your Wrist During The Negative
This is really going to play into the cheat & recover reps as well, which we’ll cover soon. Now like we’ve already discussed, after getting to the top position of a curl, you don’t want to go all the way down with a limp wrist. A lot of people tend to claim that the reason they don’t do full extensions on bicep curls (the reason they do half reps), is because they want to keep tension in the biceps. We all know that’s bullshit, they’re just ego lifting, and they can’t actually handle the weight they’re lifting.
As long as your hand is supinated at the bottom of the movement, you still have your biceps engaged. Period. However, if you want to add a little extra engagement, and intensify the movement a bit more, then something I like to do is actually curl my wrist slightly forward (so that my hand is bending up towards my face) at the bottom of the movement. I maintain that as I come up, then when I get to about halfway, I let my wrist go limp, go to the top of the position and supinate a little more, then as I go back down I will curl my wrist up once again as I get to the bottom of the movement.
Even with a 20lb dumbbell, as soon as you curl your wrist slightly up, from the motion of halfway down the movement to the bottom, you’re going to feel a lot more engagement through the bottom portion of the bicep. Granted the whole bicep is being engaged (you can’t “spot train” your biceps), but you’ll feel a bit more tension through the bottom portion.
For those of you who are trying to work on the entire bicep, or those of you who have a bit bigger gap at the bottom (remember genetics are going to play a big role in how big that gap is), if you want to try and hit the bottom of the bicep a bit more, I found this works quite well when trying to do so. Remember, both techniques are to help establish a better mind-muscle connection for more intense biceps training.
How Do I Apply These Techniques To A Barbell?
Both techniques work basically the same when using a barbell. Get a neutral grip on the bar, about shoulder width, and then as you curl and get to about halfway, you let your wrists go limp. Focus on a hard contraction, and squeeze as hard as you can at the top position, then as you go down, curl your wrists slightly up so that once you reach the bottom position, your wrists are slightly facing up.
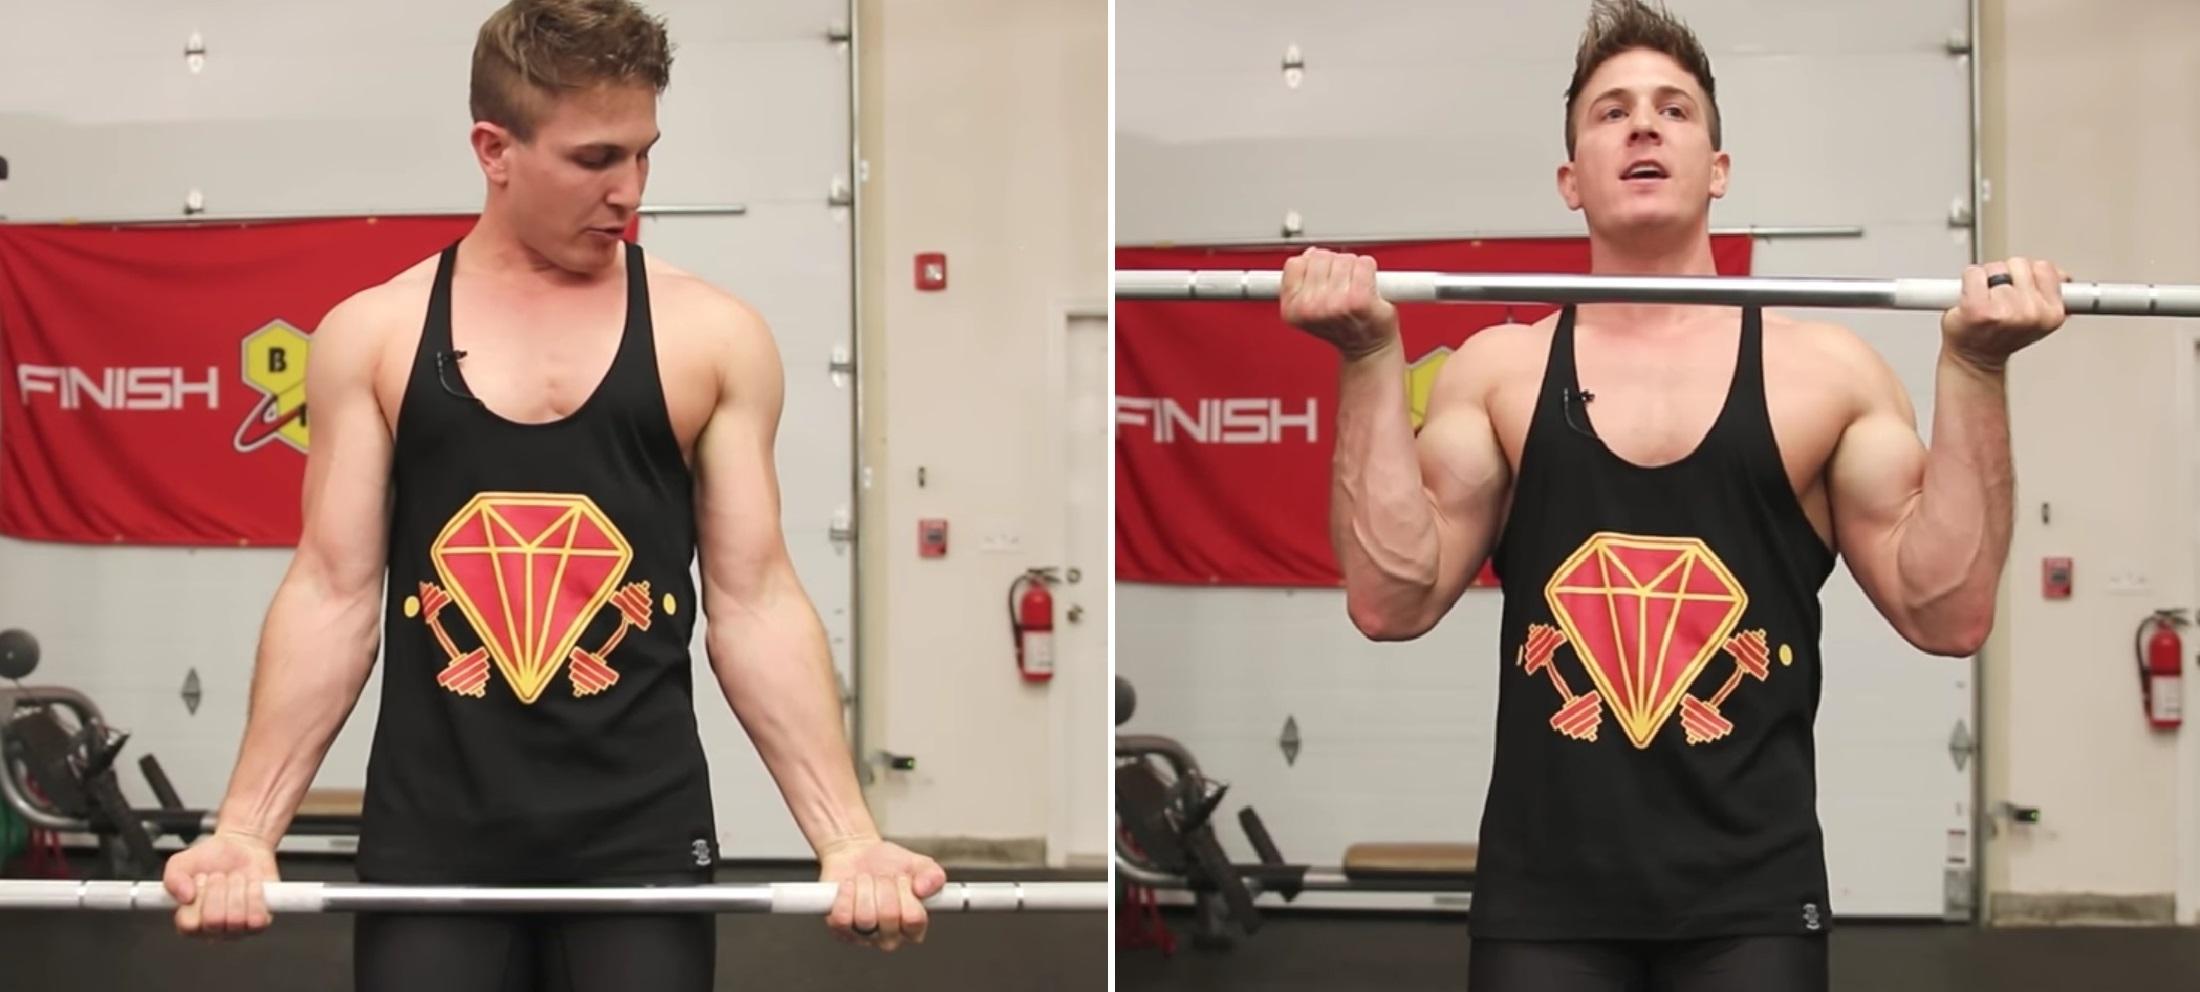
Keep in mind it’s a good idea to maintain that slight upward curl as you start the next rep, before moving into neutral and then limp wrist, but on the way down if you keep those wrists curled up the ENTIRE way, you will feel more engagement throughout your bicep, at least in the eccentric portion of the movement.
How Do I Apply These Techniques To Cheat & Recover Training?
Things are going to work a bit differently with these techniques when it comes to my cheat & recover style of training. When you do cheat & recover, the whole point of the 8 cheat reps is to overload the muscles as much as possible on the eccentric portion of the movement, and you’re actually skipping the concentric phase.
So, when you do the 8 cheat reps you’re actually not going to worry about flexing your bicep at all. You’re going to use a bit of momentum to bring the weight all the way to the top position of the movement, and then really focus on that negative and slightly curl your wrists forward as you do so. This means you’re only using technique #2 on the cheat reps because you’re skipping the concentric portion of the movement.
However, when you get to the recover reps, they are supposed to be proper form, so that’s when you’ll implement technique #1 and #2 on every single rep. For those of you still confused about how cheat & recover works, you simply get as much weight as you can handle when doing either dumbbell or barbell bicep curls. You’re going to do 8 cheat reps where you skip the concentric phase of the movement. As soon as you’ve finished those 8 reps, you’ll put the weight down, lower the weight, and IMMEDIATELY do your 8 recover reps. You only rest AFTER you have completed all 16 reps.
Conclusion
This technique will definitely help you start to see bicep gains, especially if you’re starting to plateau, or if biceps are a problem area for you. Simple and effective techniques like these are perfect for building some serious muscle!