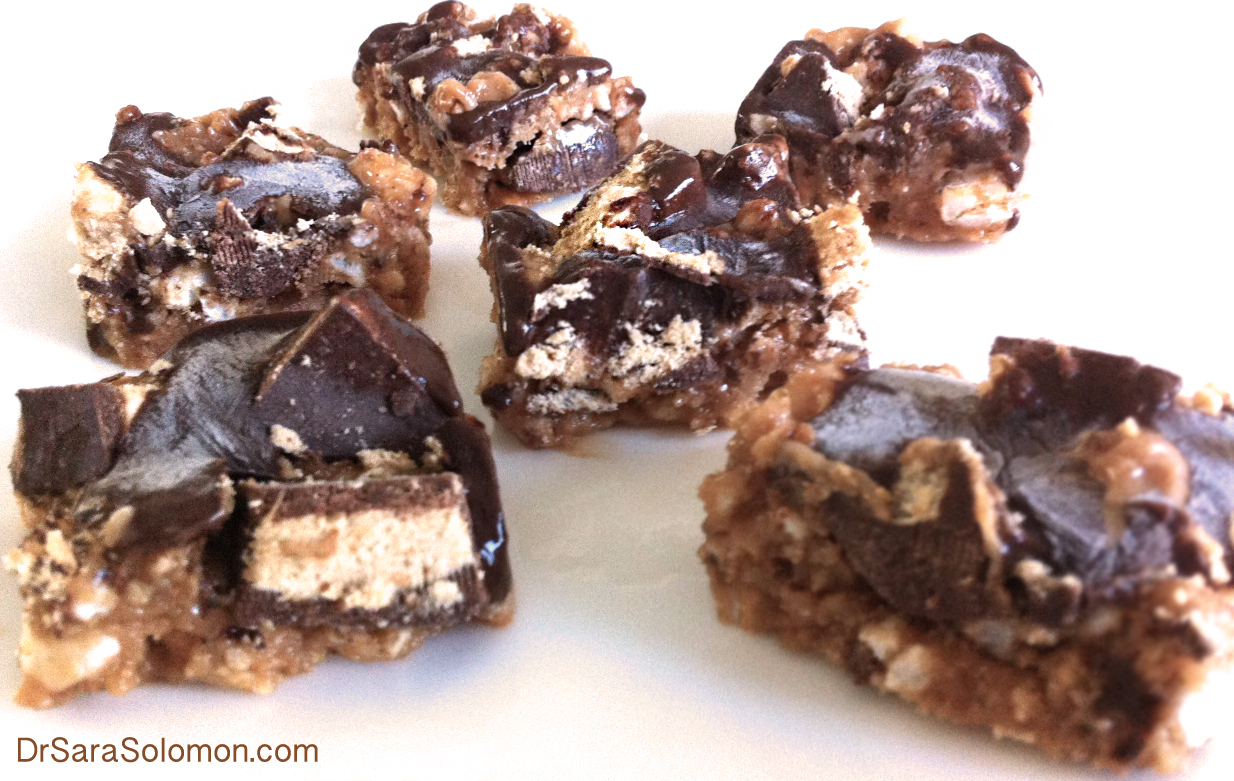
Peanut Butter Cup Crispy Treats
Snap Crackle & Pop!
I abhor rice cakes with a burning passion and refuse to buy them. Why? They taste like styrofoam, have no nutritional benefit and have an uber-high glycemic index. Why the hell would I eat insulin-spiking styrofoam that I have to chase down with a bottle of fibre supplements and multivitamins? I can think of many other carbohydrates that would be much more appropriate, but I digress.
I acknowledge that rice cakes are popular amongst the fitness community. So I'm begrudgingly catering to the fitness community by concocting a rice cake recipe.
At least you don't have to look at the "pansy Elf trio" on the box of Kellogg's Rice Krispies when making my recipe. You can look at me instead. You're welcome.
Nutritional Facts
Serving Size: 6 Squares (Entire Recipe)
Calories: 329
Protein: 26.8 grams
Carbs: 20 grams
Fat: 17.5 grams
Cooking Instructions
Ingredients:
P28 High Protein Spread (White Chocolate)
BSN Syntha-6 Whey (Peanut Butter Cookie)
Quest Cravings Protein Peanut Butter Cups
Walden Farms Calorie Free/Sugar Free Syrup (Chocolate)
Plain (unsalted) Rice Cakes (ie. Quaker)
Chocolate PB2
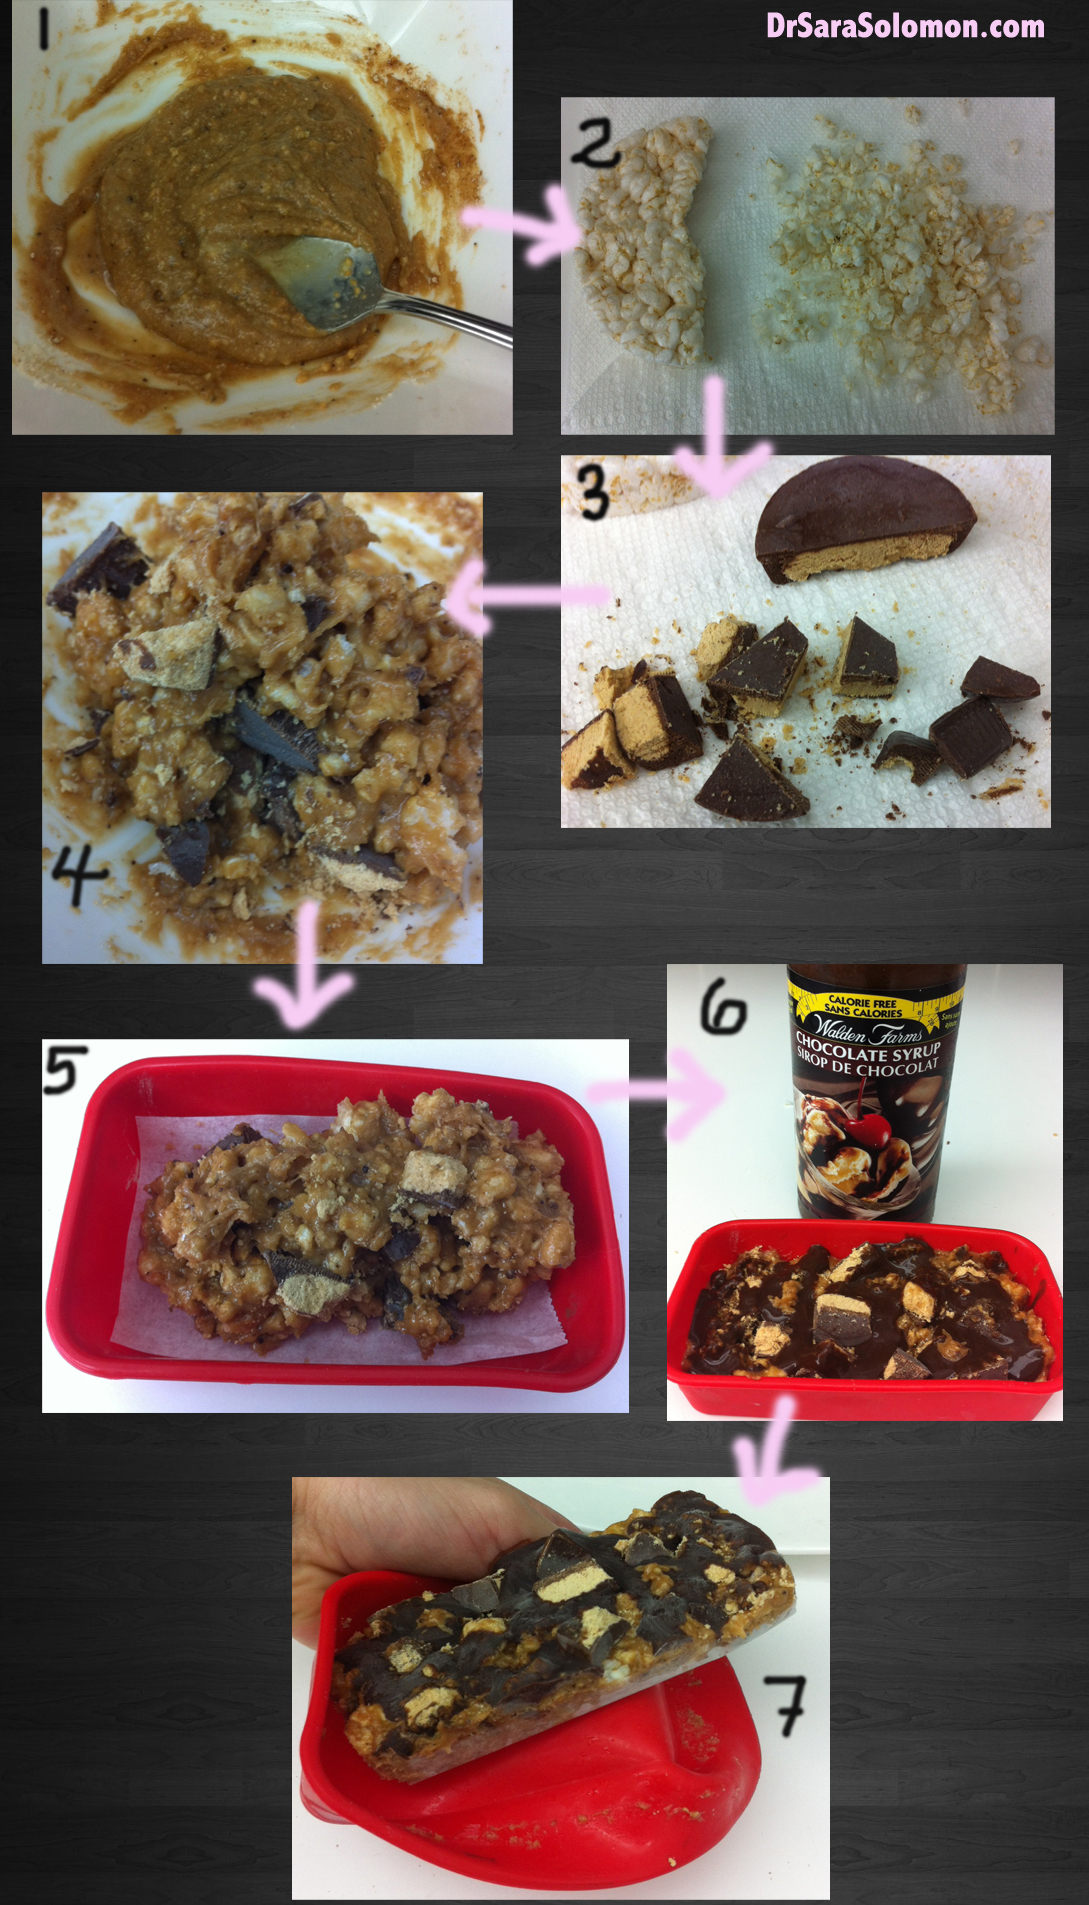
Directions:
Make the "goo" - Mix 1/3 scoop of whey, 1 TBSP White Chocolate spread, 1 TBSP chocolate PB2 and 2 TBSP water in a medium bowl with a spoon.
Cut a Rice Cake in half. Use your hands to break it into tiny little pieces (make it look like Kellogg's Rice Krispies).
Cut 1 Quest Protein Peanut Butter Cup into tiny little pieces (use a knife, duh).
Dump the rice cake particles into the goo. Mix like a mofo. Coat all the crispies.
Dump 1/2 the Quest PB CUP pieces into the goo. Mix gently, so as not to break these fragile little dudes. Save the other 1/2 for the topping (later).
Grab a small rectangular or square dish (glass, tupperware, silicone). I used a mini silicone loaf pan.
Line it with parchment paper. Or you can use wax paper or even plastic wrap.
Spread the mixture evenly into the pan.
Place a sheet of wax or parchment paper on top and PRESS DOWN as FIRMLY as you can. FIRM! Use your mooscles.
Add the other 1/2 of the Peanut Butter Cups to the Topping (It looks pretty).
Optional: slather with 1.5 TBSP Walden Farms Chocolate Syrup. Why not? It's calorie free and sugar free. Yum.
Freeze for an hour before slicing. Eat immediately or else store them in the fridge or freezer.
Enjoy!
If this recipe helped you and you'd like to learn more ways to maximize your results, SIGN-UP for the Platinum Membership today!


MEMBER COMMENTS
You Must Log In To leave A Comment!