How To: Dumbbell Bench Press
3 Golden Rules!
If you want a nice big chest, the dumbbell bench press is a must-have exercise, so I’m going to explain to you how to properly perform a bench press using dumbbells.
Now I know the majority of you can lift more weight with the barbell version of this movement, but if the dumbbell bench press is not a staple in your push workouts, then you’re really missing out on a lot of potential benefits. This is because dumbbells are usually advantageous over barbells because they allow for FULL range of motion (ROM), and help strengthen other muscles surrounding the area you’re training. This is because you need more CONTROL to perform the movements, which in this case would be your shoulders and triceps. So if you want to add the dumbbell bench press to your current chest workout there are 3 important things that you need to focus on.
#1: Range Of Motion
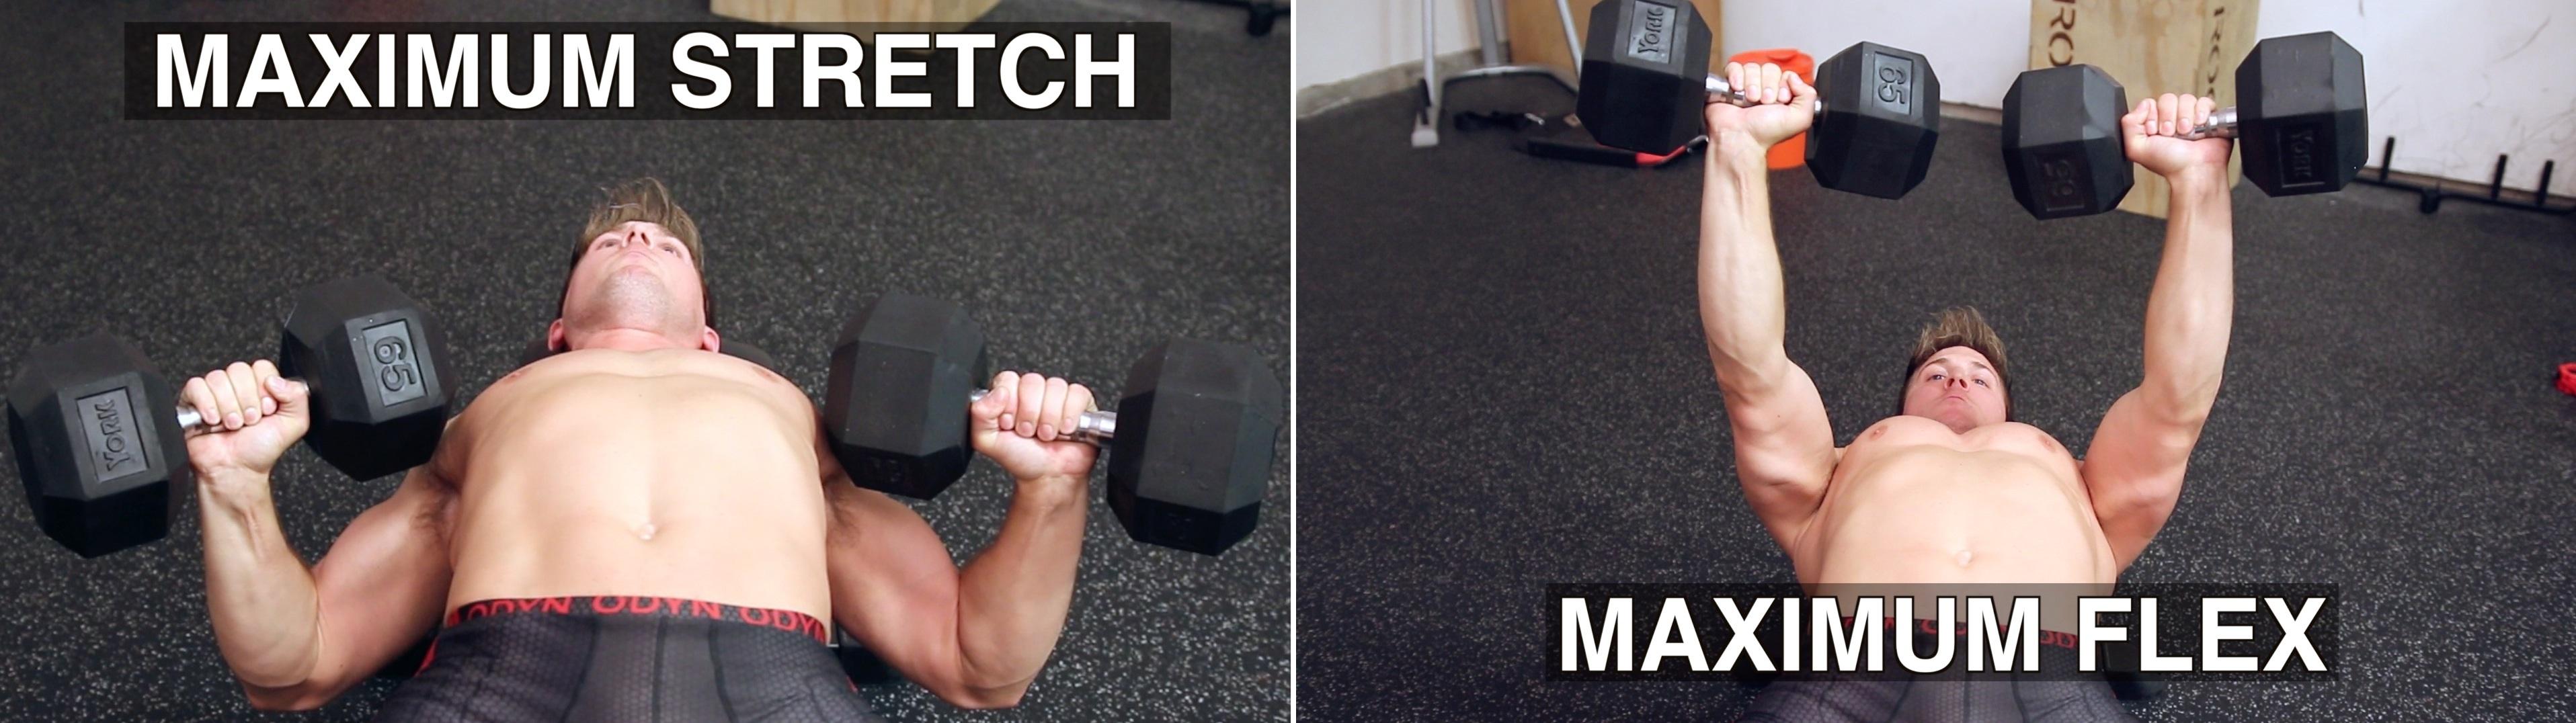
When you’re using a barbell it should be obvious that you’re LIMITED by the barbell itself at the bottom of the movement. What I mean by that is that as I’m lowering the barbell towards my chest, the barbell stops as soon as my chest gets in the way and I cannot lower it any further. This limited range of motion might be good for overloading your chest with more weight because the distance the barbell has to travel is smaller, and while that’s great, it’s definitely not optimal when it comes to getting a full STRETCH at the bottom OR a full CONTRACTION at the top of the movement.
Also, dumbbells don’t just allow you to get a deeper stretch but they also create the circumstances for a HARDER contraction at the top. Why? Well, to answer that, we have to remember what the chest muscles actually do. Sure, their primary function is to press weights away from your body, but their secondary function is to also adduct the humerus. You can try it right now – bring your hands together (like clapping) and press one hand into the other as hard as you can. Notice how much your chest is already firing, and also notice how you’re getting a pump just doing this without any weight.
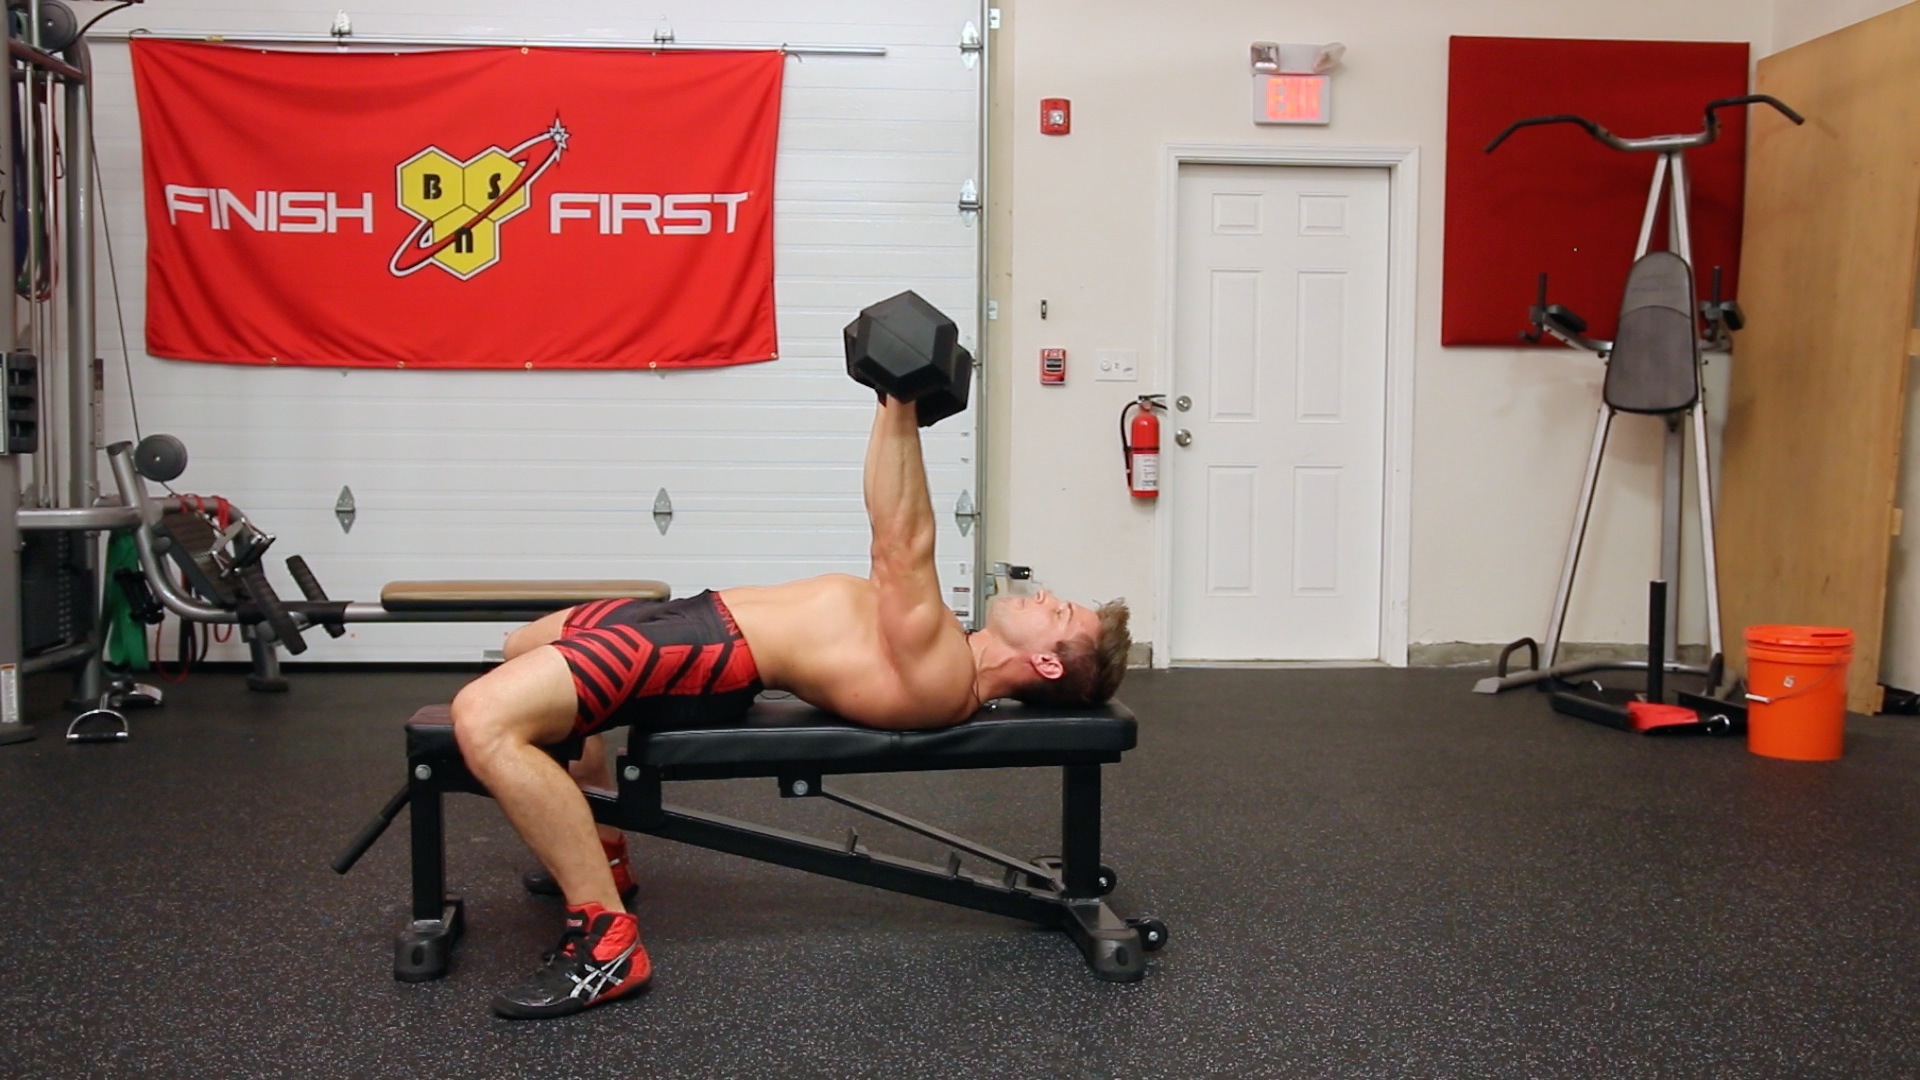
Going back to the dumbbells, you have to take full advantage of their potential by getting a maximum stretch at the bottom of the movement by not stopping at 90 degrees. Instead, you need to be going as deep as possible and full ROM also means ensuring a maximum flex or contraction at the top by bringing your arms together as you push the dumbbells over your chest.
#2: Proper Shoulder Blade Positioning (Shoulder Packing)
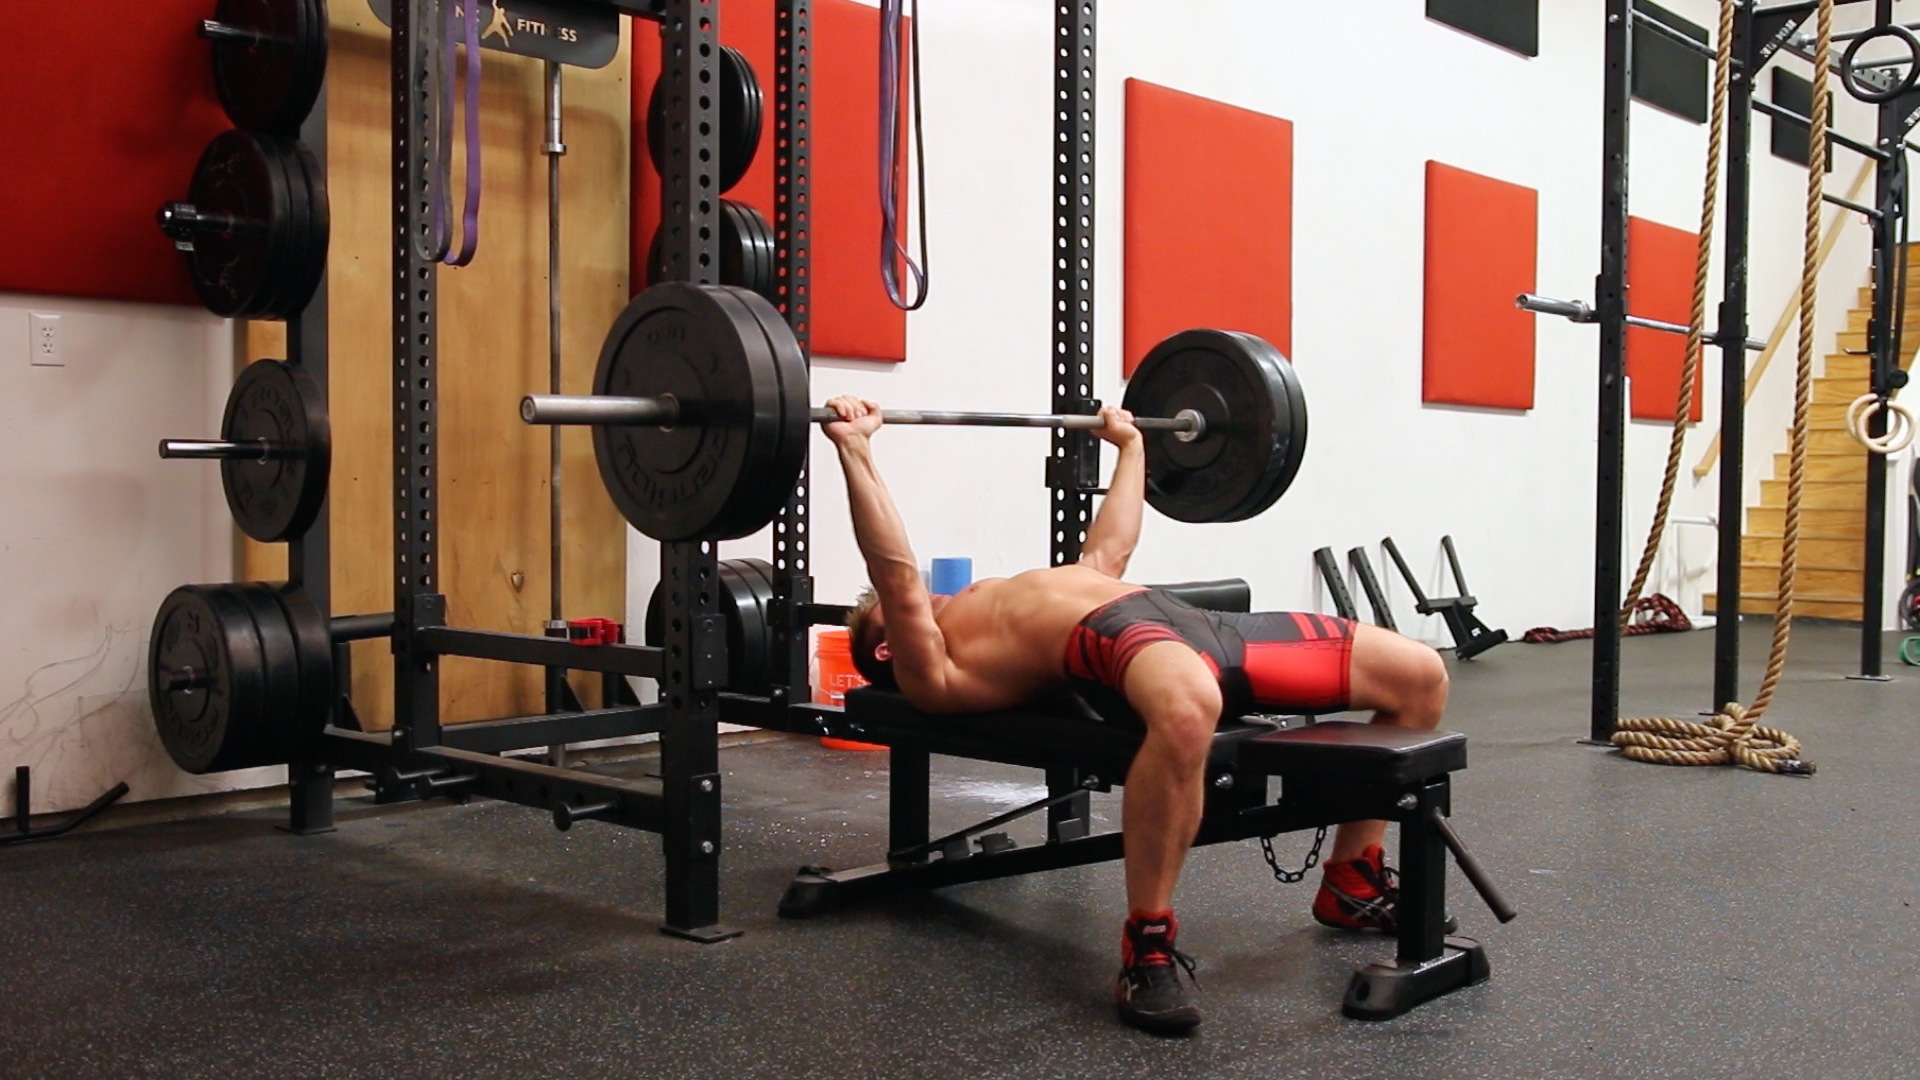
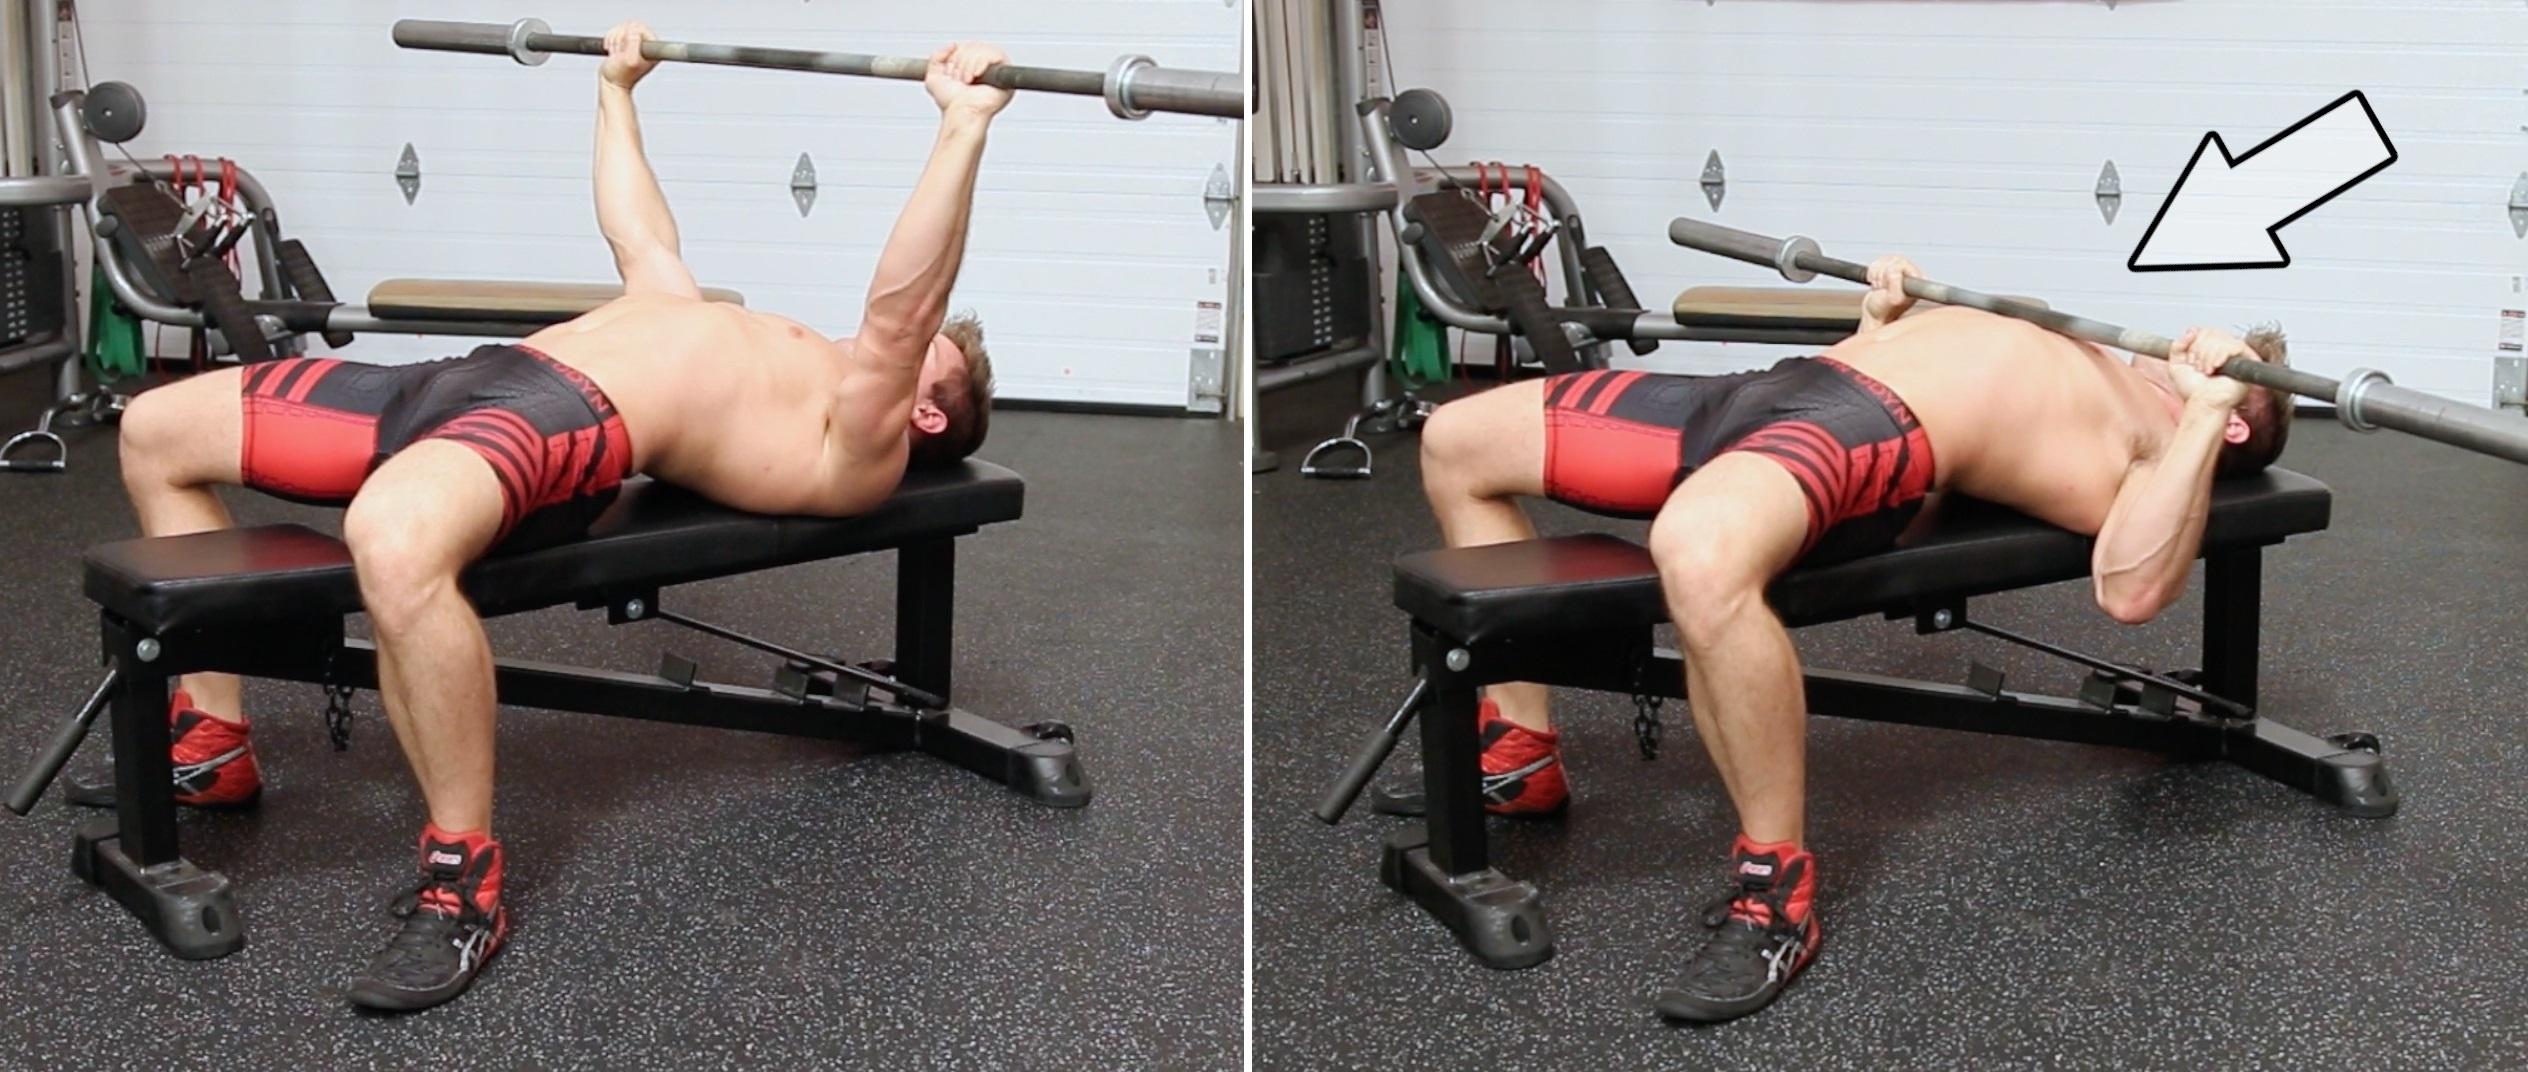
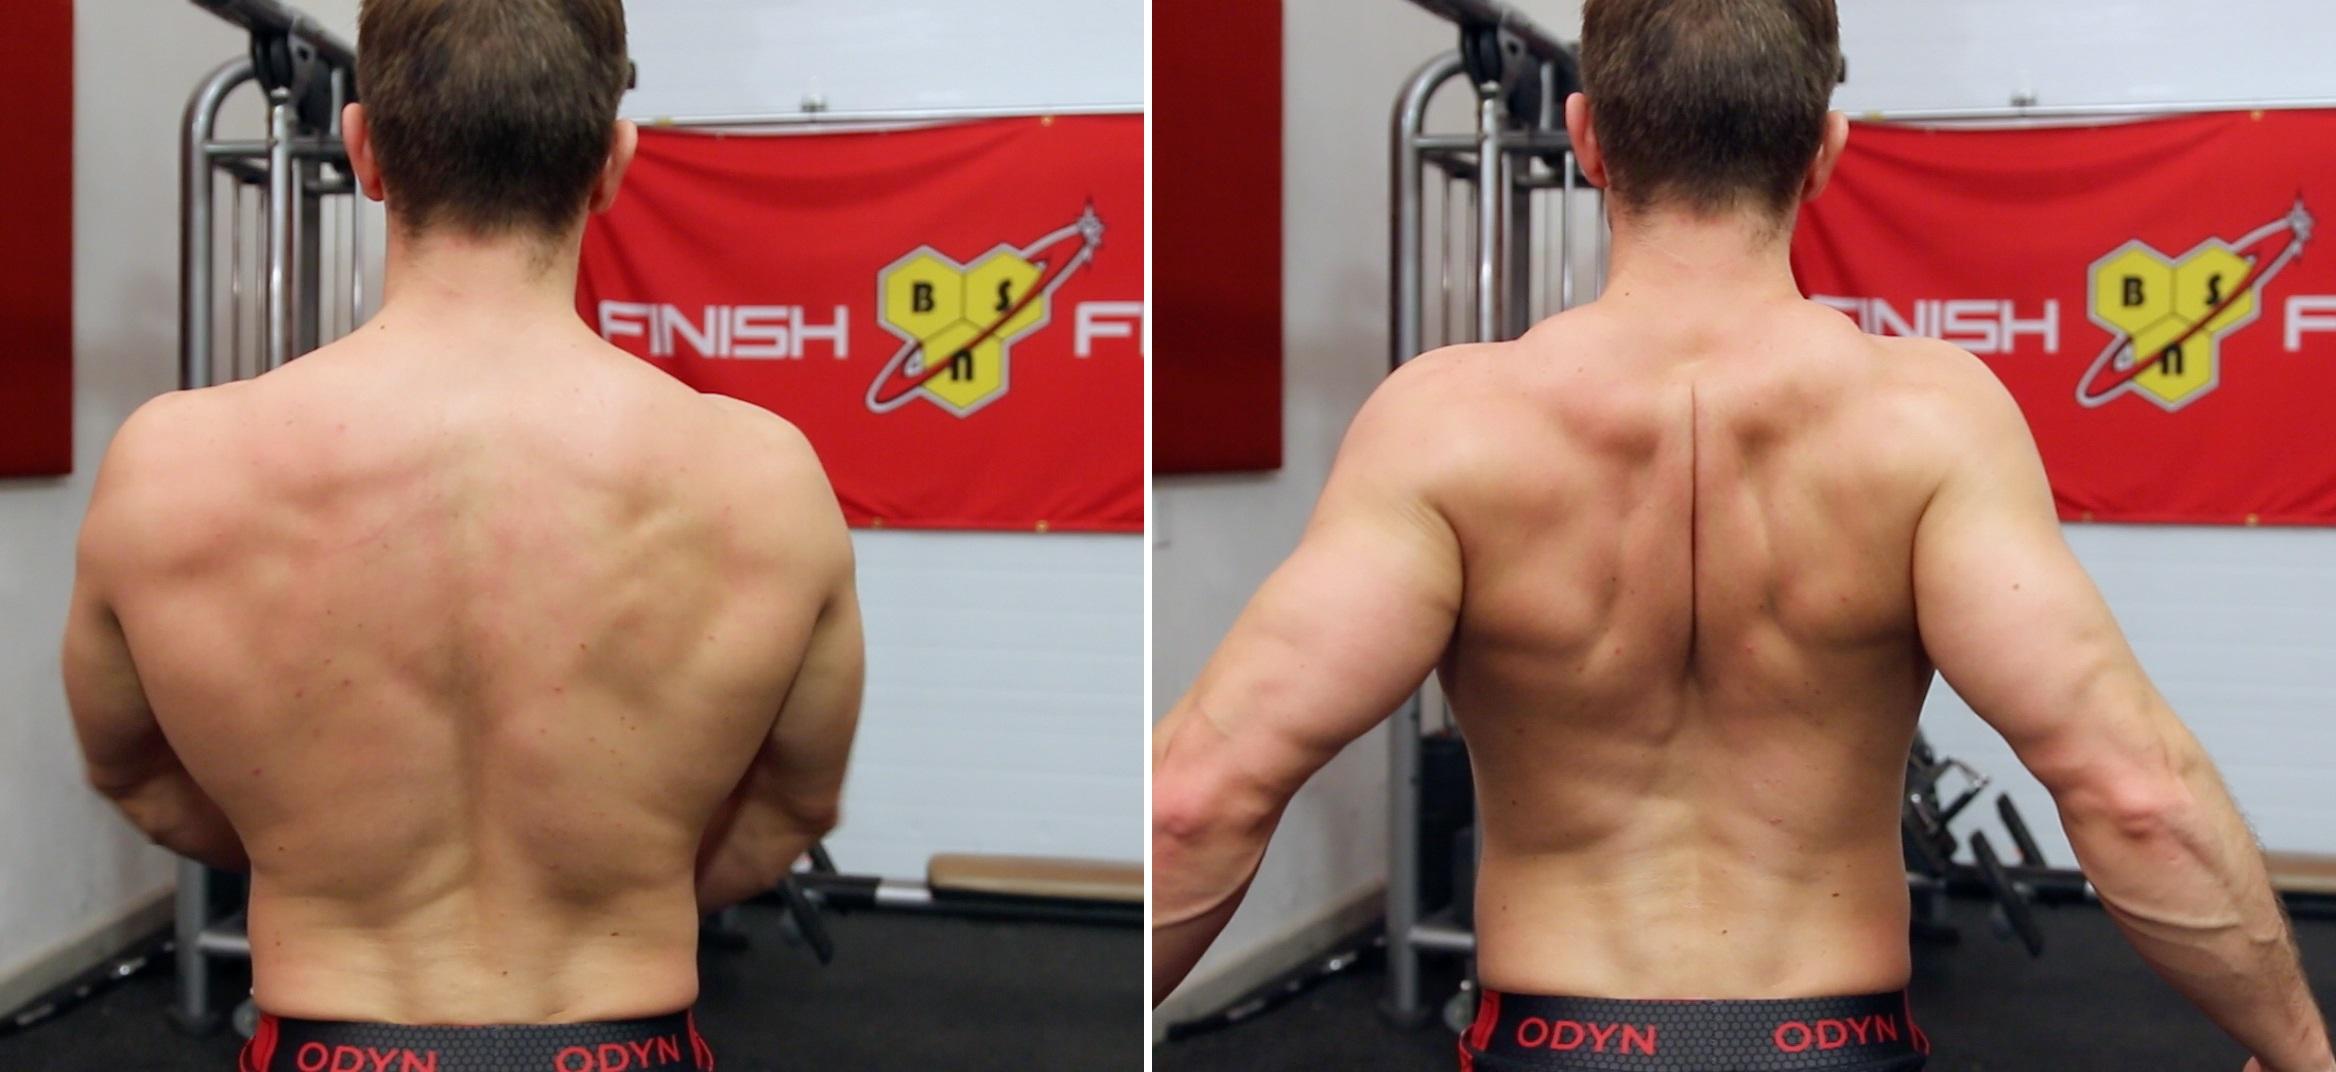
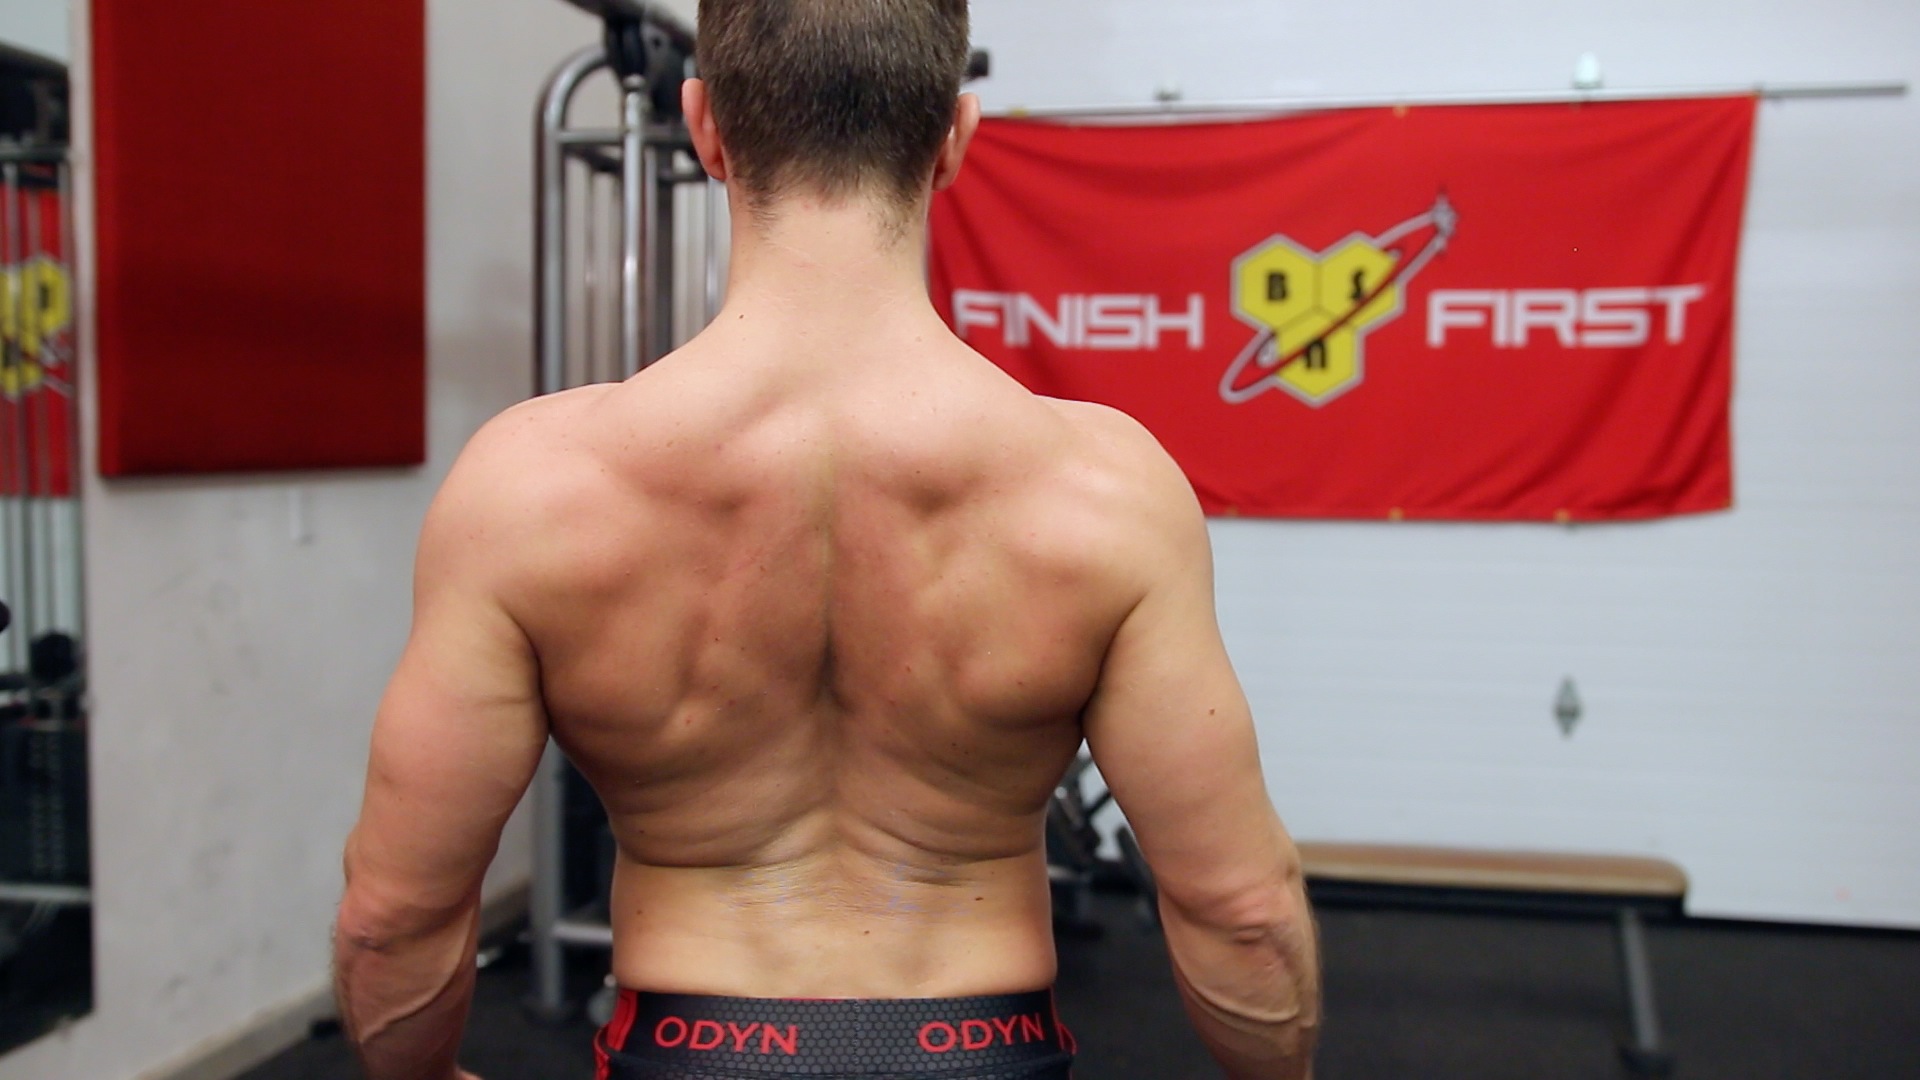
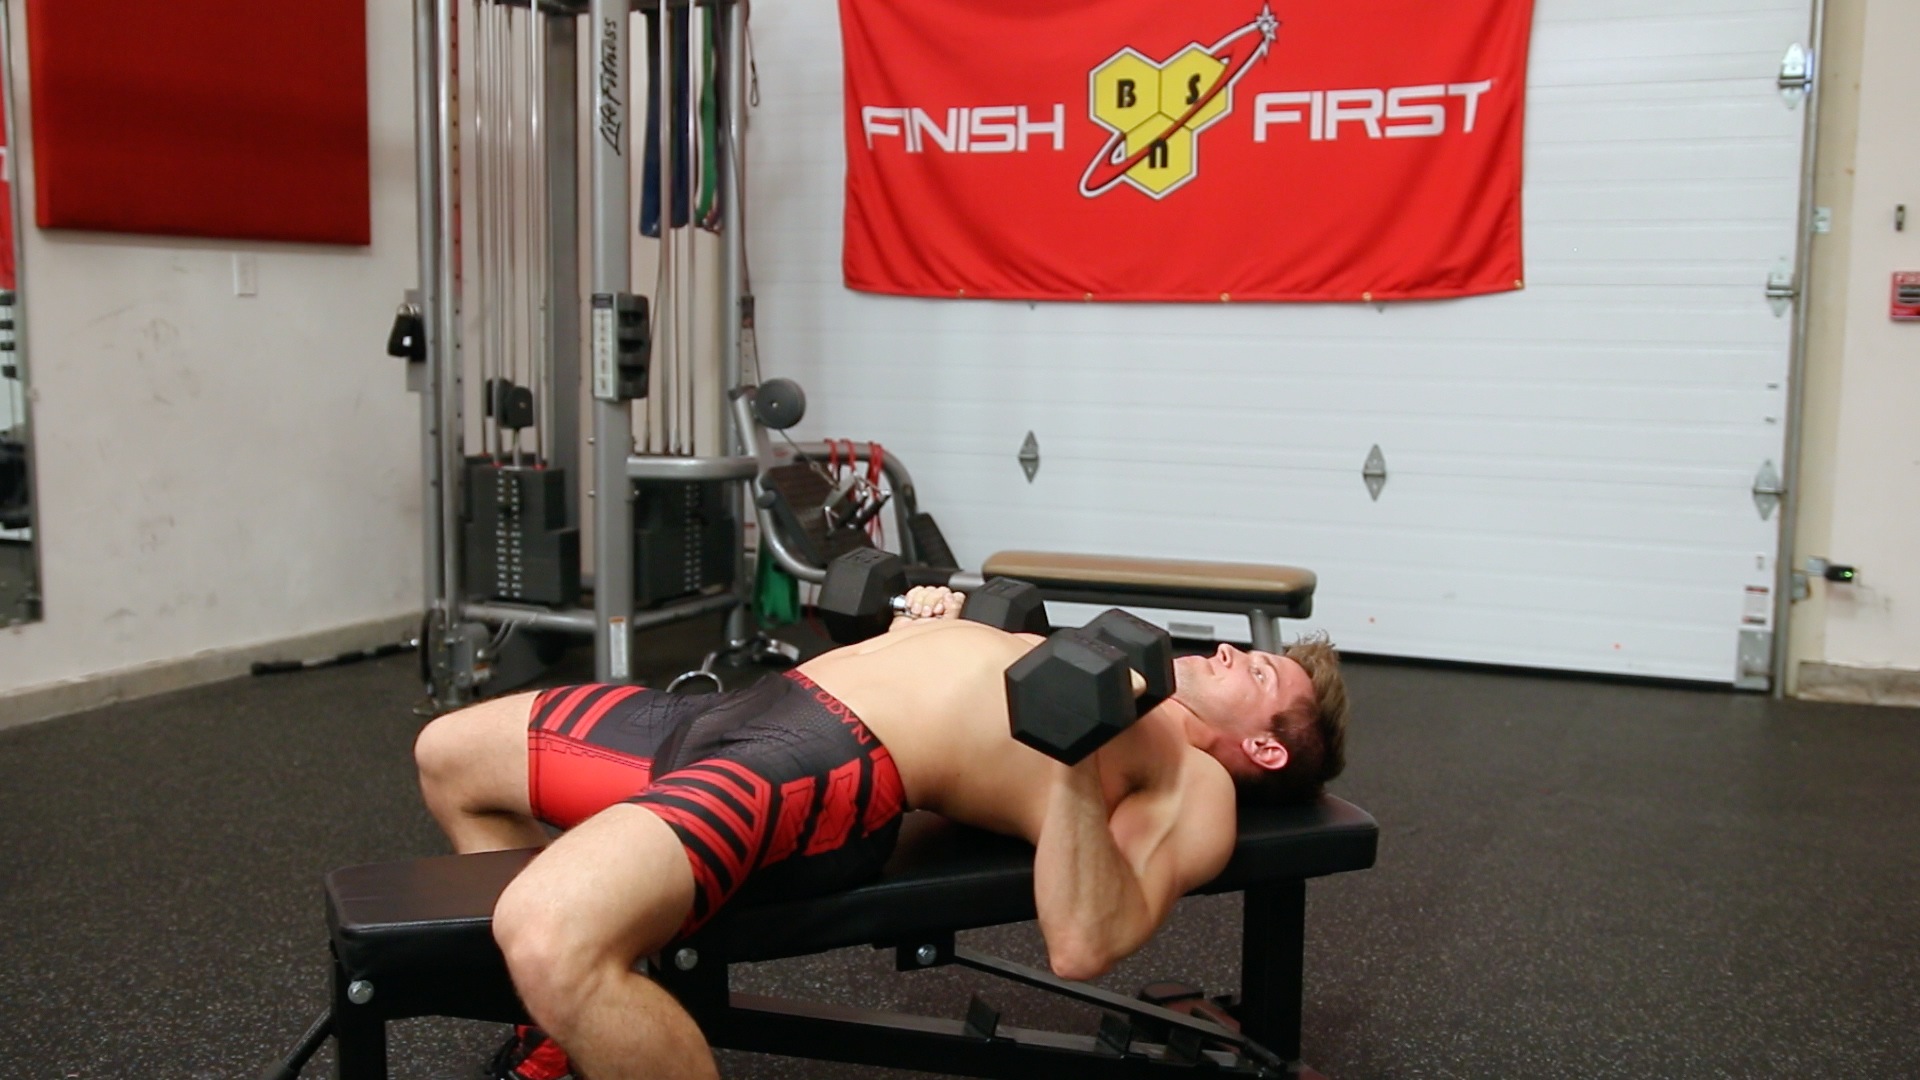
Proper shoulder packing comes down to two movements; bringing your shoulders back AND down. So you have to retract AND depress the shoulder blades as you’re setting up for your set. Learning how to properly do shoulder packing, if you aren’t doing it already, is going to completely change your life when it comes to doing the bench press with either dumbbells or a barbell. This technique is going to ensure that you 100% are packing your shoulders before the start of every single set.
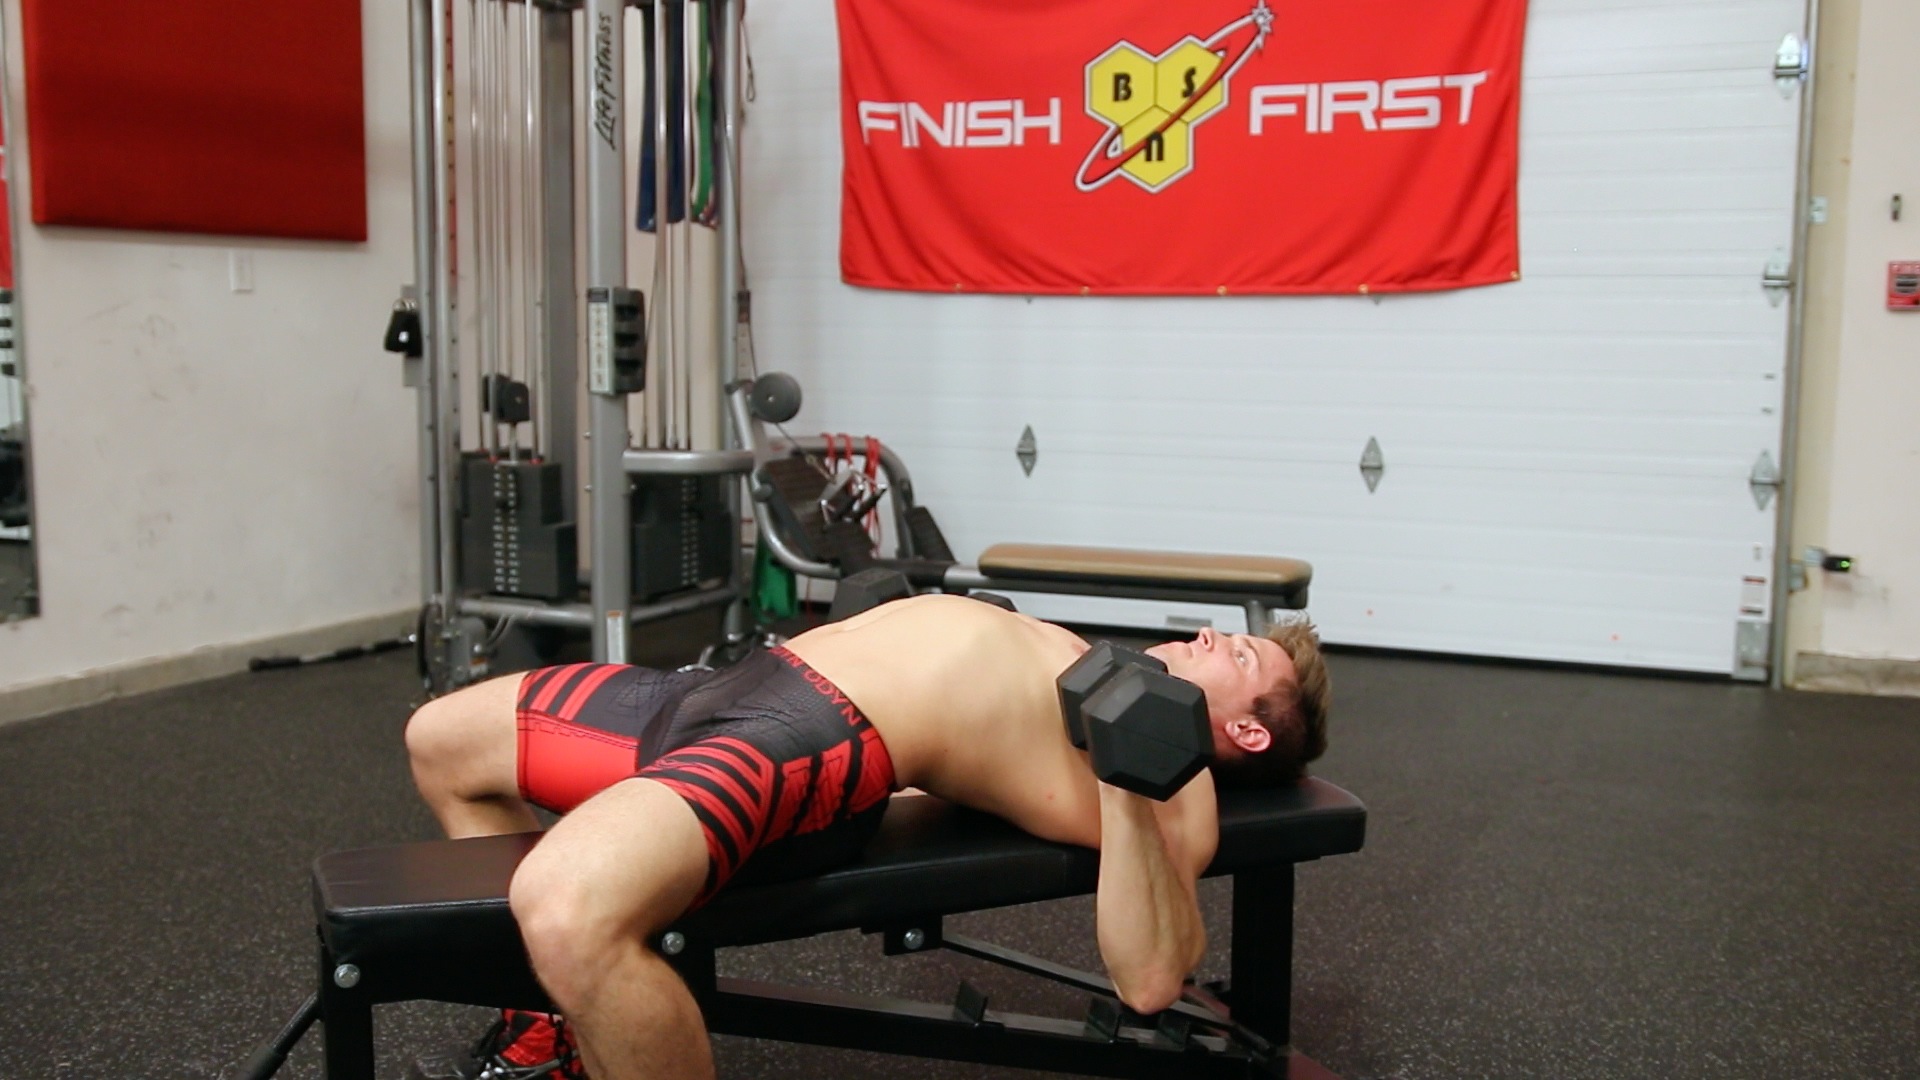
What you’re going to do is sit on the very edge of a bench. Obviously when you roll back you’re going to have a lot of room leftover, but that’s a good thing, you want that room there. This is because once you roll back into place, you’re going to bring your toes back so your legs are in a solid position. Then, you’ll extend your hips into the air, and then utilize how far down you are on the bench to slide back a bit to get your shoulders fully packed. You can then put your butt back down on the bench, and get ready to do your repetitions.
If you’re doing that, there’s no possible way that you’ll be able to flare your elbows out far enough to actually injure your shoulders, because they’re so tightly packed from doing the slide. When you stick your hands in the air after doing the slide, they should be above your chest, and you’ll notice that your ROM is exactly where it needs to be.
So why do this? First of all, you’ll find that it’s an anatomically advantageous position for your shoulders to be in, which means you’ll be able to push much heavier weights. Secondly, by packing your shoulder blades, you’re essentially protecting your shoulders from serious injuries such as chest tears, rotator cuff tears and even shoulder dislocations. And finally, by strategically placing your chest on top (your shoulders are underneath when they are packed), you’re making sure that the chest will be the primary mover when you’re pressing, NOT the front delts. The exact opposite stands true when you’re performing shoulders raises to target your front delts. Here, you WANT to keep your shoulders basically protracted, so that the chest does NOT come into play as you lift your arm up and down.
#3: Proper Elbow Positioning
You have 3 options here, and you usually see people go for either one of these options.
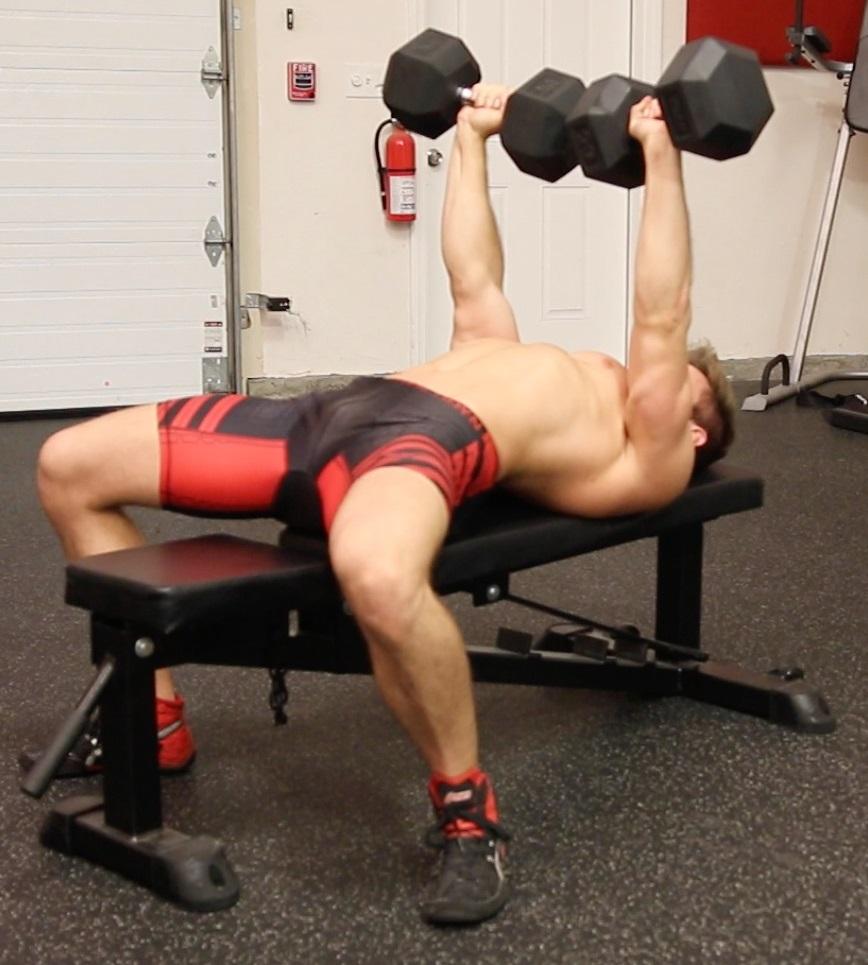
1. Arms flared out in line with shoulders

2. Arms are angled 45 degrees away from their torso
3. Elbows are tucked in and rubbing against torso while pressing
So which is the best placement in order to target the chest as effectively and safely as possible? Well, it’s the second form with your arms flared out at about 45 degrees. While the third option is the best when it comes to protecting your shoulder joints, it definitely turns the movement more into a dumbbell tricep press, similar to the close grip bench press. However, if you’re currently experiencing shoulder pain, go with this version to keep your shoulders safe and prevent further injury.
Also, don’t be surprised when you see most people at the gym using the first form with their arms completely flared out to the side. This is without a doubt the worst way to go about pressing in general. Not only are you at serious risk of destroying your shoulder joints, but you’re also not properly set up to lift the maximum amount of weight you can handle to overload your chest for muscle growth. So now that you understand the mechanics of the movement let’s go over proper form from start to finish.
Getting In Position With Dumbbells & Pressing With Proper Form
You’re going to start your set up by, once again, sitting on the very edge of a bench with the dumbbells on your knees. This will give you enough space and time to slide back, but personally I like to start off already compressing my shoulders a little bit before I lean back. From the starting position, you’ll push off your toes and extend your arms at the same time as you lean back, to kick the dumbbells up. You’re better to start with the dumbbells at the top of the movement, because if they are at the bottom to begin with, you’ll have a hard time doing the slide. Once you’re lying on the bench, you’ll bring your feet back a bit and slide back, making sure your shoulders are packed and your butt has returned to the bench.
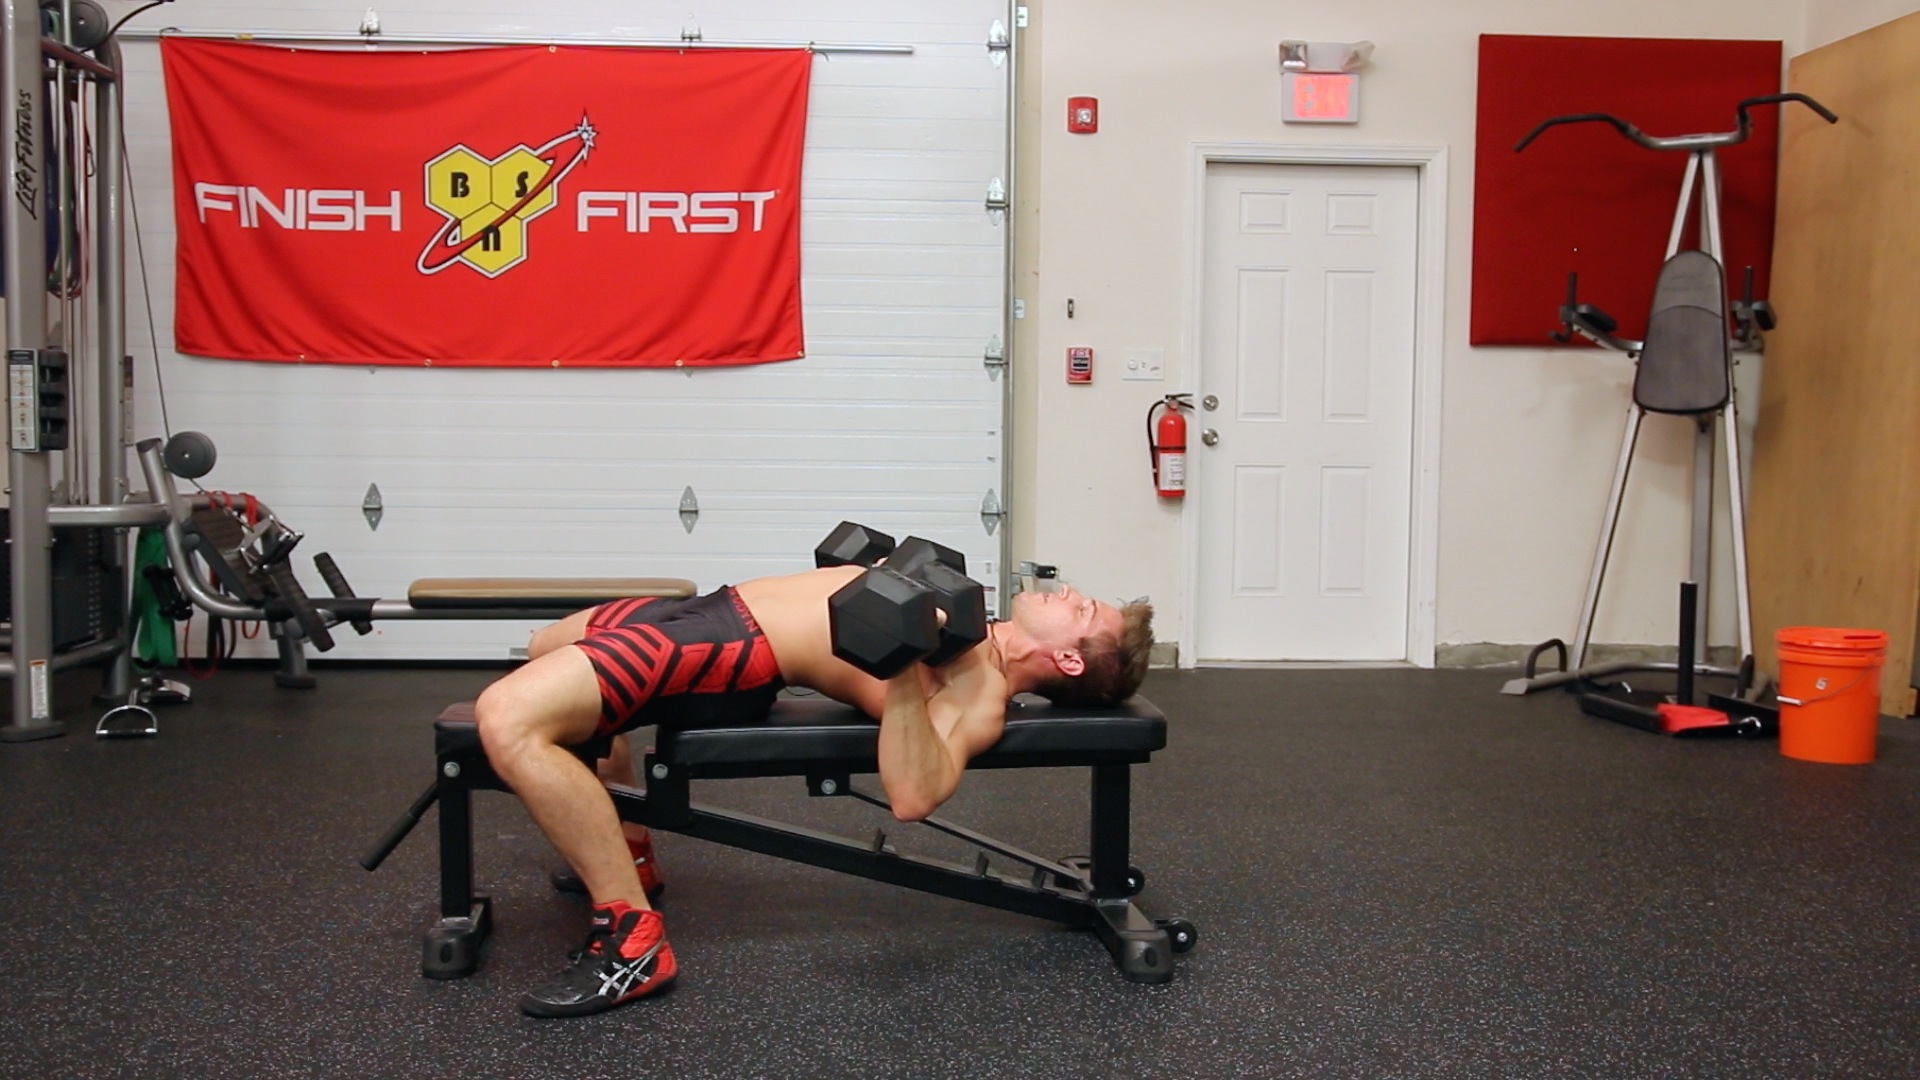
Next, flex your glutes as hard as you can and push your knees out to increase stability for the lower portion of your body. From here, you’re going to come all the way down, maintaining just a slight flare in your elbows, come back to the top where you’ll squeeze your chest as hard as you can, and repeat for reps. This is going to maximize the engagement in your chest and take all of the tension and all of the pressure out of your shoulders. It ensures that when you do a dumbbell bench press, you’re working the muscle the exercise is intended to work, which is the chest.
How Can I Apply Cheat & Recover To This Exercise?
You can definitely apply my cheat & recover (C&R) method to the dumbbell bench press, but you’re going to need a spotter. C&R is all about overloading the chest. If you were doing a barbell version of this movement, you could use bands and apply bands to the barbell to kind of self-spot. But, when it comes to dumbbells, what you would do is you would have your partner stand behind you, and grab as heavy a weight as you could possibly handle. You would then control the negative, and as soon as you got to the bottom, your spotter would step in and push the dumbbells back to the top. The spotter would then remove themselves from the equation so that you can utilize the eccentric (negative) of all 8 cheat reps before going into the recover reps. The recover reps are just you doing perfect ROM on all 8 reps, on the way up and on the way down, without your spotter helping you.
Conclusion
If you want to add this exercise to your current chest workout, I recommend starting your routine with it and performing 3 – 4 sets of 8 – 10 reps with as much weight as you can handle. OR, you can utilize my cheat and recover technique if you have a spotter.