Fix Anterior Pelvic Tilt In 3 Easy Steps!
No More Lower Back, Hip & Neck Pain!
We’re going to address an issue that people deal with a lot, and that’s Anterior Pelvic Tilt and how to correct it. It seems that as more and more people are suffering from chronic pain, whether it comes from their lower back, hips, knees or shoulders, the root cause the majority of the time is an imbalanced core. And the most common core imbalance is without a doubt the Anterior Pelvic Tilt, or APT for short.
What makes this so serious is that chronic pain can not only limit your performance and results in the gym, but it can also mess with your everyday life and even affect your mood. That’s why I’m going to show you how to identify the problem and fix it in just 3 quick steps.
What Is Anterior Pelvic Tilt (APT)?
If you can imagine your pelvis as a bucket filled with water, the normal position of your pelvis would be neutral or slightly anteriorly rotated (2 – 3 degrees) so that the water inside the bucket doesn’t spill.
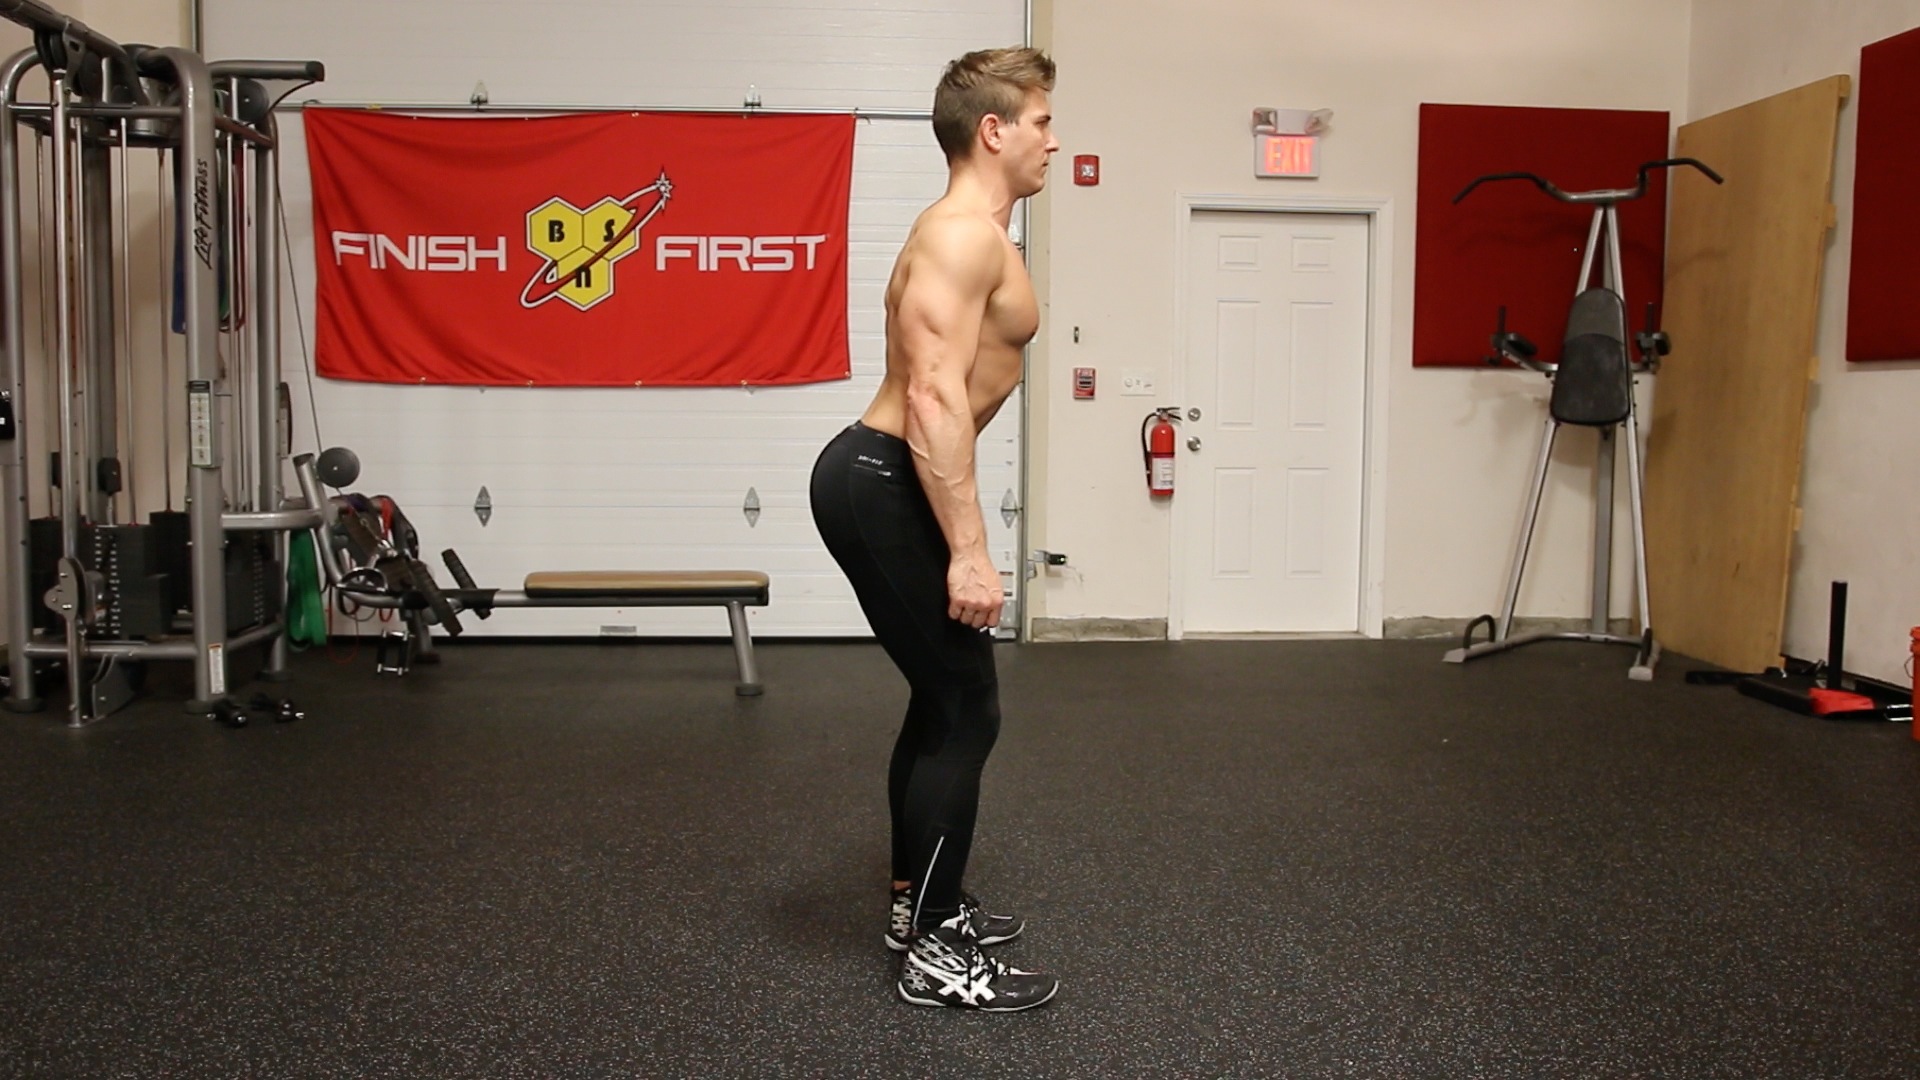
People with APT though, have an excessive tilting of the pelvis, coupled with an excessive arch in their lower back, which if we were to go back to the bucket of water would lead to the water spilling in front of the bucket. If this sounds like you then your daily posture looks like your butt is sticking out or shooting up in the air, kind of like Donald Duck.
This might look attractive, especially with women, but in reality it’s a form of bad posture and can lead to serious pain. In fact, many of these people will probably develop some kind of lower back or hip pain in the future, if they don’t already have it.
Symptoms Of APT / Identifying APT
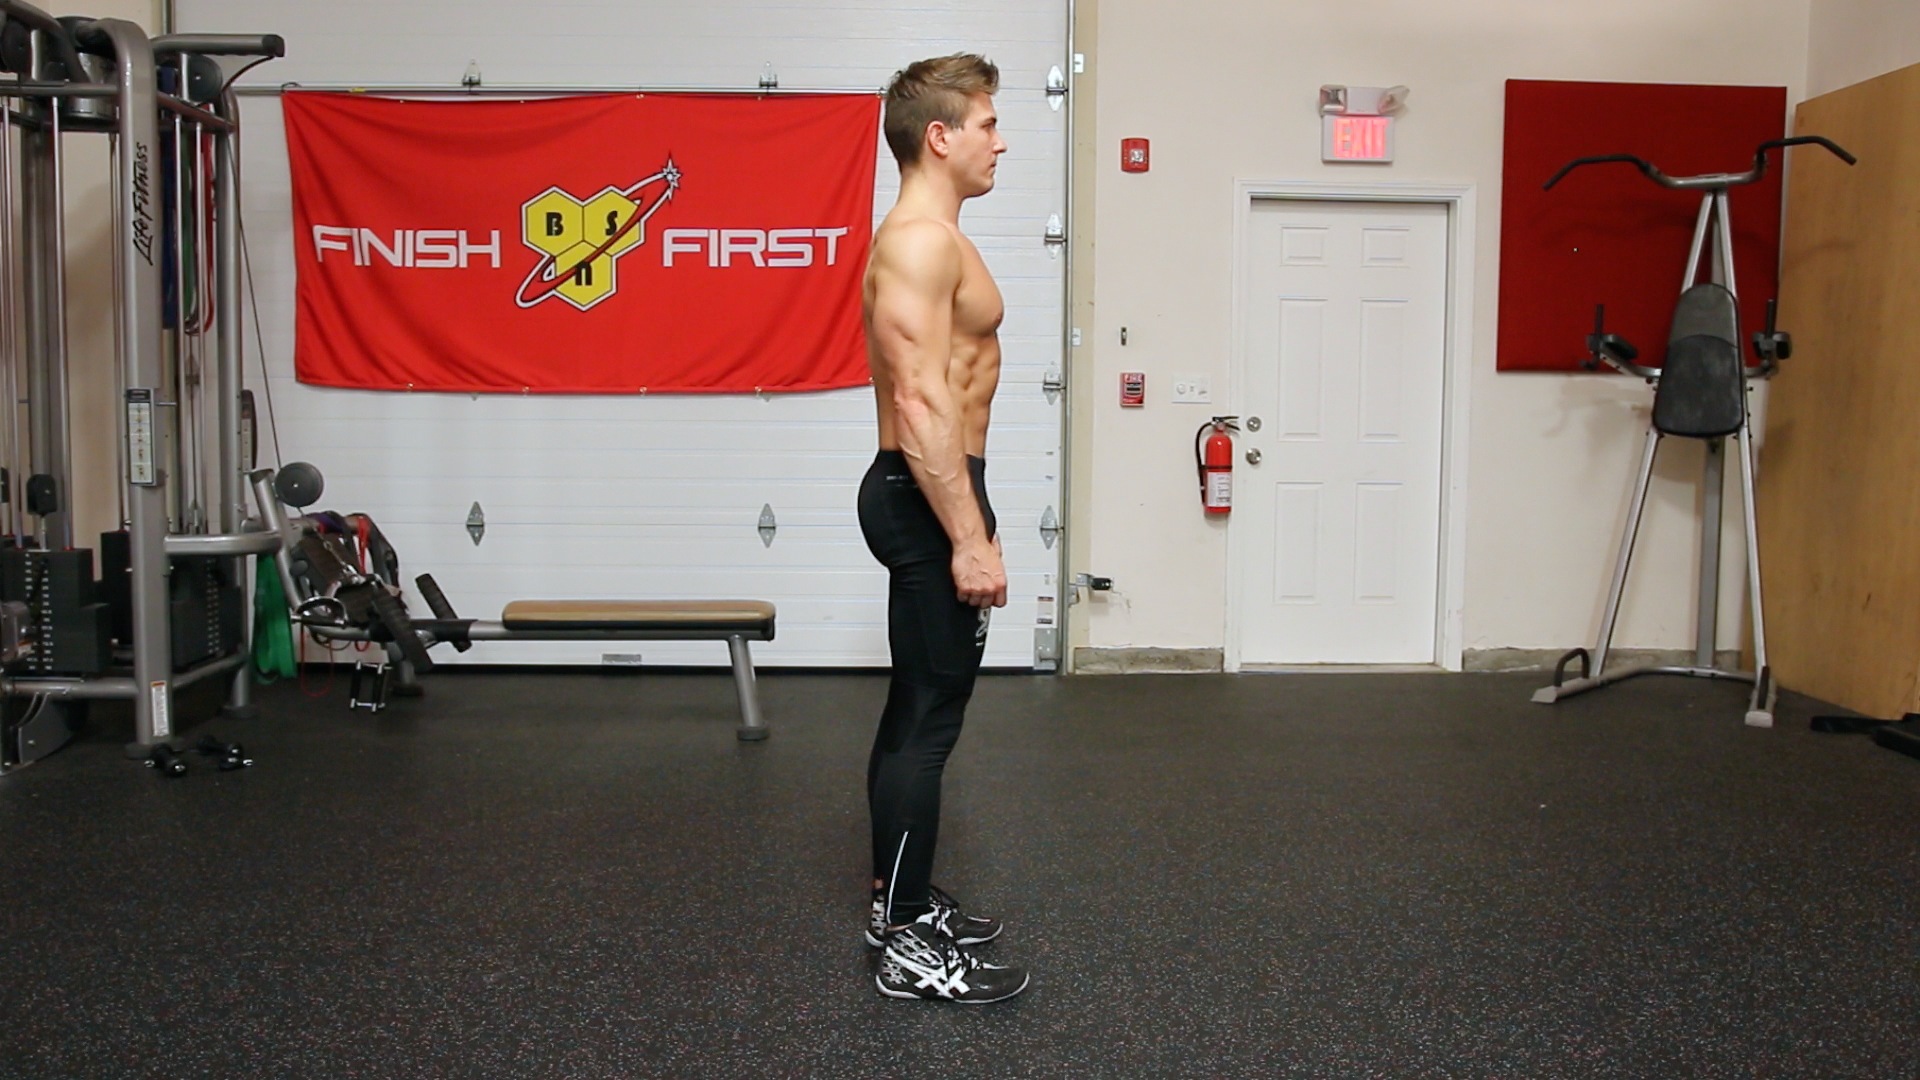
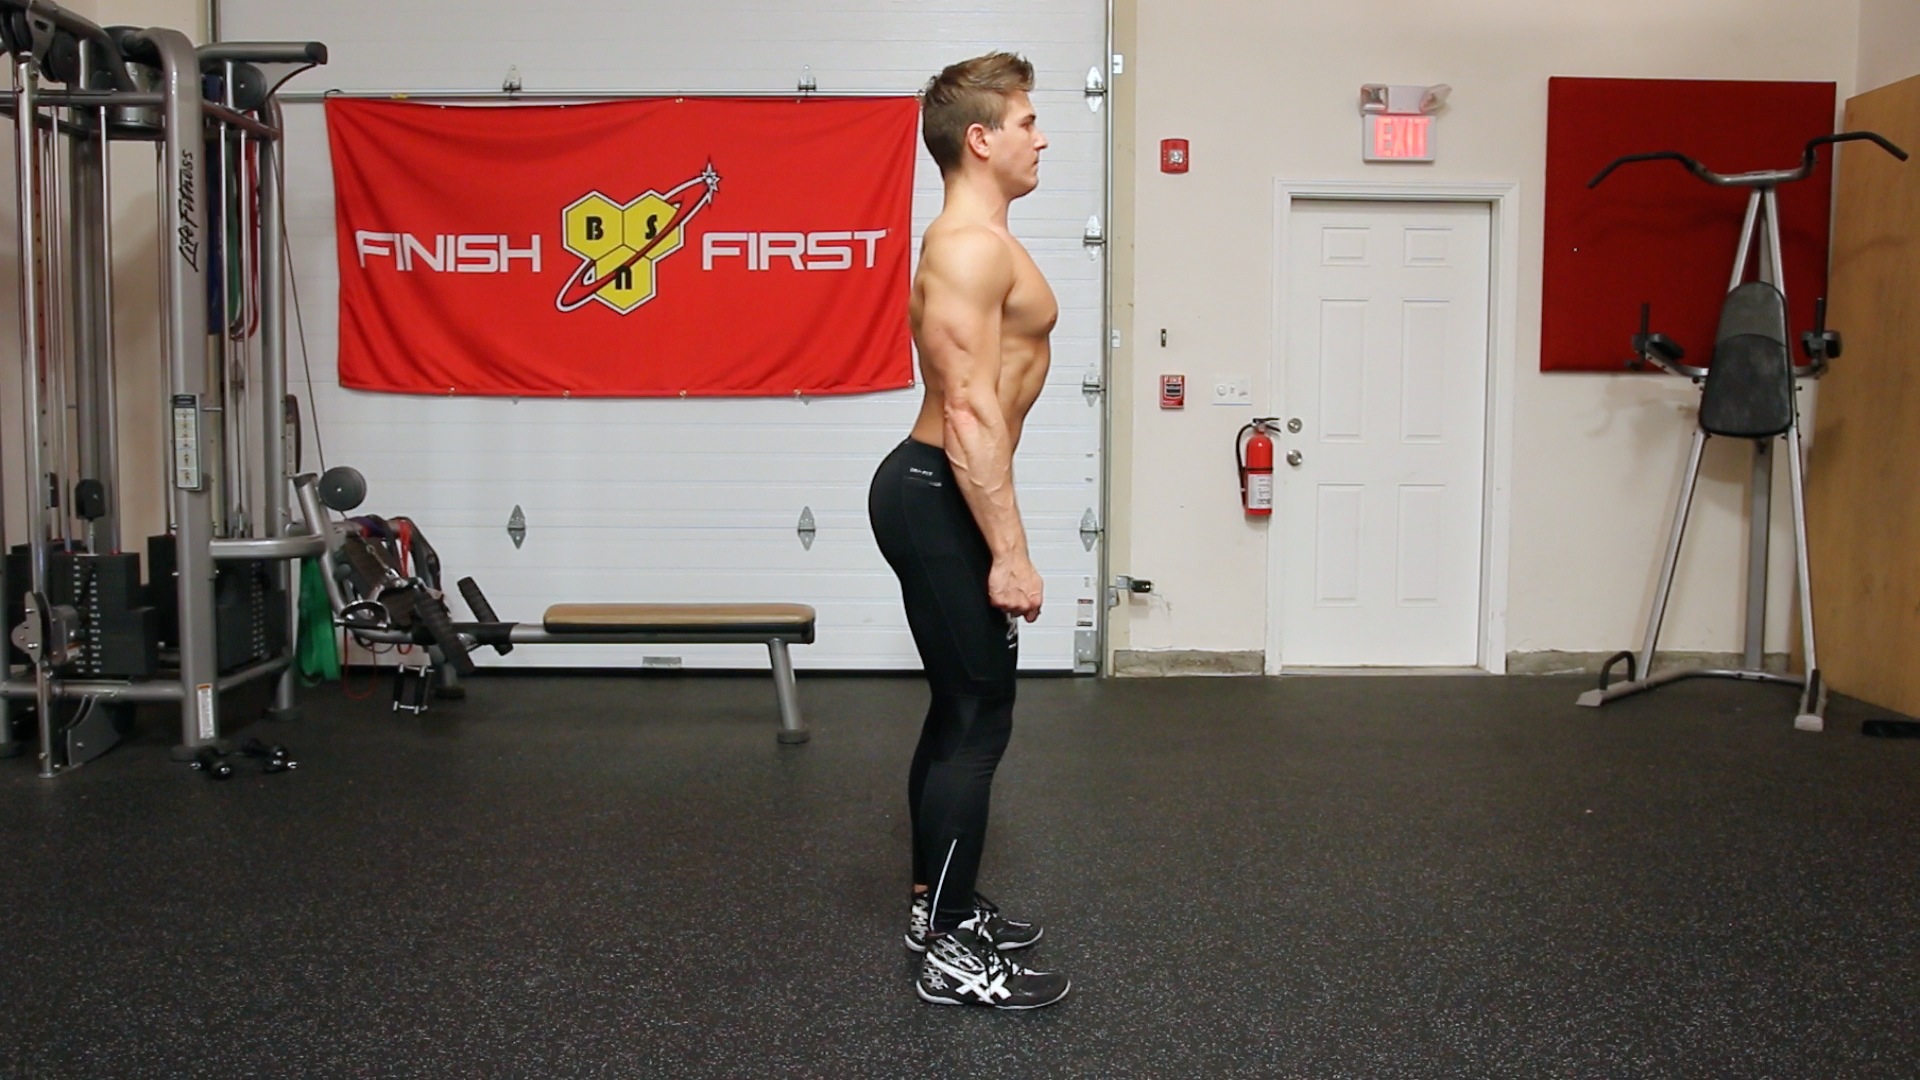
The easiest way to find out if you have APT is to just look at your waistline in the mirror. Stand sideways by a mirror and lift up your shirt. Is your waistline severely tilted forward with your butt sticking up high while you are in a relaxed position? If yes, you are suffering from APT.
Another way to determine if you have APT is if you have chronic, unexplained pain in your lower back or hips, and in some cases even your knees and ankles. If you currently have pain, but don’t remember injuring those areas and you don’t have some sort of bone defect, then there must be some root cause for these pains and typically it’s a muscle imbalance in your core.
How Can APT Affect Your Entire Body?
You have to understand that the body works as a kinetic chain and everything is connected with X patterns. This means that muscles work synergistically and antagonistically in balance to create a healthy, functional and pain-free body and it’s the distortion of this balance that can cause problems.
Generally, a problem that resides in your core or close to it will be reflected outwards, usually in your limbs. More specifically, APT is characterized by overly tightened hip flexors and lower back muscles, and overly weak abdominals, hamstrings and glutes. The result of this tilting is, first and foremost, compression in your lower back, leading to lower back pain.
Next, since the pelvis now has this tendency to tilt forward, your femur (or thighs) will have a tendency to medially rotate (or rotate inwards). If you were to stand up now and stick your butt out as far as you can, you would notice your knees are collapsing and buckling in. With this information we now know that APT is coupled with the medial rotation of the femur, and we know this will also asymmetrically load your knees when you lift weights. It doesn’t matter if it’s a heavy barbell squat or just picking up groceries out of your trunk, you’re still loading your knees asymmetrically which can cause knee pain or a serious knee injury.
Moving on downwards, medially rotated thighs can also lead to tight calves and flat feet, disabling you from getting into proper dorsi flexion, which is essentially ankle bending. For those of you who have a REALLY hard time getting low on a squat, this is probably ringing some bells for you because you might already be prone to ankle injuries and notice that your lower body mobility is severely limited.
APT can wreak havoc on your upper body too. An excessive arch in your lower back (or hyperlordosis) will have your torso leaning forward. But your body doesn’t like that because naturally your eyes always want to be level with the horizon, so it compensates by extending your neck causing an excessive arch at your neck and upper back (kyphotic posture). This can lead to headaches, dizziness, shoulder pain, elbow pain, upper back pain and even chest pains. Hopefully this demonstrates that APT is more than just a lower back issue, it can affect your entire body. It’s just a matter of which is the weakest link to determine which part of your body will develop chronic pain first. In more serious cases people can get pain in multiple areas of their body at the same time which you can imagine is VERY painful.
Causes Of APT
In the majority of cases, the main cause for APT is our lifestyle choices and everyday actions. For example, most of us are living sedentary lives, sitting on a chair all day because our work or school dictates it. This causes various muscle groups to stiffen up and others to weaken over time which leads to muscle imbalances, especially in the core.
APT can also be manifested in active people due to faulty recruitment patterns. What I mean is that not knowing how to properly squat or deadlift will teach your nervous system to wrongly activate certain muscles which then become overly tightened and prevalent against other muscles that should be activated instead. To summarize, if your nervous system does not recruit or activate your muscles properly, this leads to muscular imbalances which leads to chronic pain and injuries.
How To Fix APT (3 stages)
The strategy to correct APT involves 3 stages but they all revolve around STRETCHING & STRENGTHENING your body. For STRETCHING we are going to focus on the Hip Flexors (Iliopsoas, Rectus Femoris) & Lower Back (Erectus Spinae). For STRENGTHENING we are going to focus on the Abdominals (Lower Abs & Deep Abdominal Wall) & Hamstrings/Glutes
This, however, does not mean, do some ab crunches and hamstring curls and you’re good to go. You actually have to teach your nervous system how to activate the dormant muscles and how to deactivate the prevailing ones to get to the root of the issue here.
Step No. 1: Stretching The Correct Muscles Before Doing Any Strengthening
Remember that static stretching of a muscle is essentially temporarily weakening its elasticity, and that trying to work the abs before stretching the opposing muscles won’t achieve much because the hip flexors and lower back will step up and do the majority of the work. That’s why it’s best to begin with 3 – 4 sets of 60 – 120 seconds of these 3 stretches before attempting step 2.
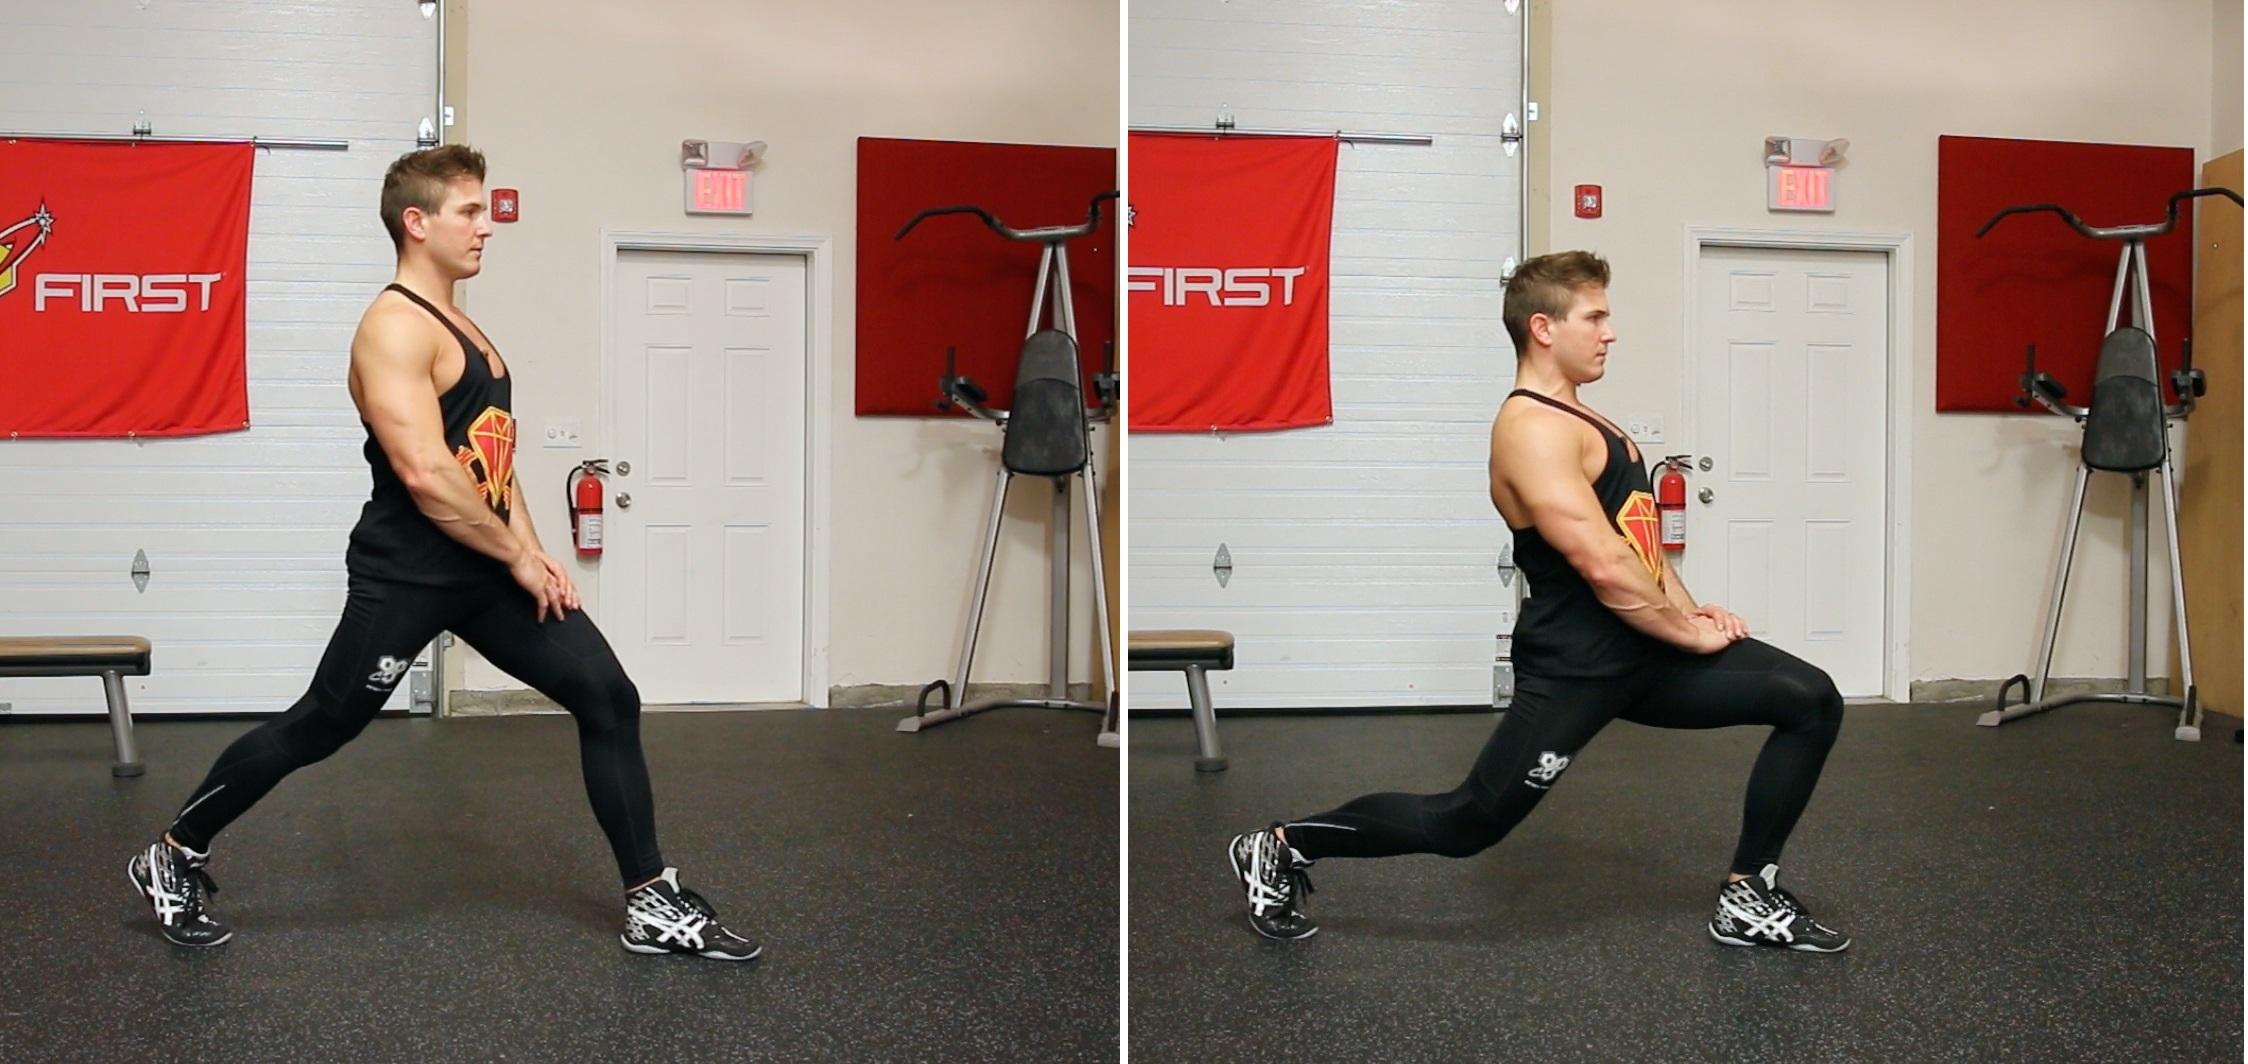
Stretch #1: Iliopsoas Stretch (3 – 4 sets: 60 – 120 sec.)
The way to perform this is you’re going to place one foot forward, and place your hands on top of the thigh of your front leg. Once in position, you’re going to start to push your pelvis forward while flexing your glutes, and as you do that you’re going to lower yourself to the ground, keeping a slight bend in your back leg. Where you should be feeling this as you’re flexing your glutes and pushing your pelvis forward is a nice deep stretch through the front of your hip. If you’re not feeling it here, you’re doing something wrong.
Hold this stretch for 60 – 120 seconds, and then as soon as you’re done on one side, you’ll come to the top position, switch legs, and then perform the same movement with the other leg in front this time. Repeat this 3 – 4 times, and as you repeat this what should happen is as you go back and forth over each set, you should be able to get a bit deeper and deeper, as long as you’re breathing smoothly and stretching as hard as you can.
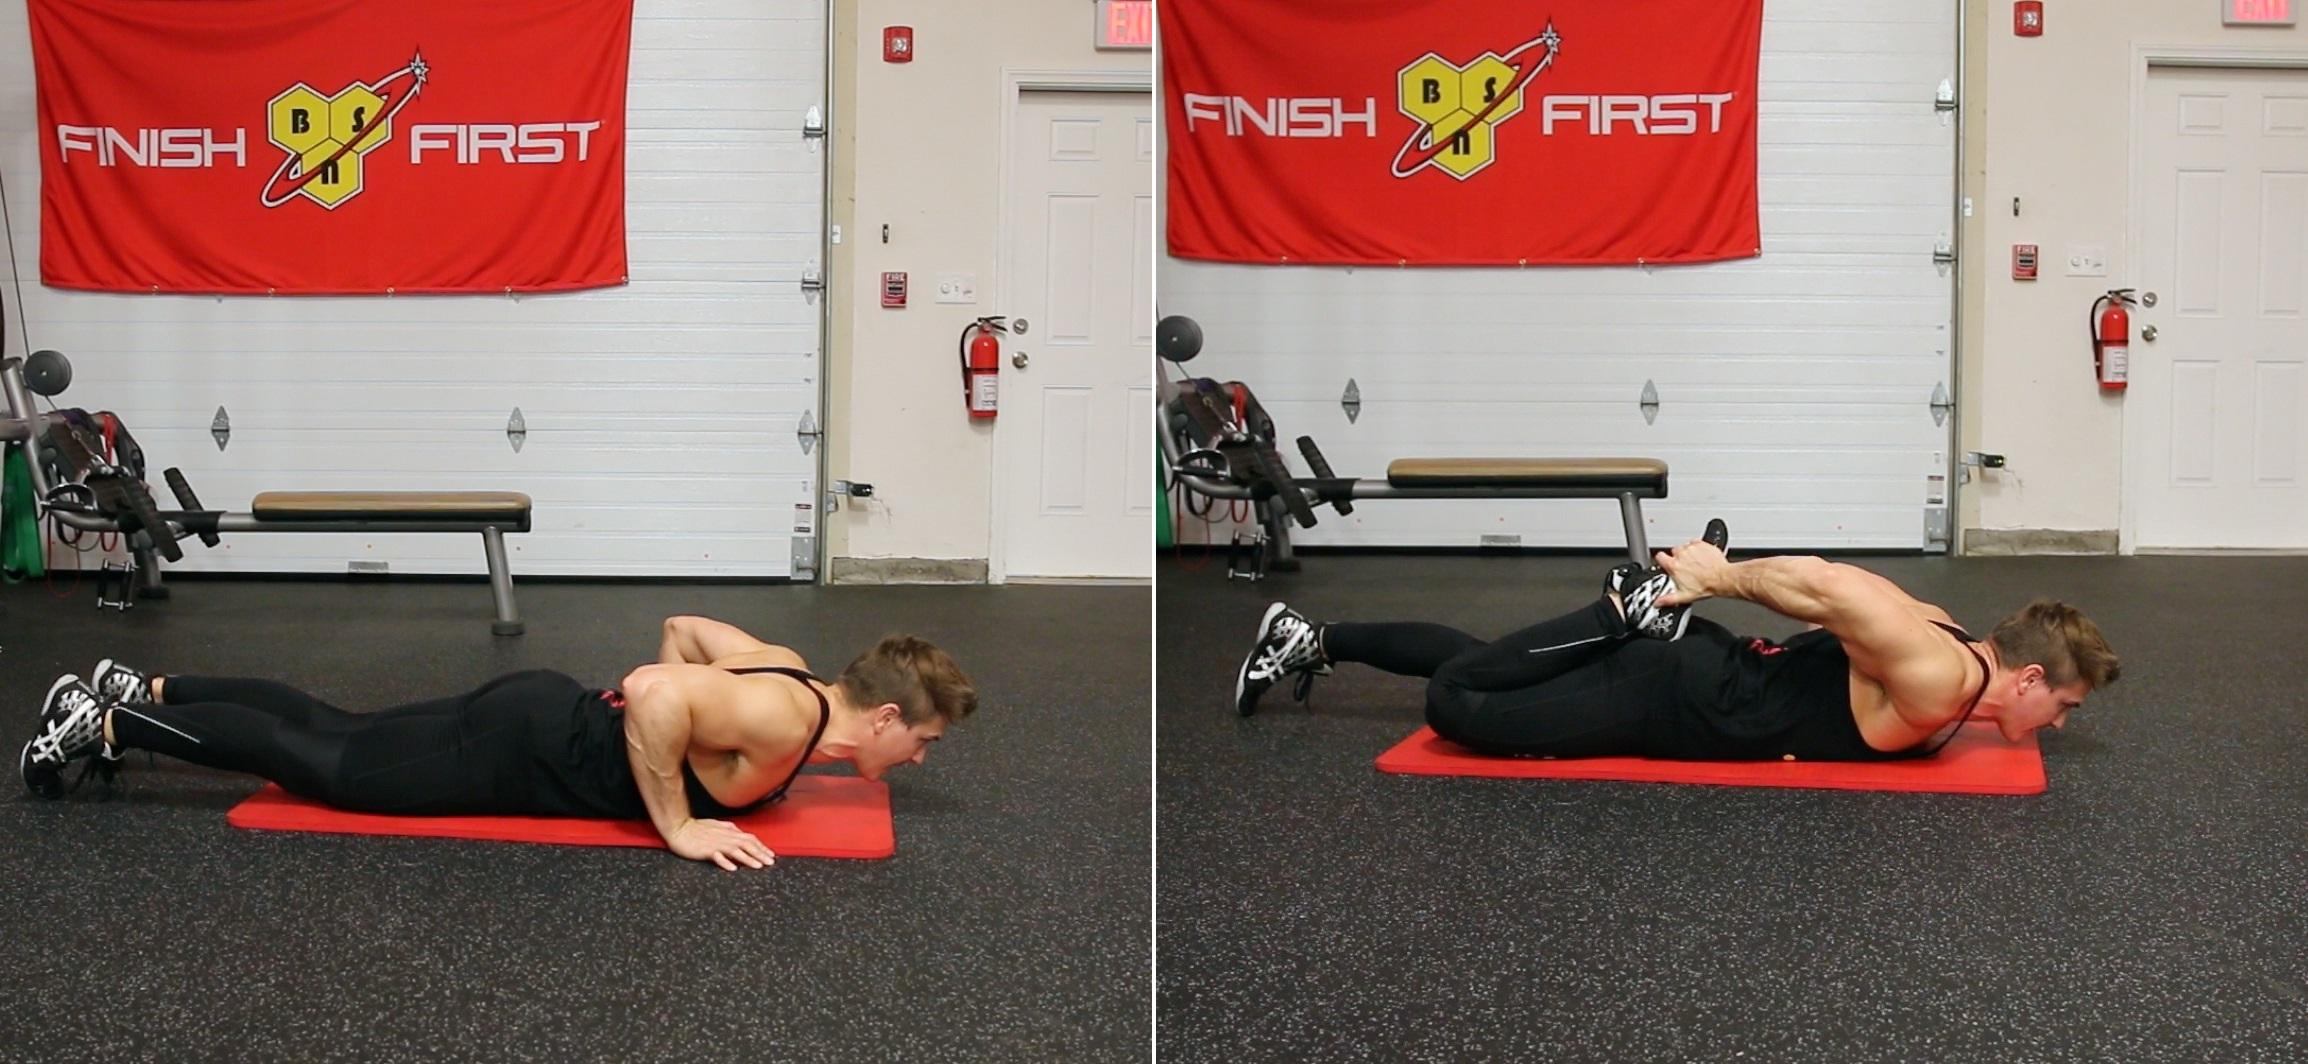
Stretch #2: Quad Stretch (Rectus Femoris) (3 – 4 sets: 60 – 120 sec.)
The reason why we’re doing a quad stretch is because the rectus femoris IS a hip flexor. The way to do this stretch is you’re going to lay face down on the floor. You’re going to lift you’re right leg, reach back with your hand, and try to pull your foot to your glute. You’ll hold this position for 60 – 120 seconds, pulling your leg as hard as you can, trying to get a nice deep stretch. Once you’ve held your right leg long enough, you’ll then switch to your left leg and do the exact same thing. Again, you’ll go back and forth for 3 – 4 sets, and again you should be able to get a bit deeper and deeper stretch, as long as you’re pulling nice and tight and you’re breathing calmly. Also, if you can reach back with two hands to really pull your leg, you have this option too, just don’t force it so much that you injure yourself. If you’re not ready for it yet, that’s OK, it will come in time.
Stretch #3: Lower Back Stretch (Erectus Spinae) (3 – 4 sets: 60 – 120 sec.)
You DO NOT want to do this exercise standing. Obviously you can bend over and stretch your back like that, but you want to prevent any injuries, so to perform this stretch safely, I suggest sitting down on a chair. So you’ll sit down, and then you’re going to bend your body forward and kind of ‘hang over’ your legs, relaxing your entire upper body. Simply breathe regularly, and try to get lower and lower to really start to feel that lower back stretch. You’re going to hold this for 60 – 120 seconds, then you’ll sit upright, shake around a bit, then complete another 2 – 3 sets. Once you have completed all sets for this stretch, you’ve completed all of the stretches, which means it’s time to move on to step 2, which is strengthening the weakened and dormant muscles in your body causing APT.

Step No.2: Strengthening The Weak/Dormant Muscles
Now that we have stretched out the tight muscles, it’s time to work on our weaknesses. In this stage, we are going to work these muscles by performing simple movements on the floor and once we are done we are going to move onto step number 3 which is attempting functional and complex movement patterns.
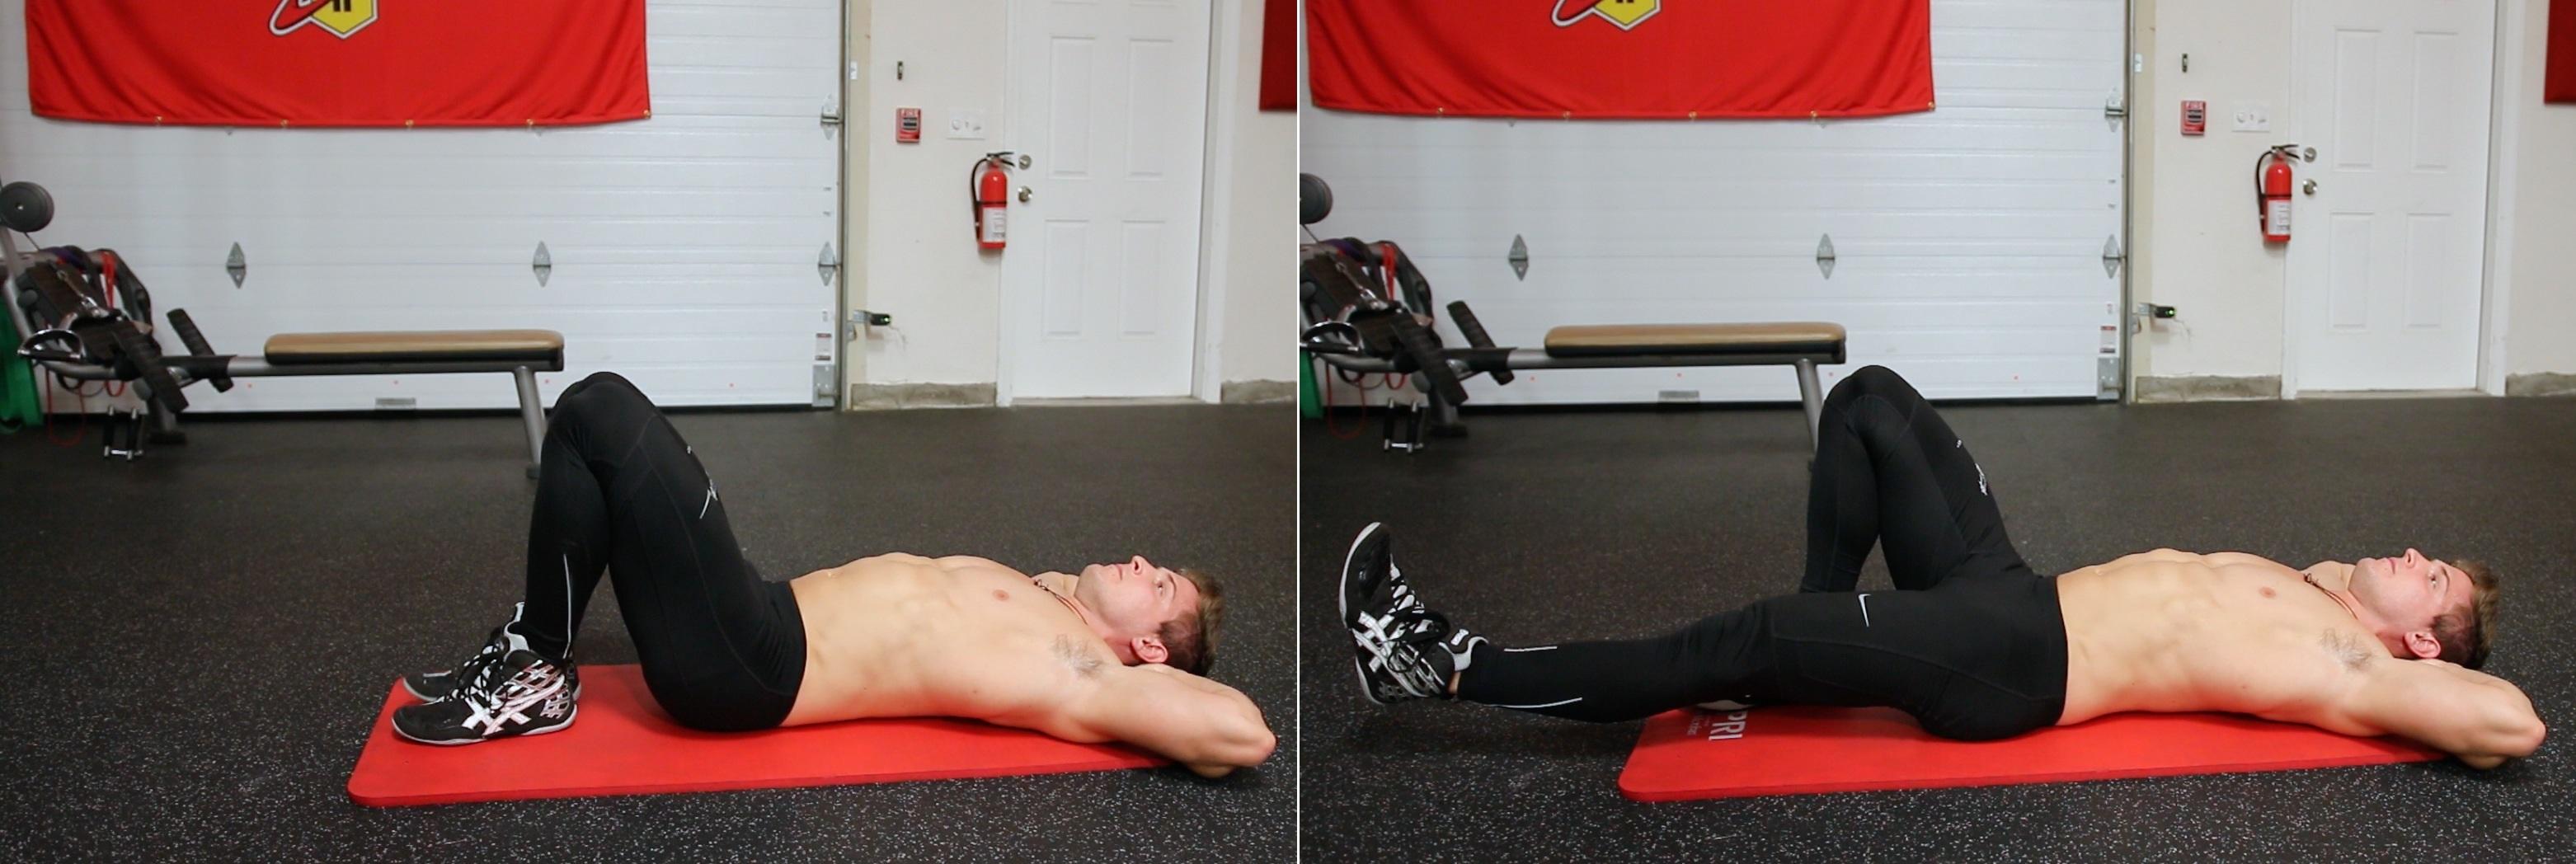
Exercise #1: The No-Gap (3 – 4 sets: 25 Reps Per Leg)
To perform this movement you’ll lay down in a sit-up position, with your knees at 90 degrees and your feet flat on the ground. One noticeable difference that you will see if you are suffering from APT is that your back won’t be flat, you’ll have a slight arch and you’ll be able to take your left arm and stick it through the gap being formed. The reason this is called the No-Gap is because you want to tuck your hips down and forward to eliminate that gap before starting the movement. Once in place with your back flat, you’re going to keep your core tight, keep your glutes flexed, and begin alternating sticking your legs out straight, one at a time. You’re going to do this until you have done 25 reps for EACH LEG.
Now this exercise is much more than just sticking out your leg and bringing it to the starting position. For those of you suffering from APT, you’re going to have to really flex your core and keep your glutes tensed to keep your back flat on the ground so that the gap never comes back while performing the movement. If you do start to lift your back off the floor, reset yourself, and if you start to get severe back pain then take a short rest before getting back into it. If you have really bad APT, this exercise may be extremely hard for you, so don’t be surprised if it takes a little longer to complete.
Exercise #2: Glute Bridge (3 sets: 10 Reps Of 20 Second Holds)
Exercise #1 really focused on activating the lower abs, and this exercise is going to focus on activating those glutes. You’re going to get into the same starting position, and then first of all make sure there is still no gap between your back and the floor, and then by pushing through your heels, you’re going to extend your glutes to the ceiling. As you extend your glutes, you’re not just going to stop when your body is in a straight line, you’re going to flex as hard as you can and get a slight hyper extension at the top of the movement. This is how you fully engage your glutes when doing a glute bridge. You’re going to hold this position for 20 seconds, then as soon as you’re done you’ll come back down to the starting position, rest for a second, then come back up for another 20 seconds, repeating this for a total of 10 repetitions. As soon as all 10 repetitions are done, you’re going to rest, and then complete a total of 3 working sets.
One thing to keep in mind is that if you are starting to get lower back pain while doing this movement, it’s most likely because as you come up to the slight hyper-extension, when you go back down, you’re actually going directly back into APT with that gap between your back and the floor. You need to make sure you are coming back down flat on every repetition. Only your glutes and hamstrings should be activated on this exercise.

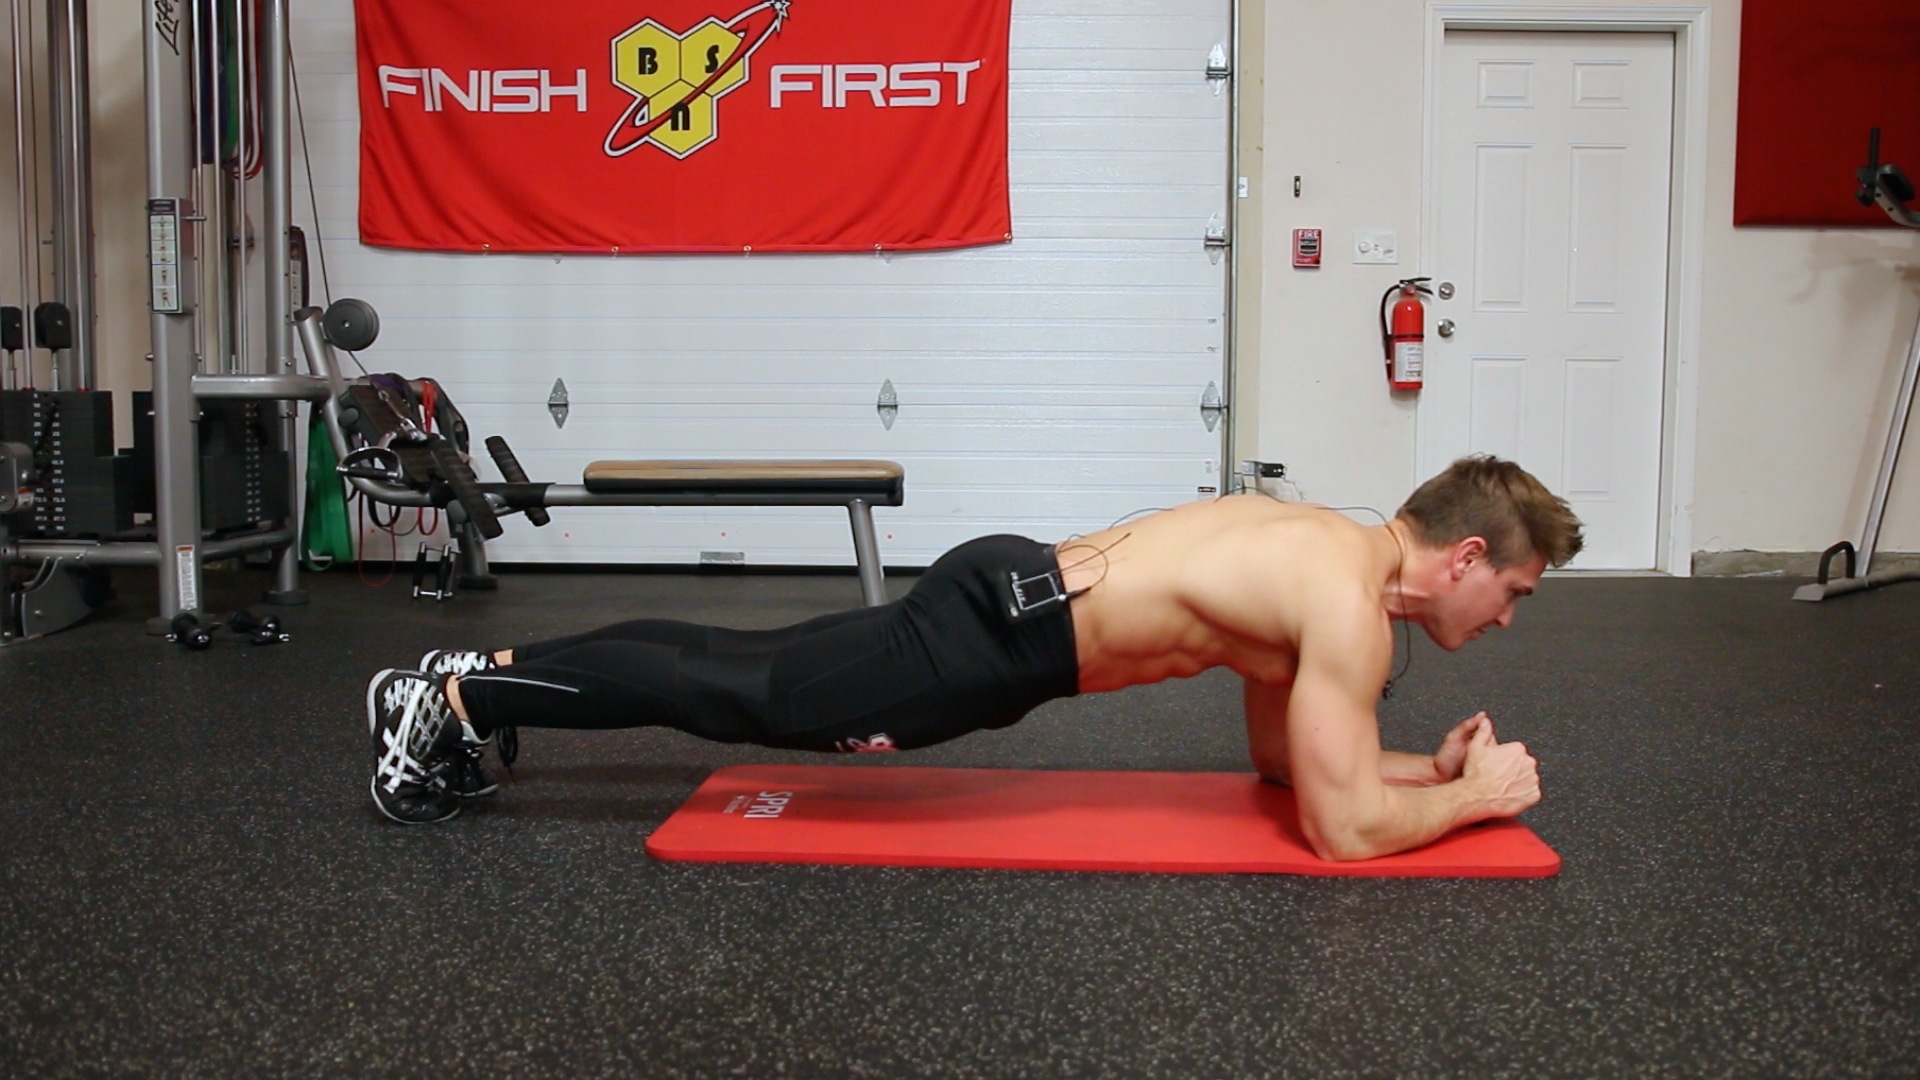
Exercise #3: Plank (3 – 4 sets: Max Hold)
The first two exercises taught your Central Nervous System (CNS) how to activate the lower abs and the glutes, now we’re going to see if you can activate them at the same time. You can do the plank a few different ways, but the way you should do it is being down on your elbows and your toes, but if this is too hard for you, or you start to feel fatigued, it’s OK to go down to your knees. For the plank, you’re going to hold it for as long as you can, and you’re going to do 3 – 4 sets of this, However, holding the plank is much more than just being on your elbows and toes. There are a couple of things you need to keep in mind when doing this movement.
First, when you’re in the plank position, you don’t want to be in APT, and have an arch in your back. So what you’re going to do is utilize your lower abs and your glutes by tucking forward and flexing both your abs and glutes to hold your body in a 100% straight position. When you’re doing planks it’s not just about seeing how long you can be on your elbows and toes, it’s about seeing how long you can be on them while flexing your abs and glutes and sucking in your stomach. You’ll hold the plank position for as long as you can, and when you fail, you’ll take a rest. You’ll repeat this 3 – 4 times and as soon as you finish all of your sets, that completes stage 2 of your recovery process. You should aim to do these stretches and exercises daily, once when you wake up and once when you go to bed, but aim for AT LEAST 3 – 4 days a week minimum.
Step #3: Integrating Your New Foundations In Your Lifestyle
Steps 1 and 2 will definitely help you take care of the issue but you need to ensure that you’re not repeating the cause of the issue when you return to your normal activities. Be it squatting, deadlifting, walking, sitting or even bicep curling you need to be aware and mindful of your posture and adjust it at all times. Make sure you’re tucking your butt under, sucking in your abs during your daily activities, and figuring out a way to remind yourself to re-check your posture at different times of the day.
Set an alarm on your phone to go off every 30 minutes if you have to. Whatever it takes because remember that over time, this “new” posture will become what’s normal for your body and you won’t have to remind yourself again and again. Also, once this happens you’ll be able to reduce the amount of corrective stretching and strengthening you had to do when you first began your journey of fixing your APT, but it’s still advised to perform those once a week to ensure the problem does not come back.
Conclusion
There you have it, all the tools and information you need to fix your Anterior Pelvic Tilt. All it takes is patience and persistence, and over time you’ll be able to get rid of pain and perform better in your everyday life.
Related Videos:
How To: Shoulder Warm-Up: Increase Mobility & Injury Prevention!
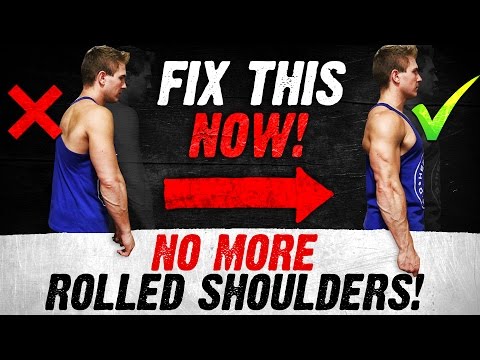
Fix Your Bad Posture Now! | 3 EASY FIXES YOU CAN DO ANYWHERE!